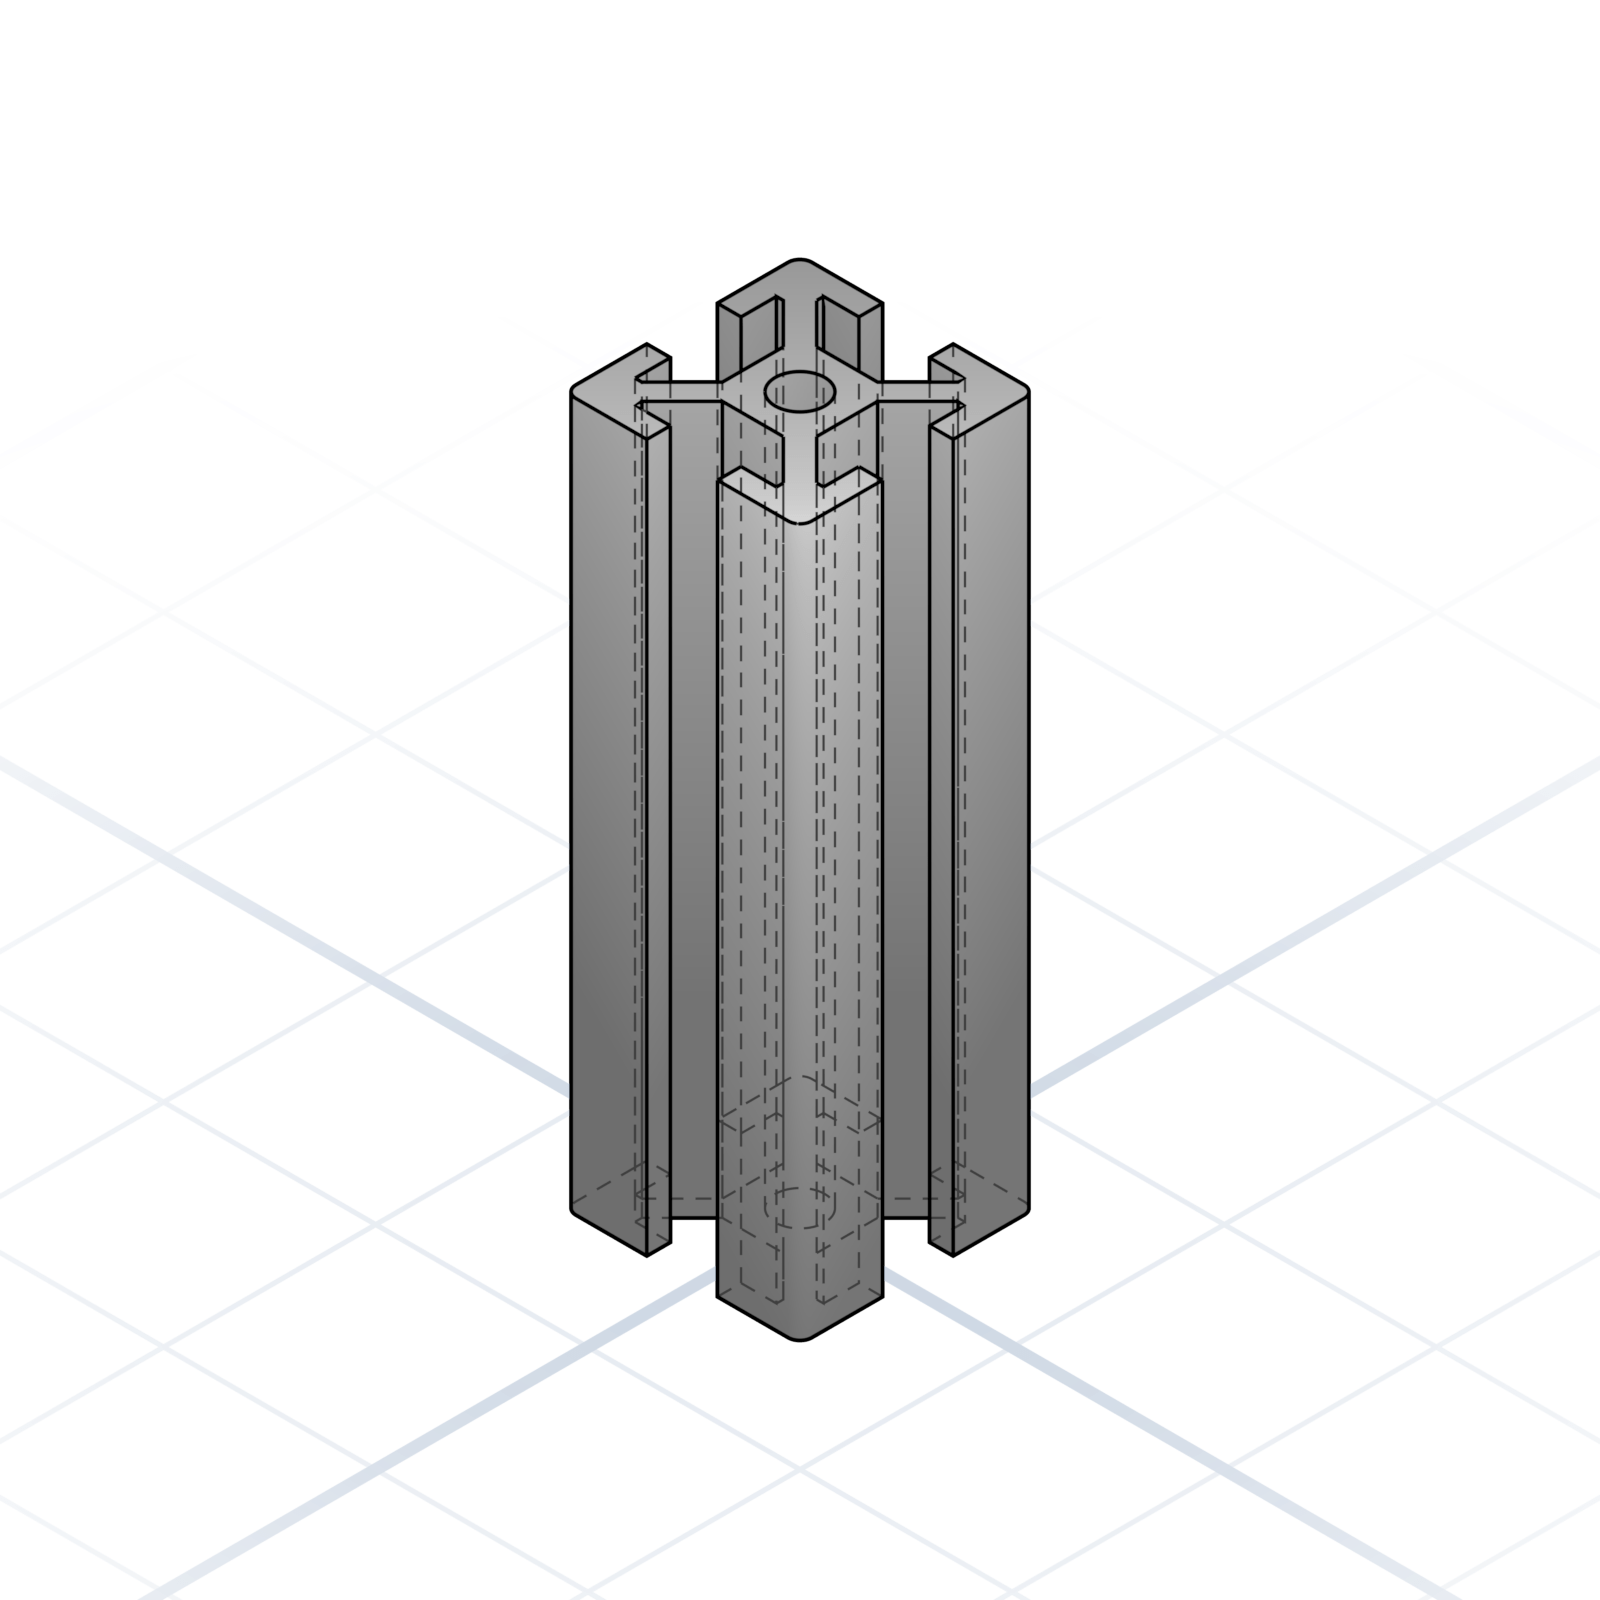
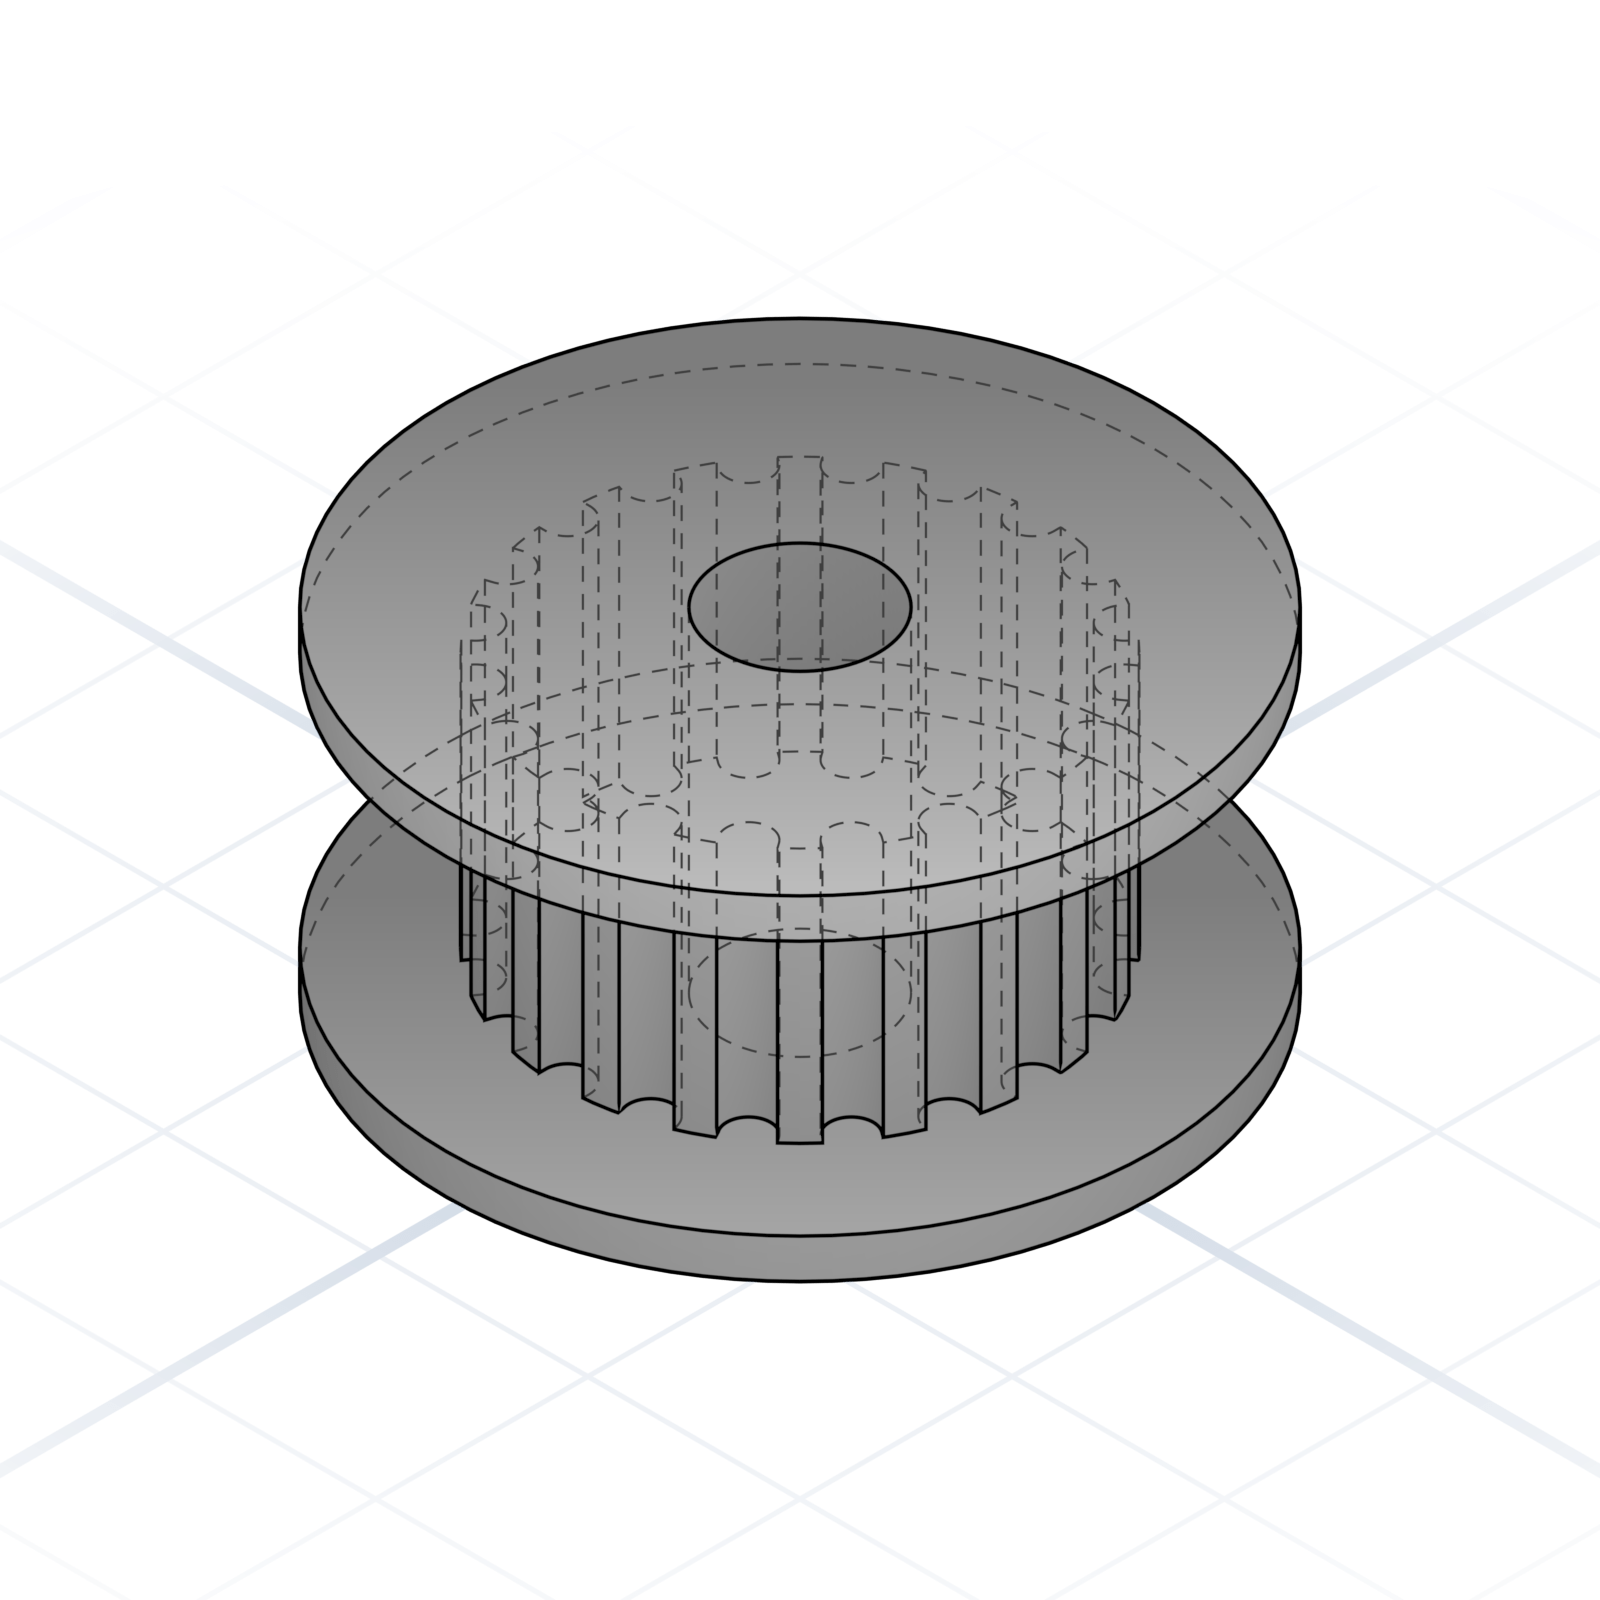
Functional features
Named shapes you add to a part to make it work: mounting, stiffness, sealing, or grip. Reach for them by name and the geometry follows.
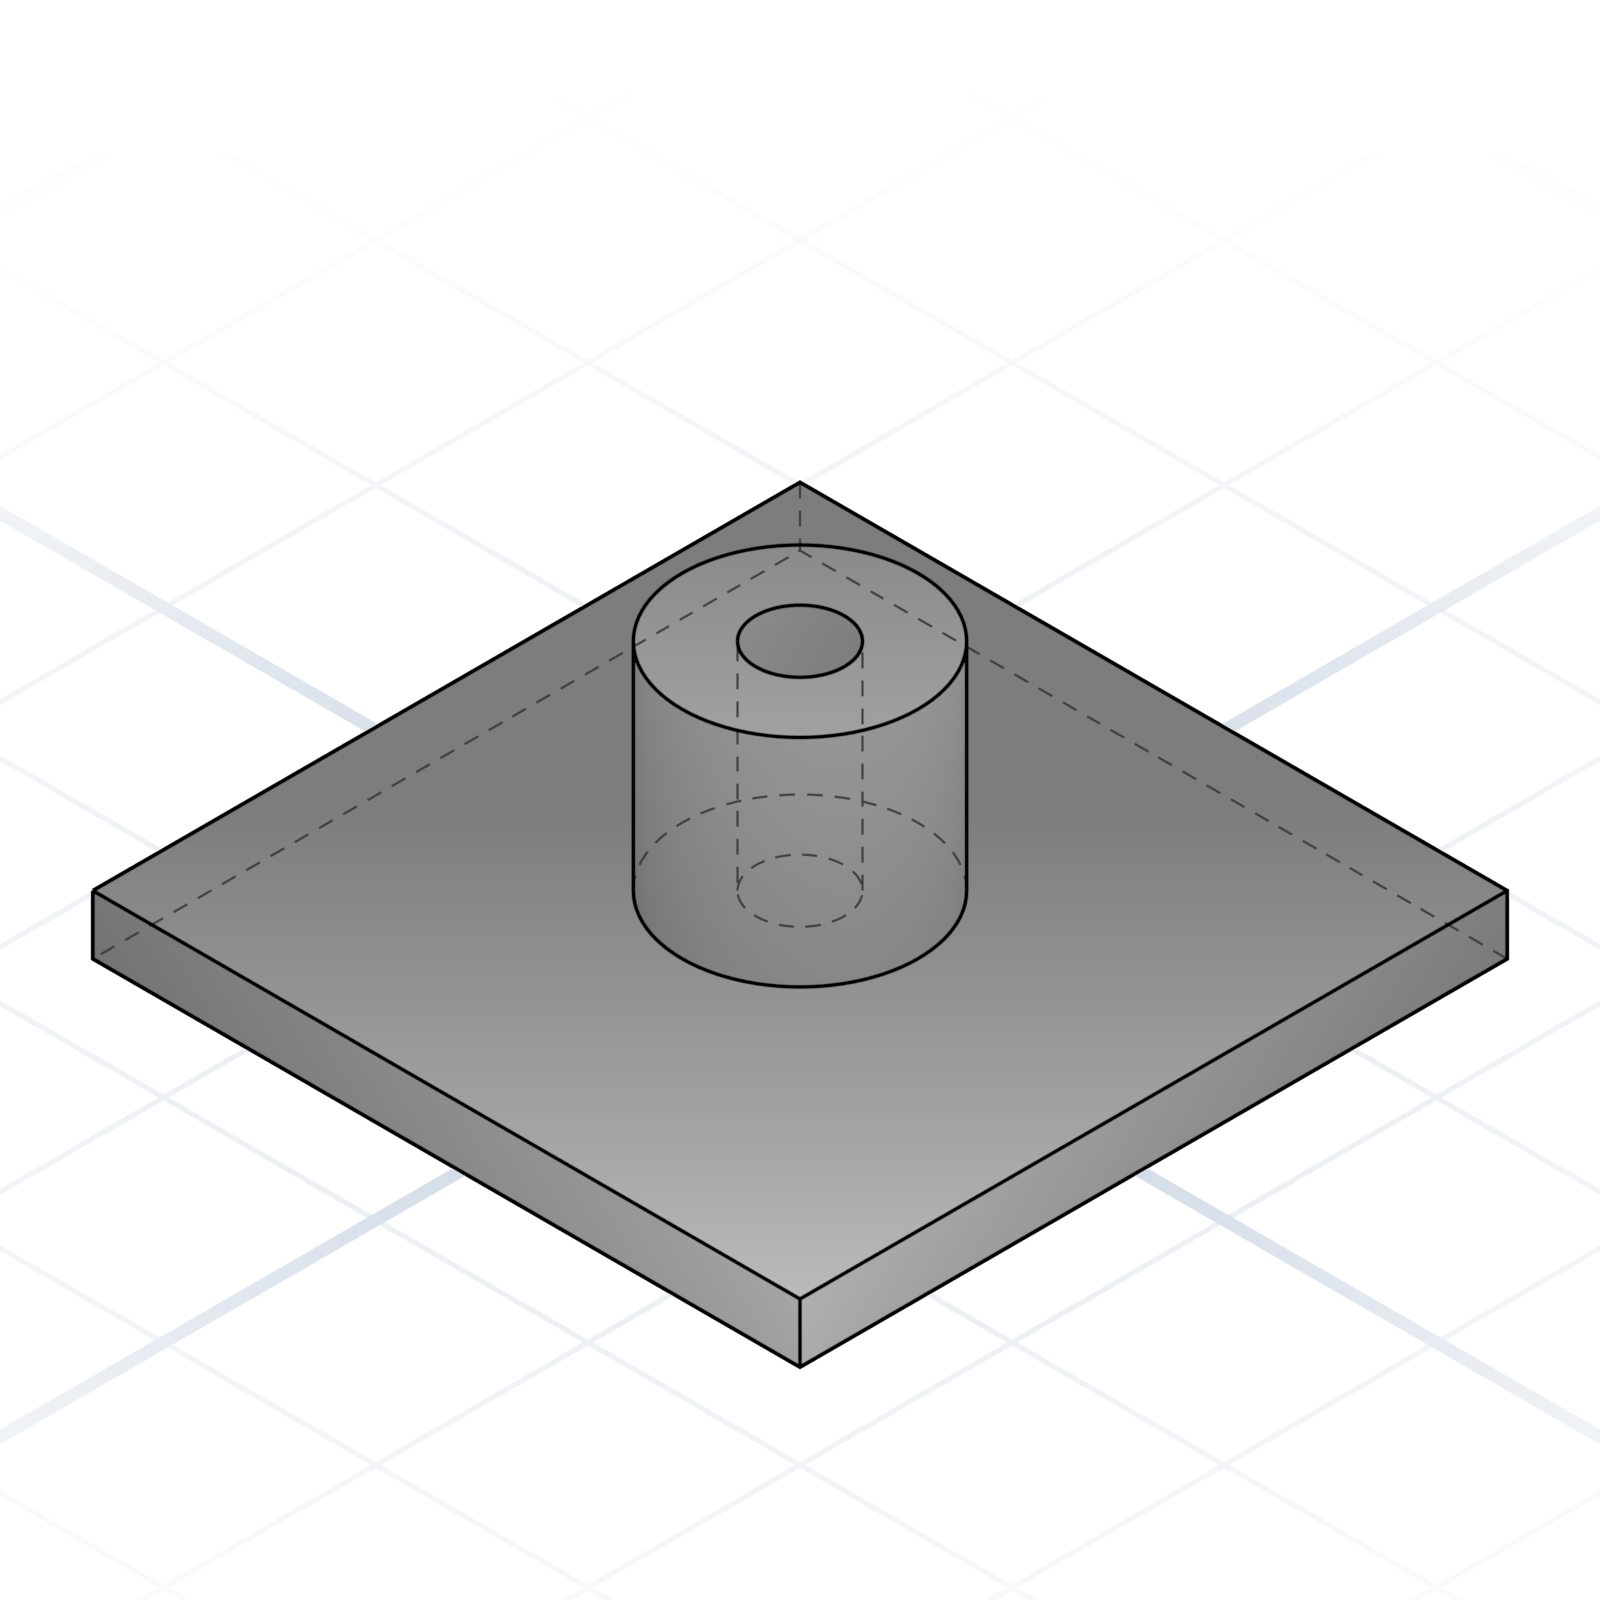
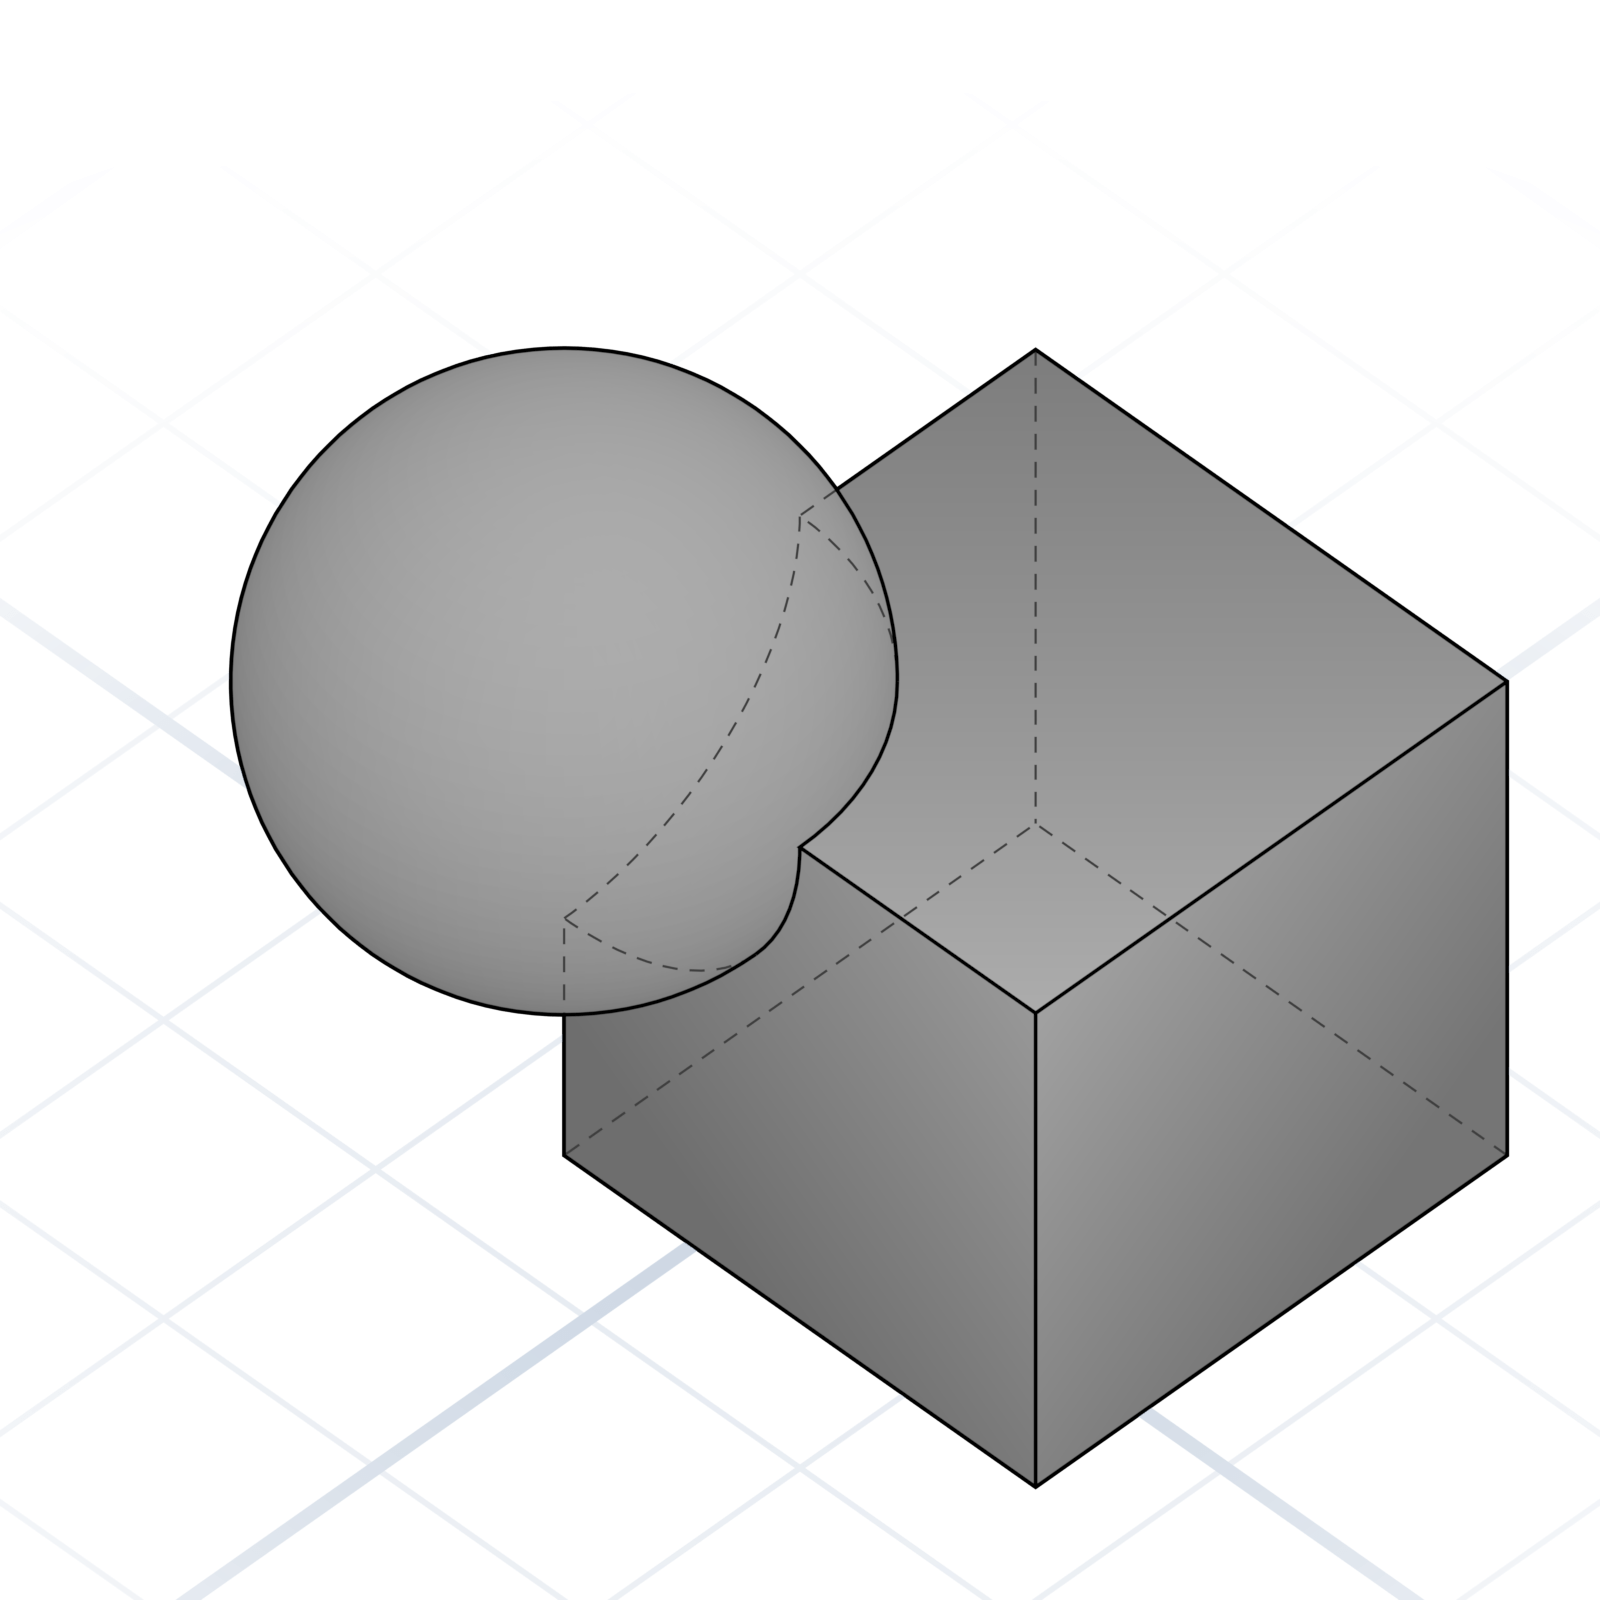
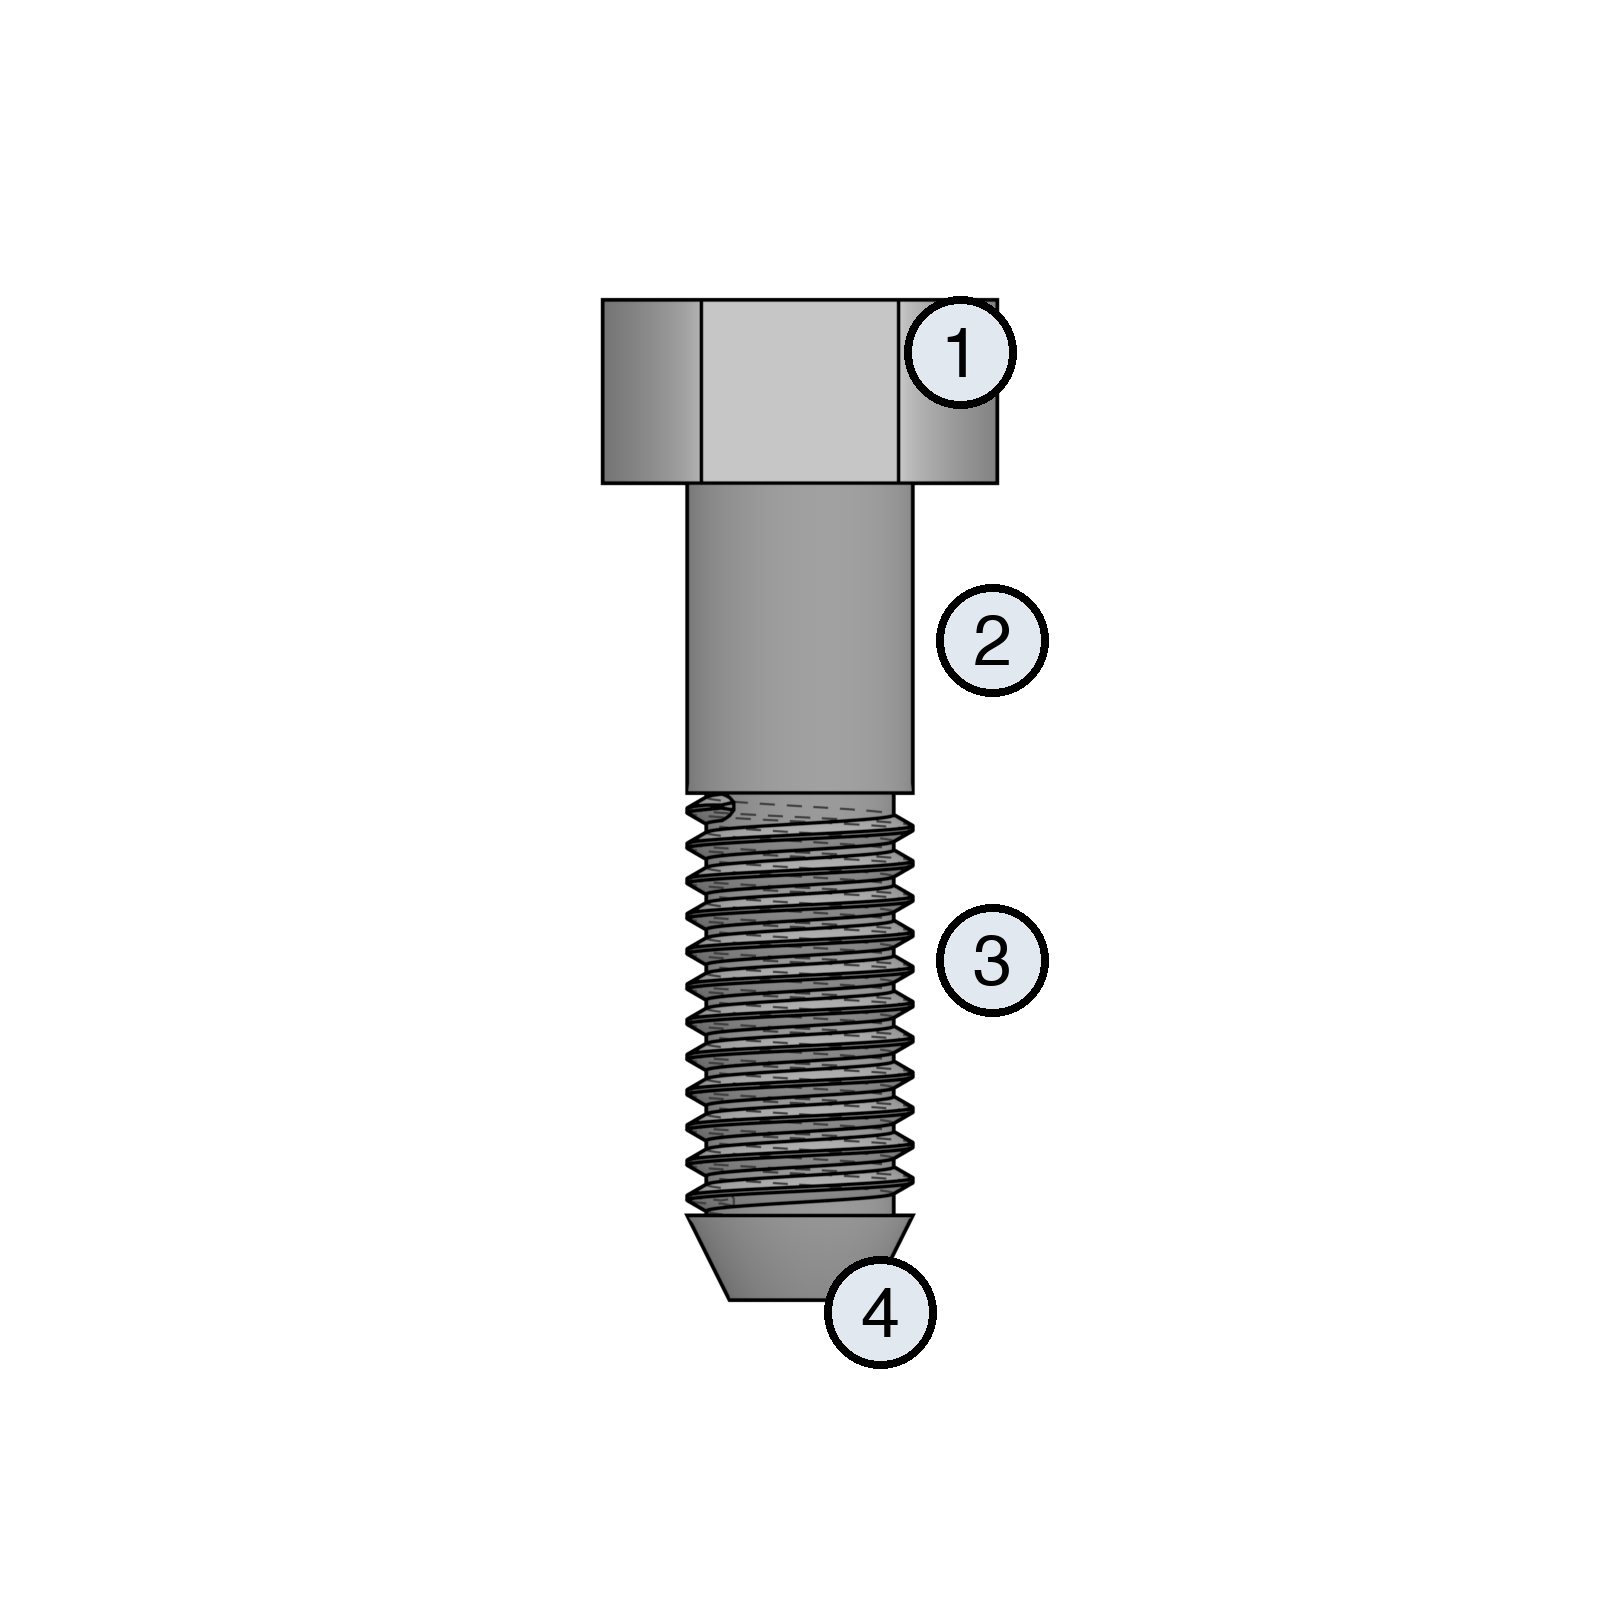
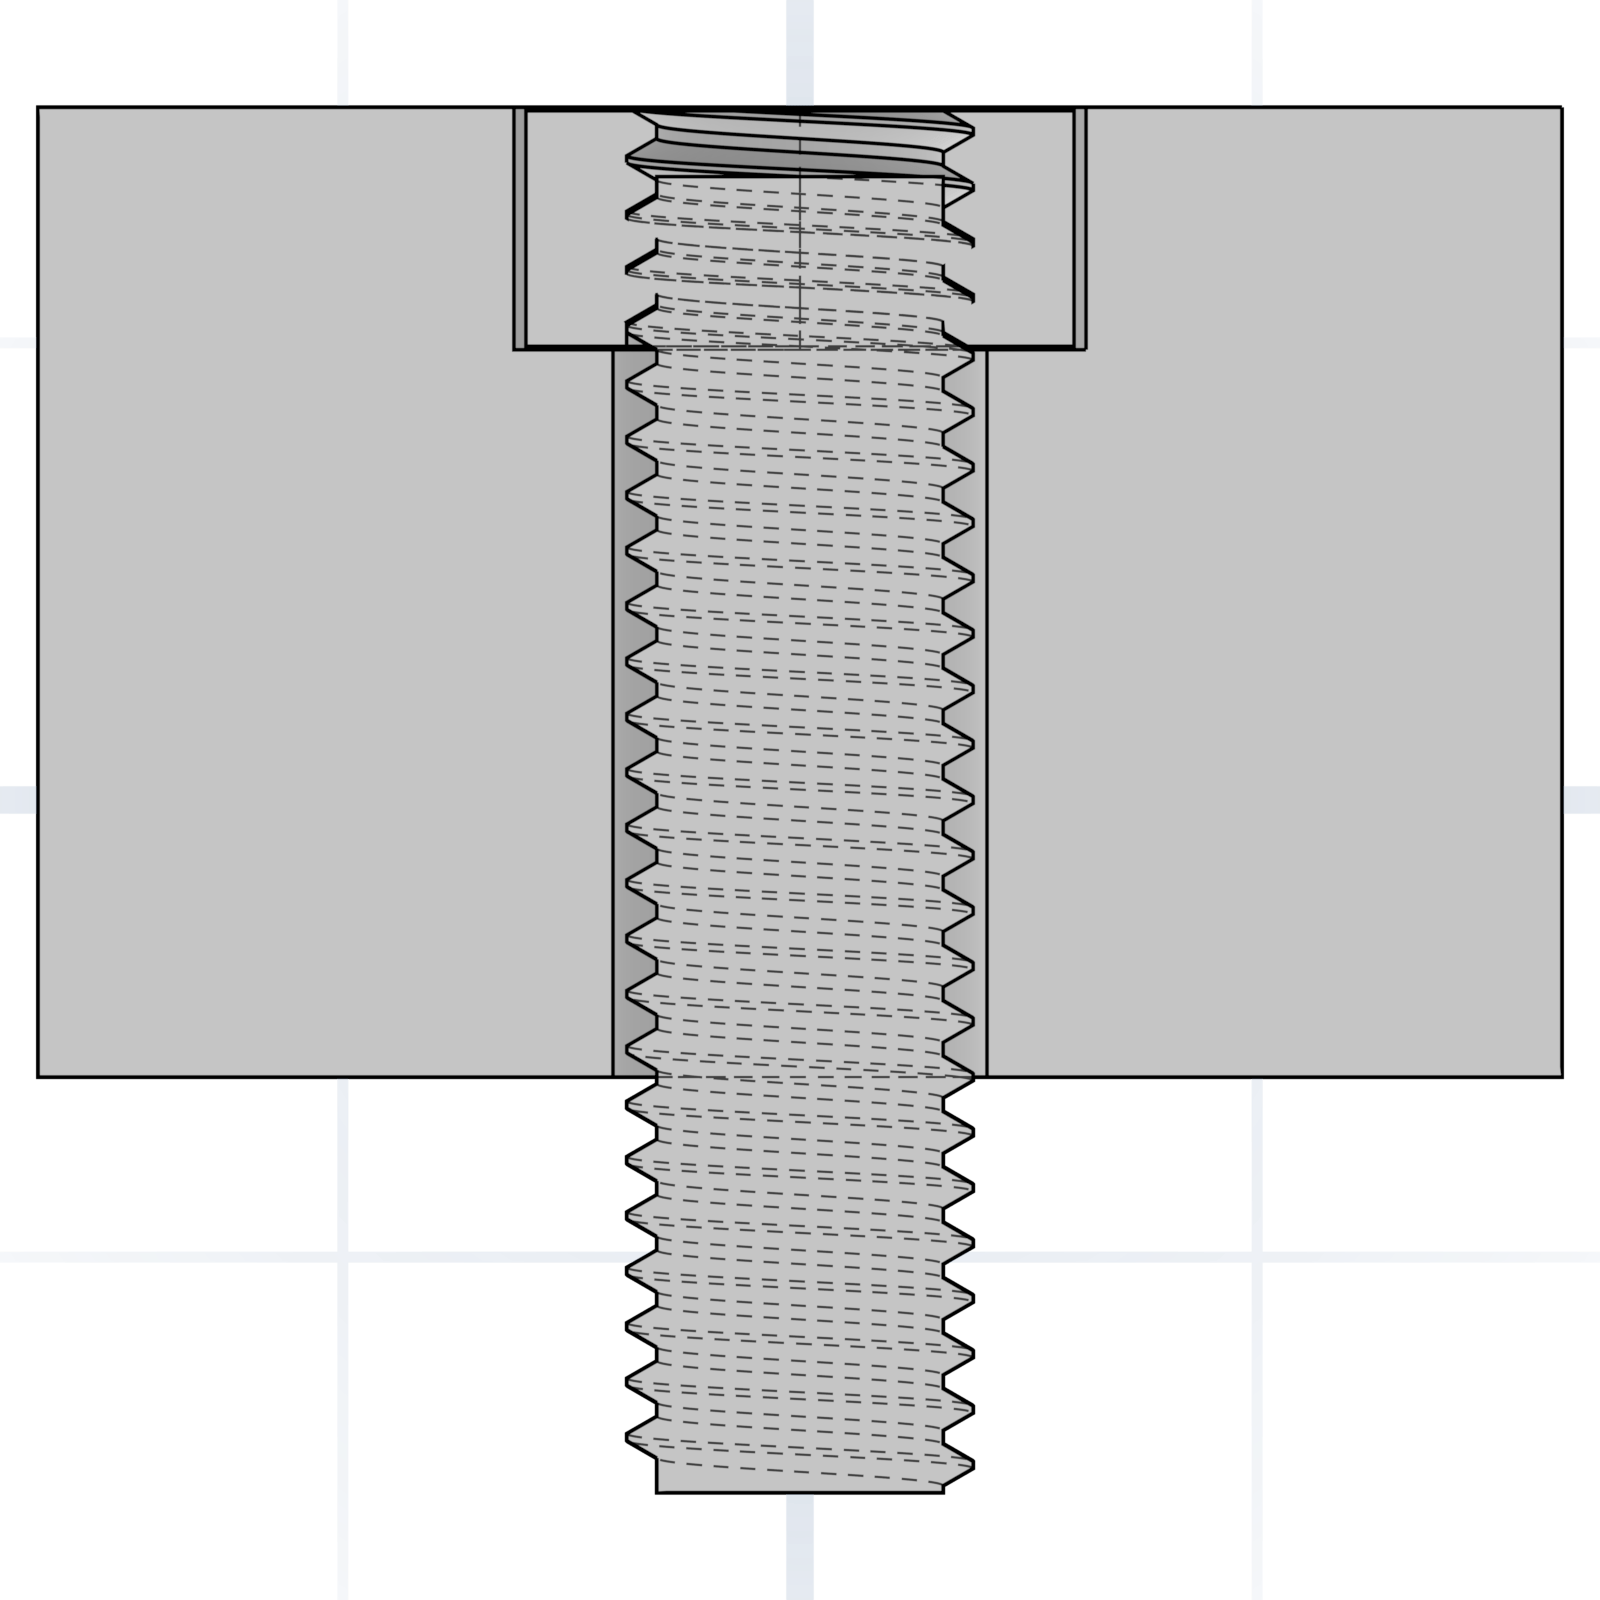
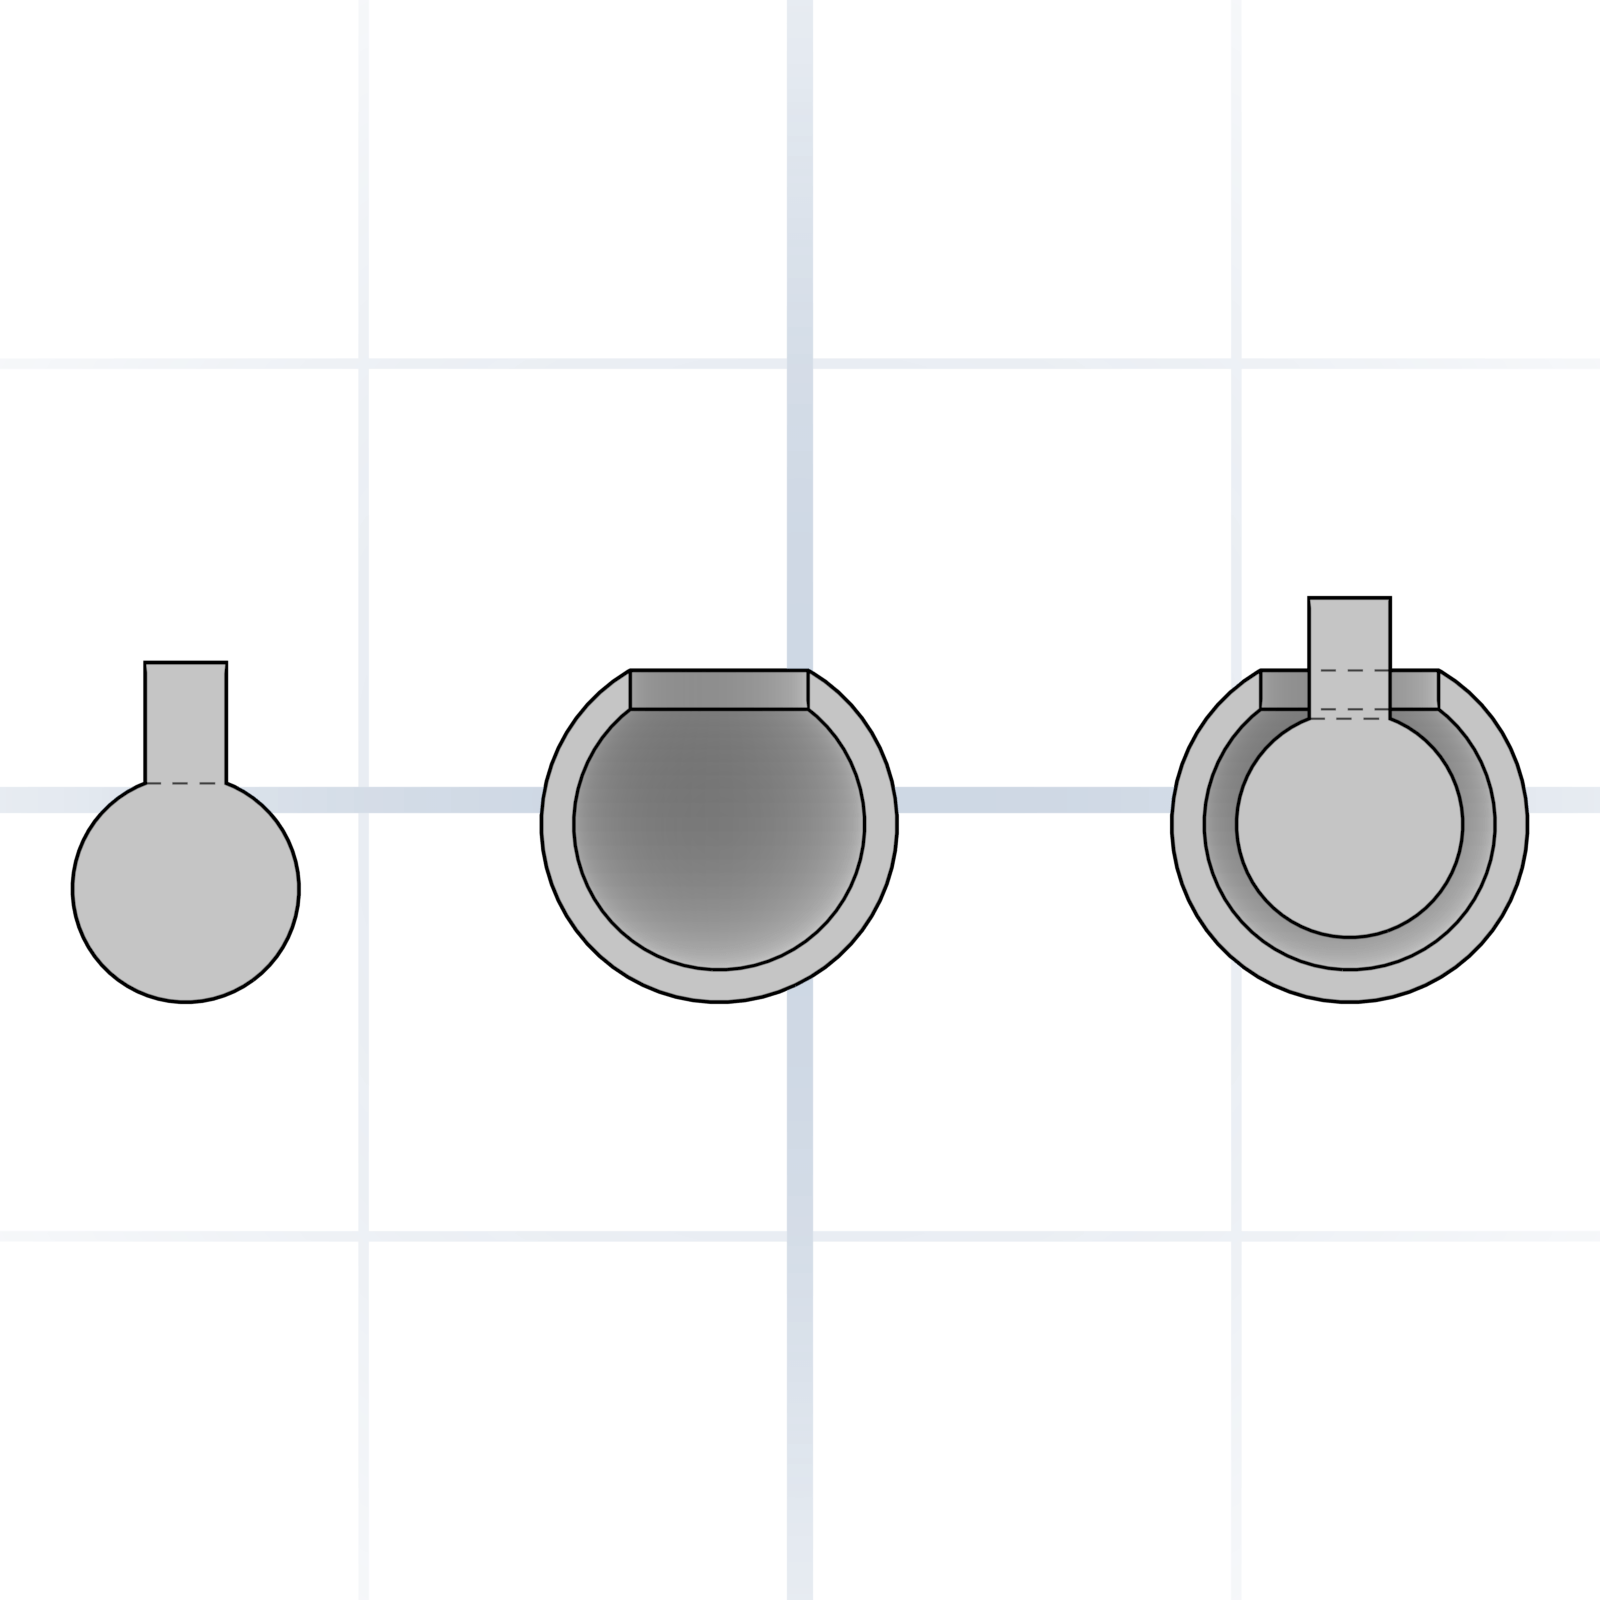
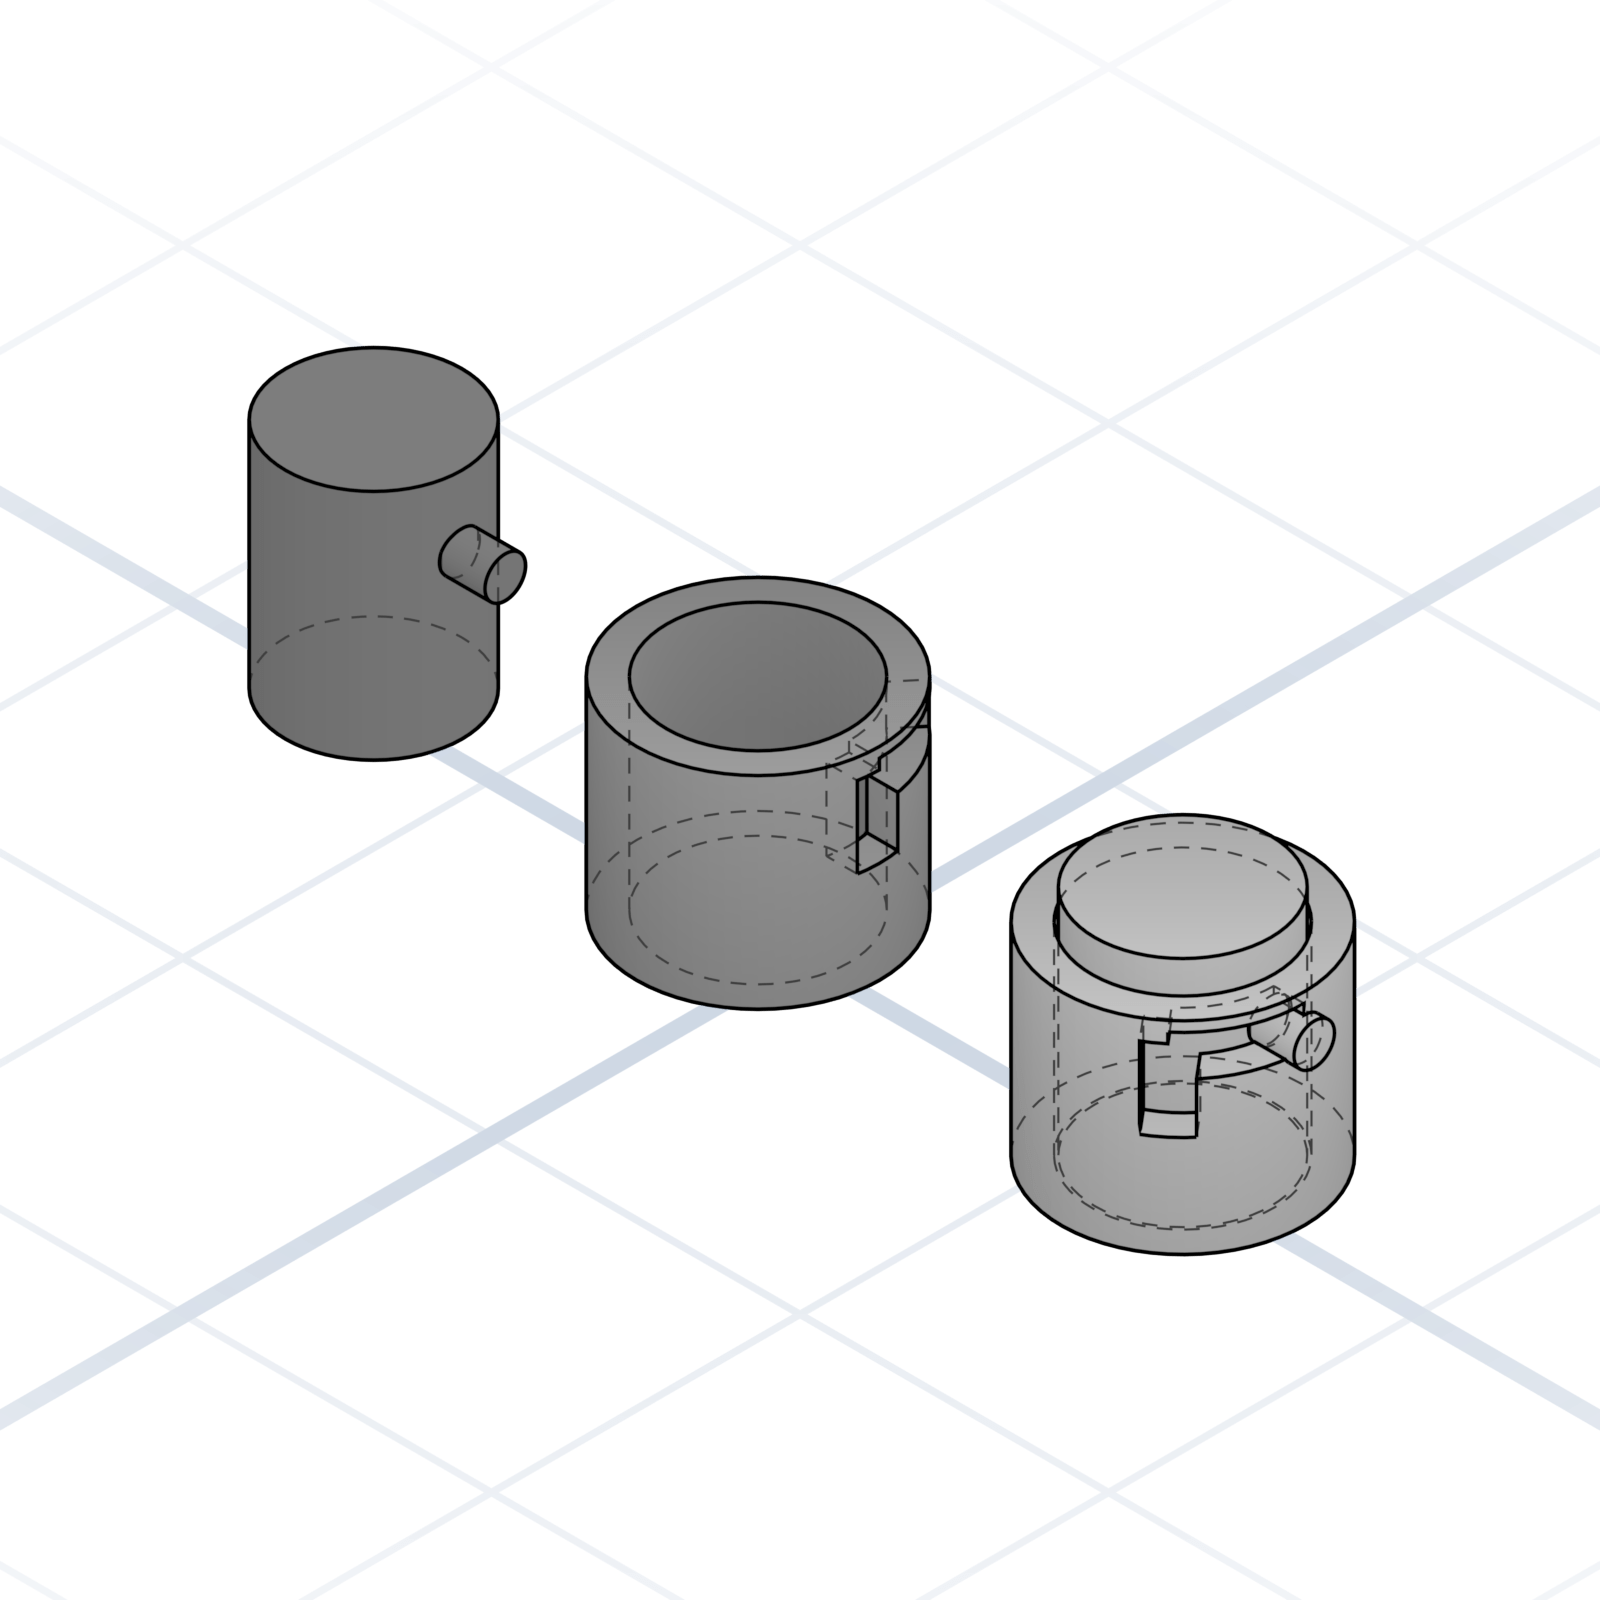
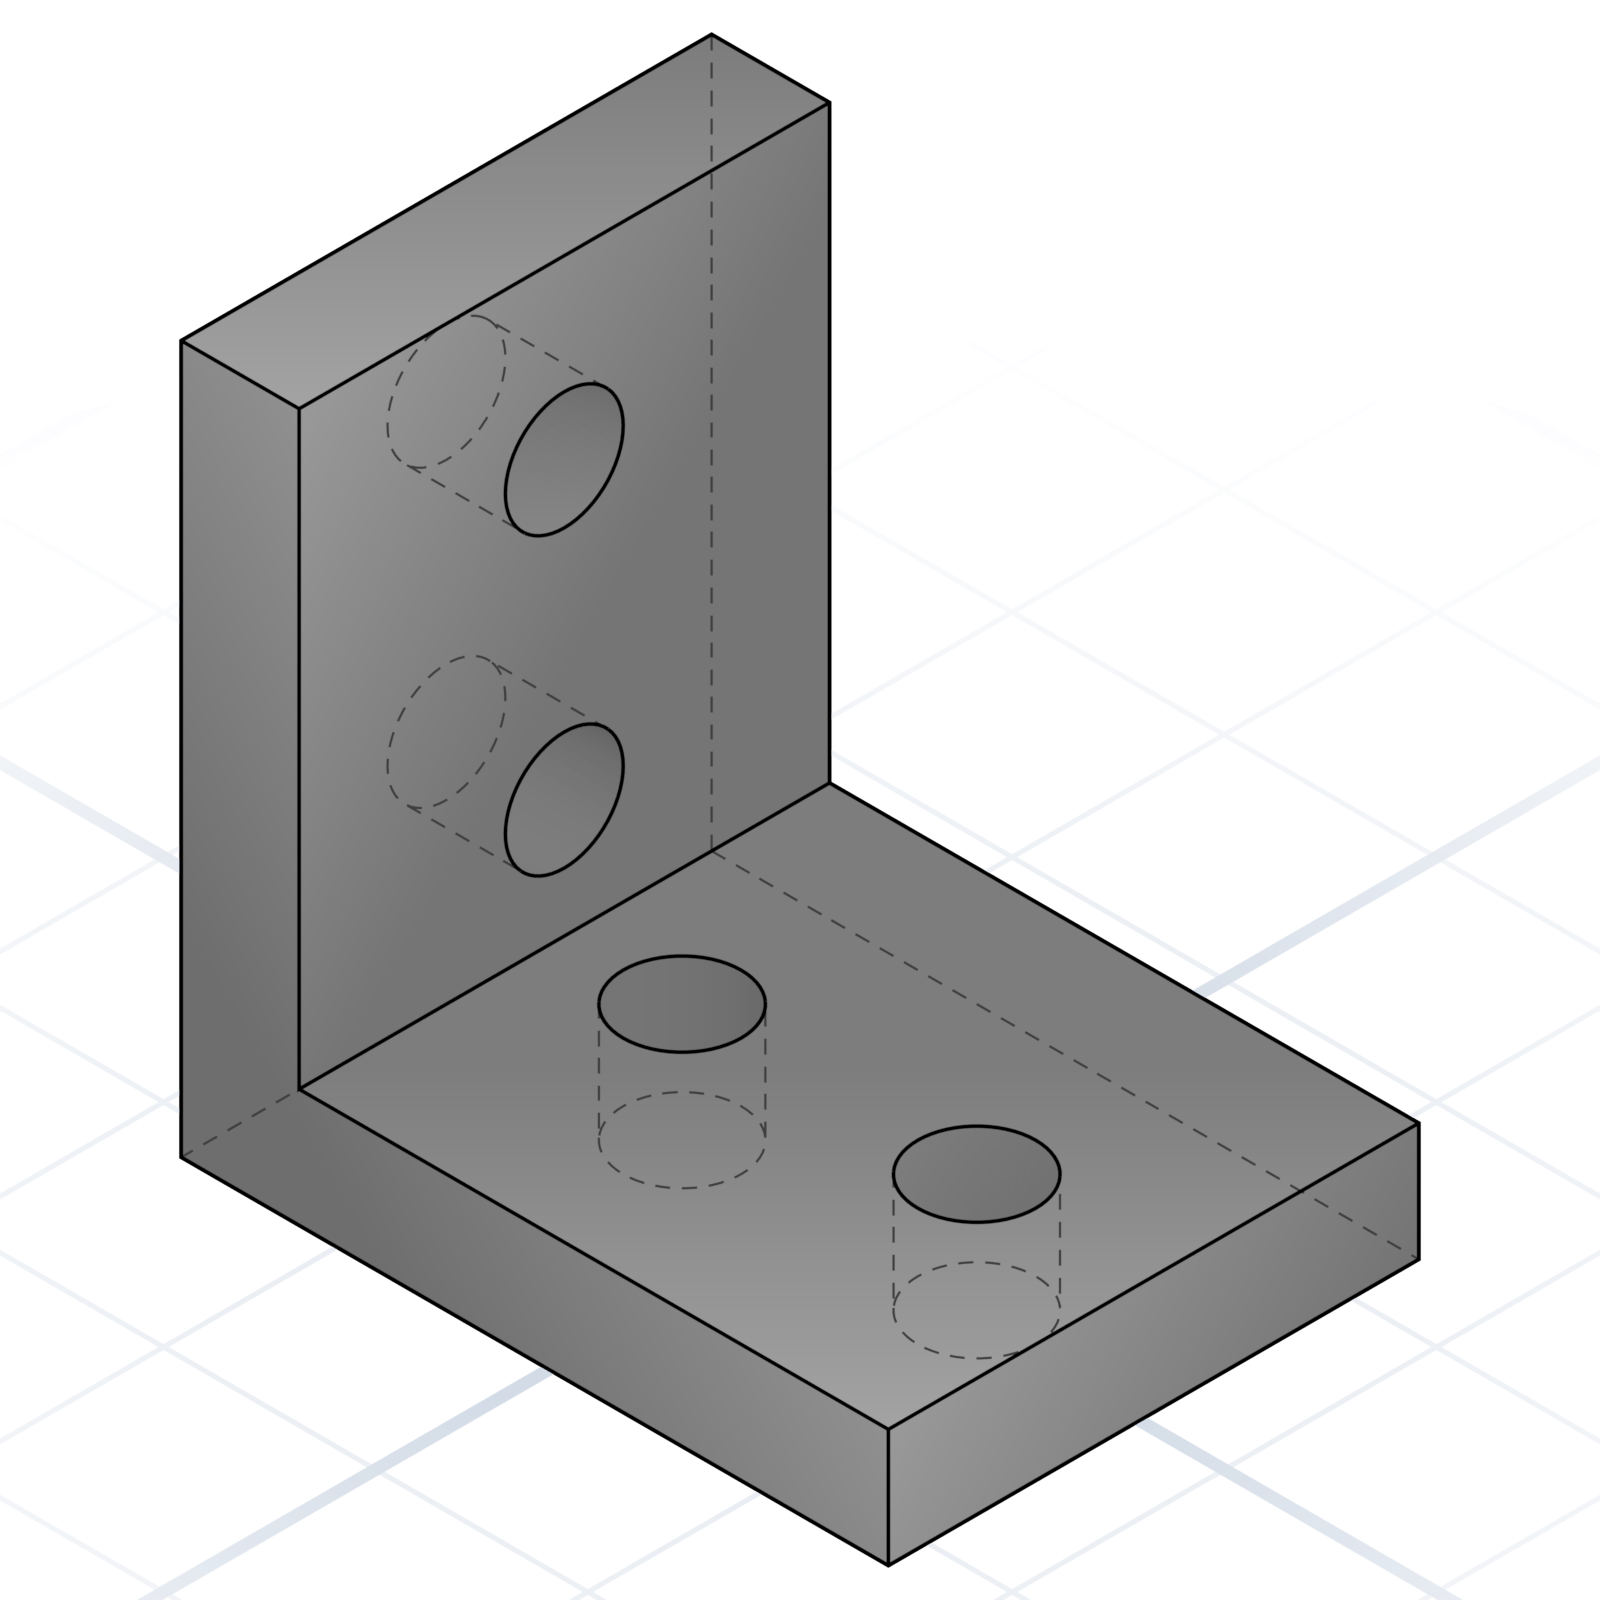
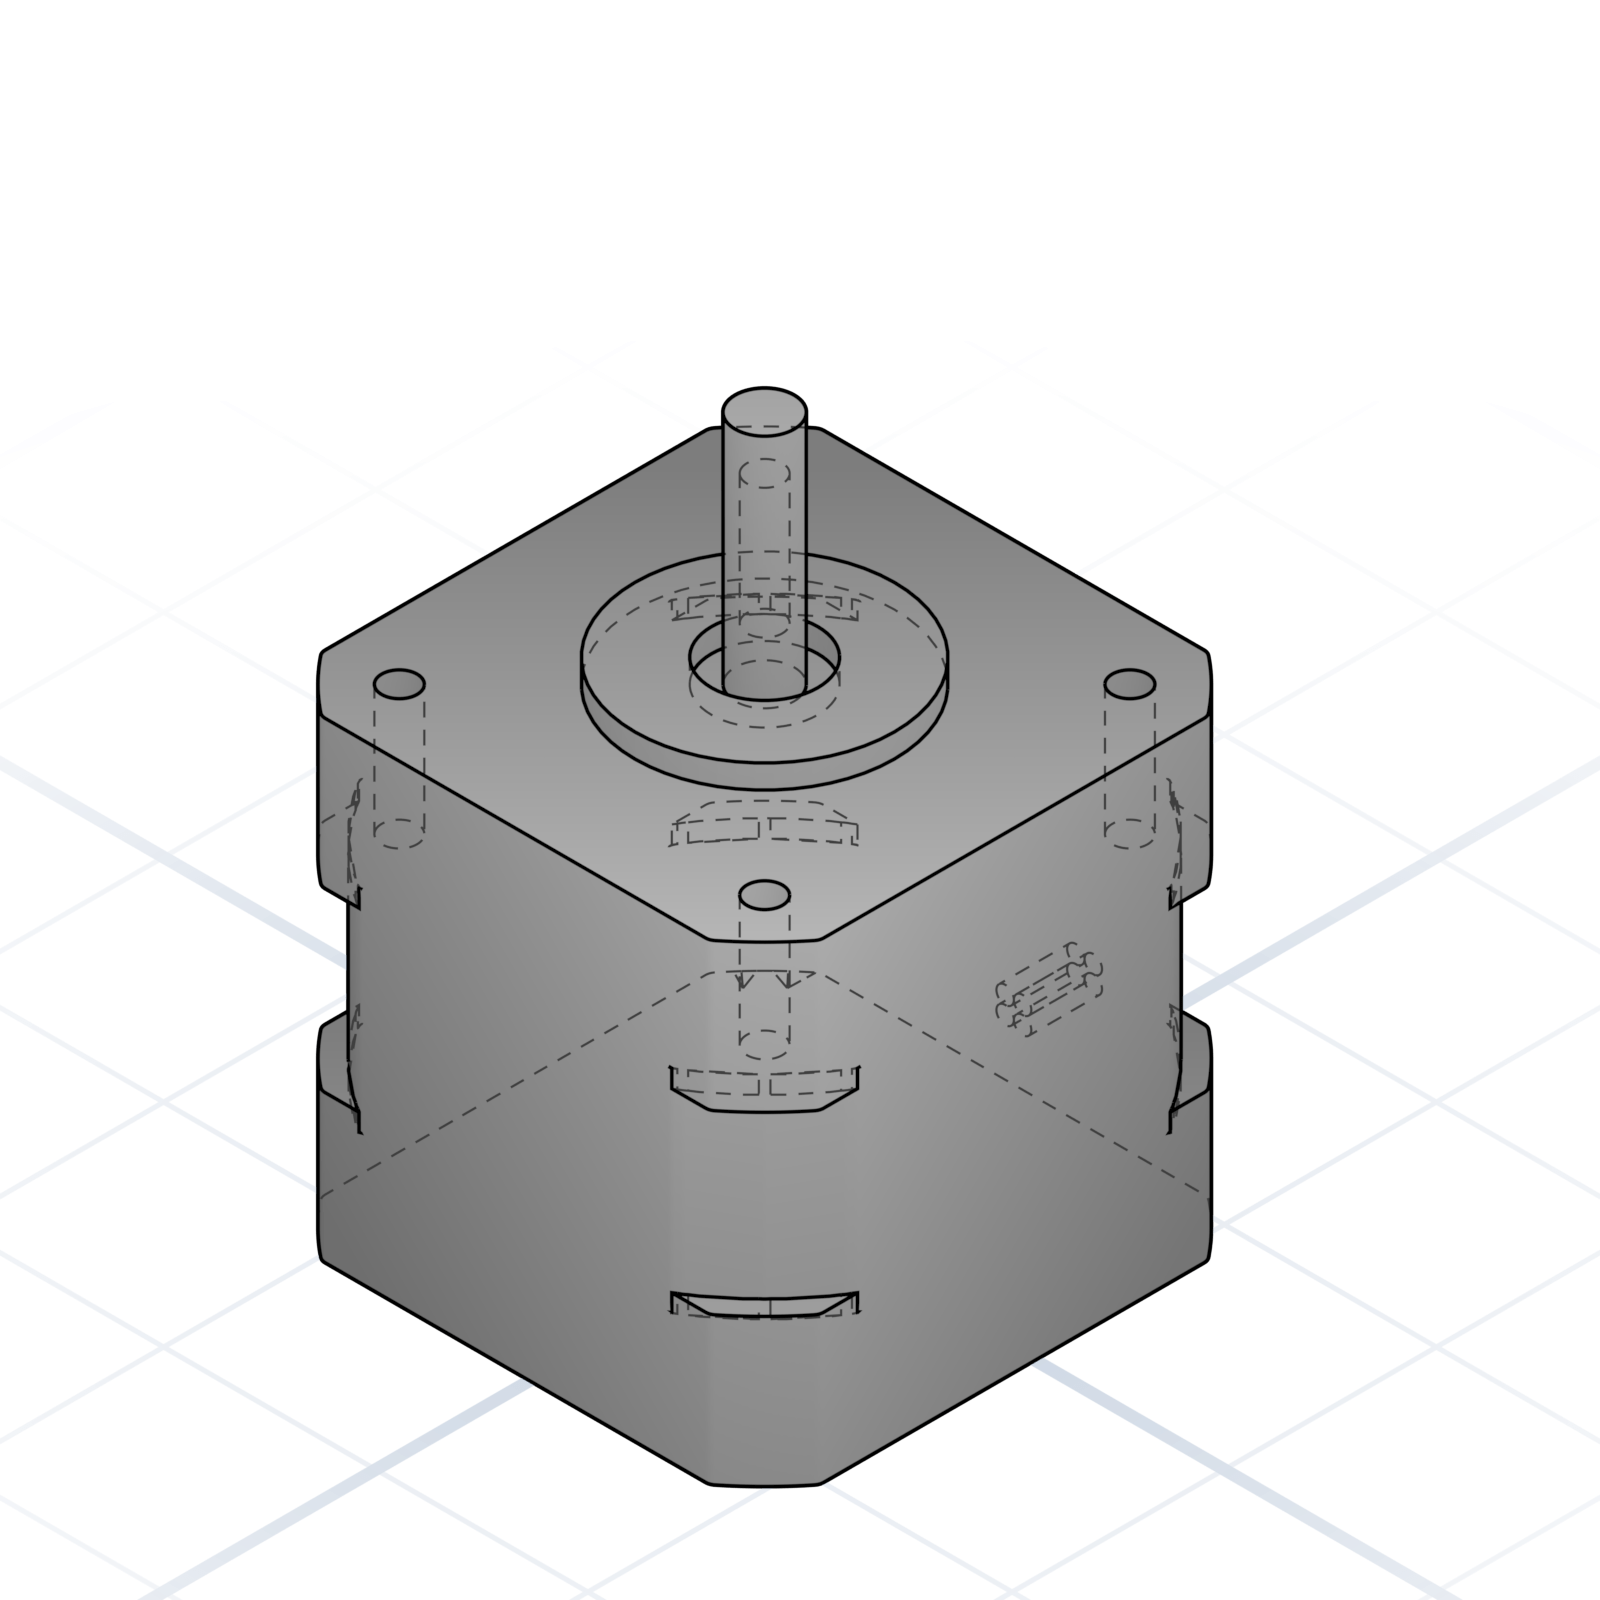
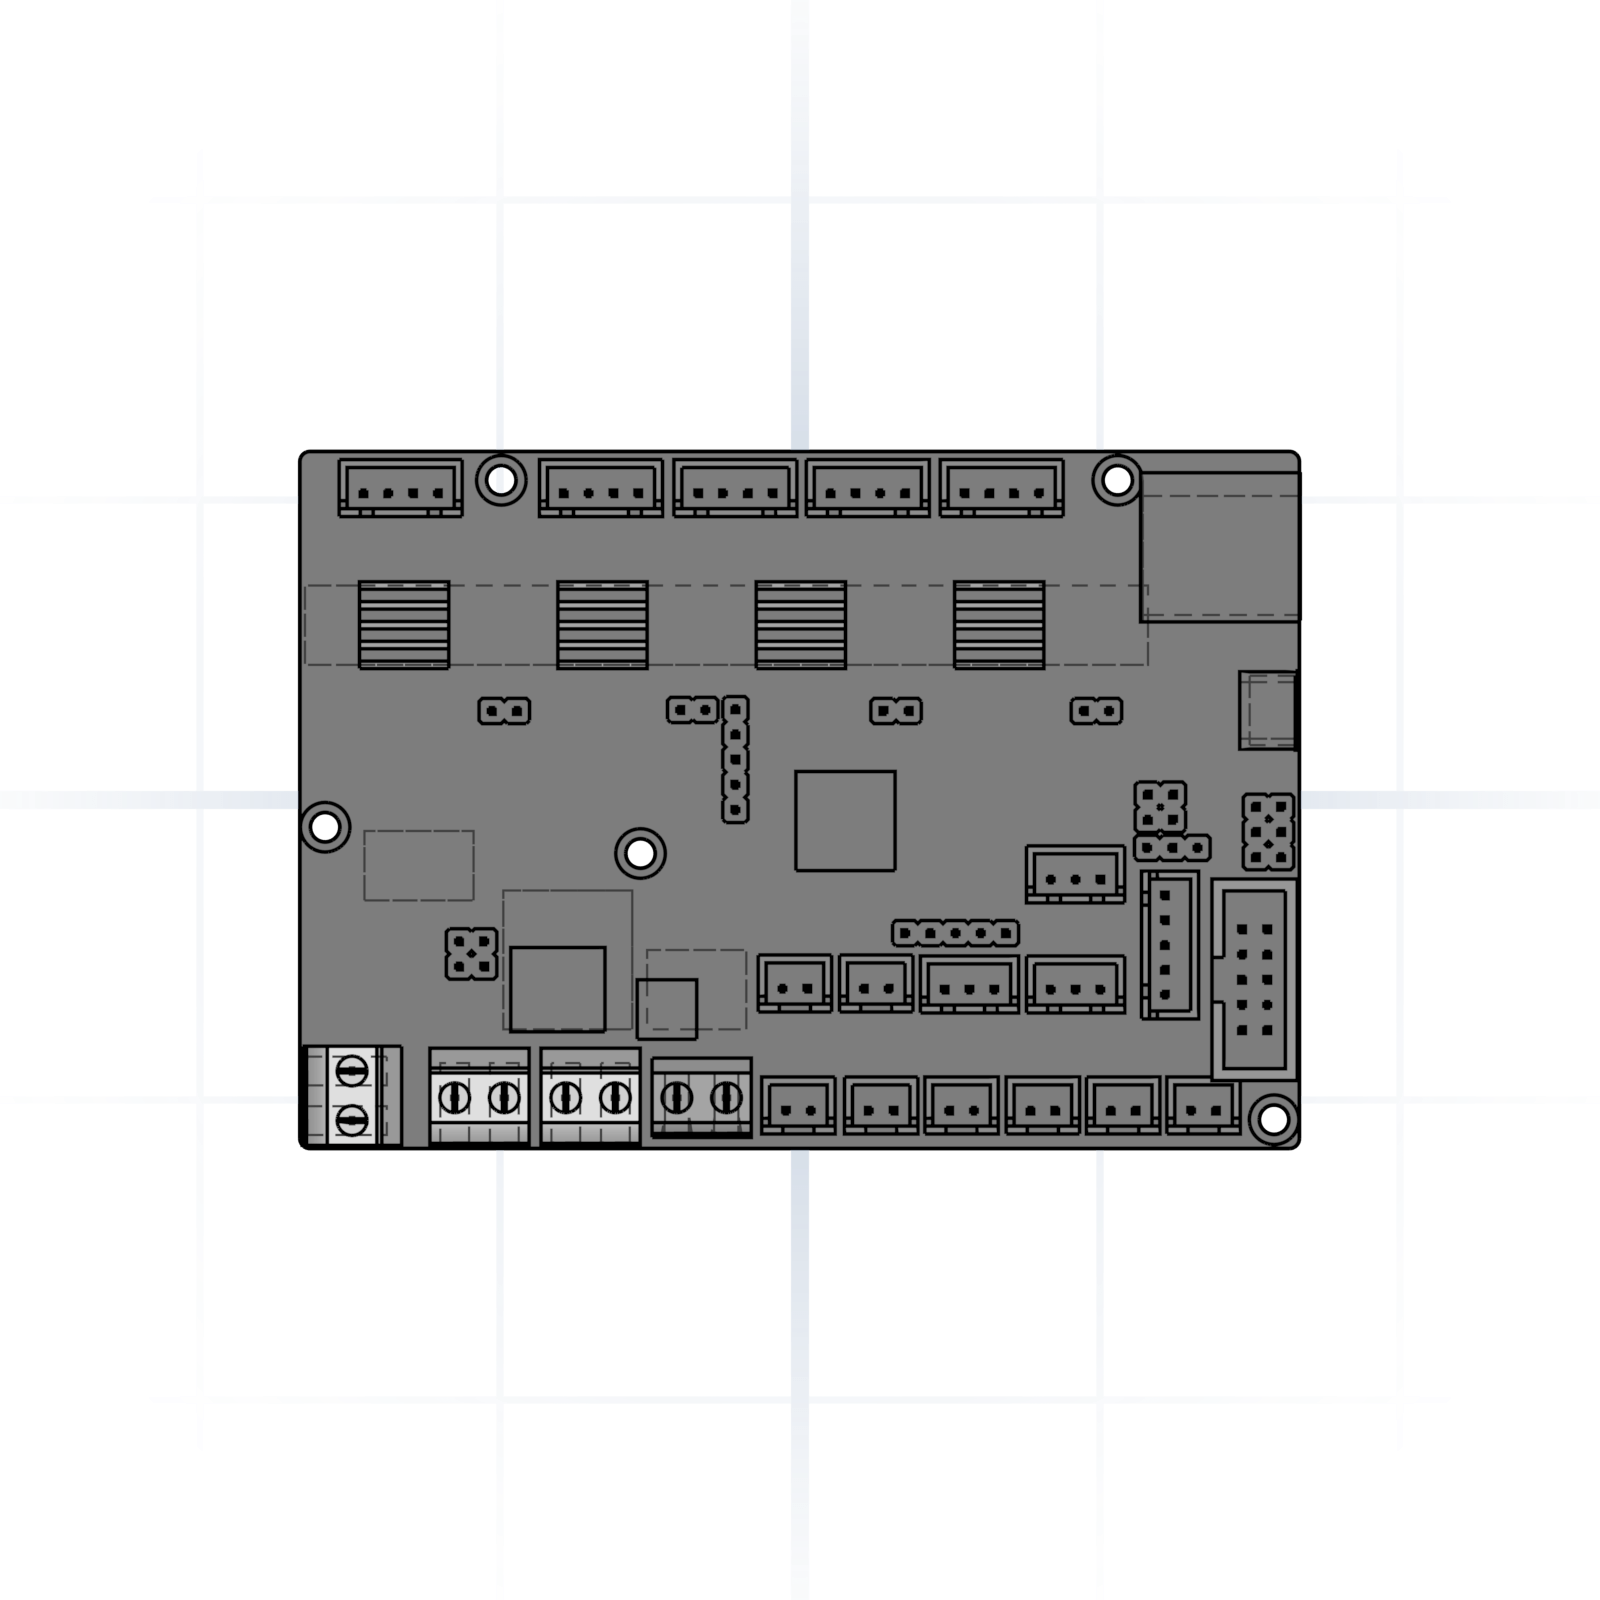
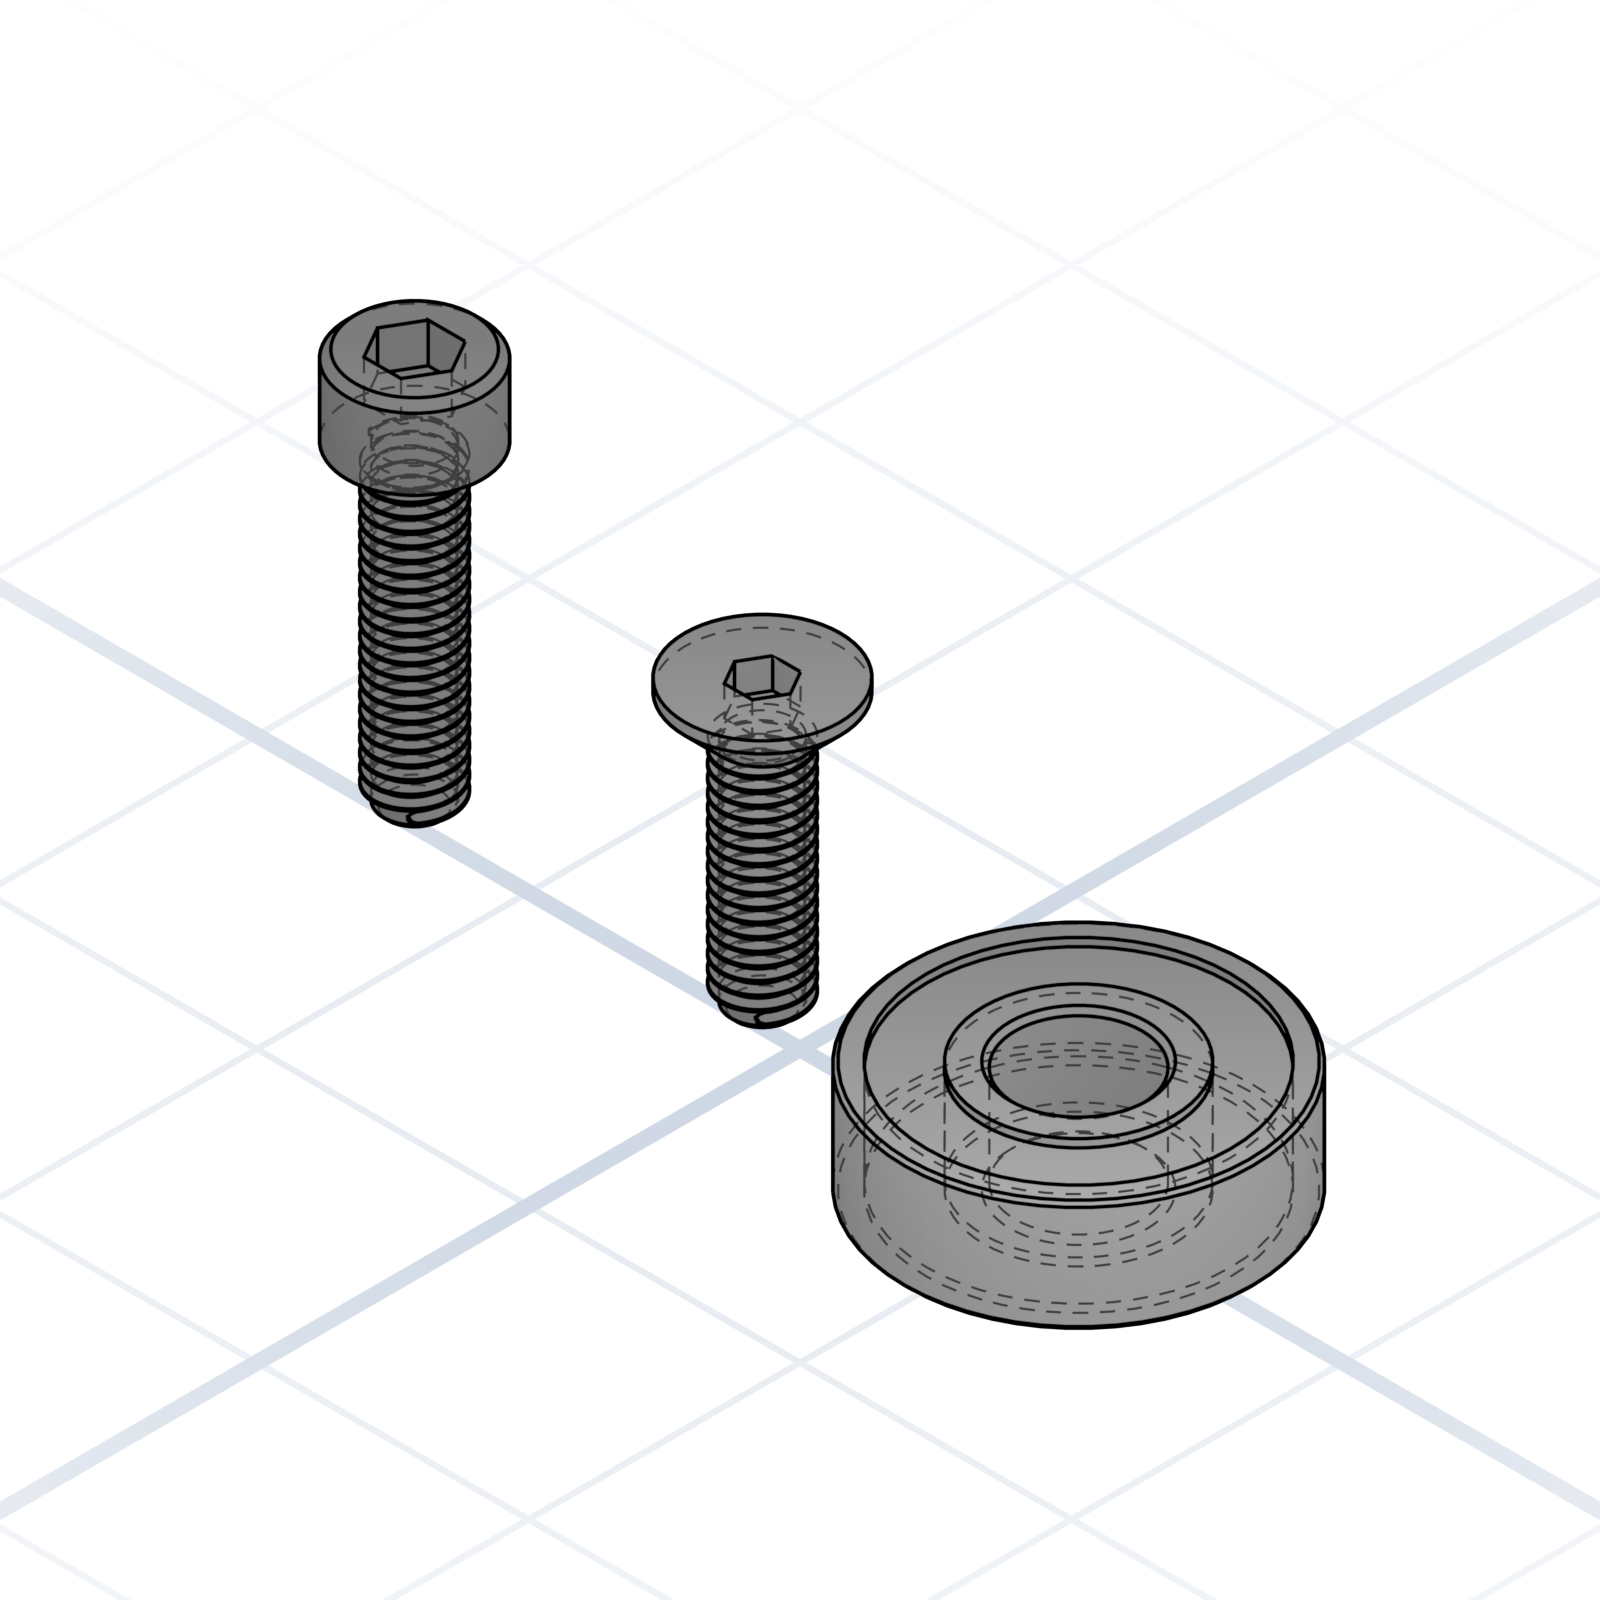
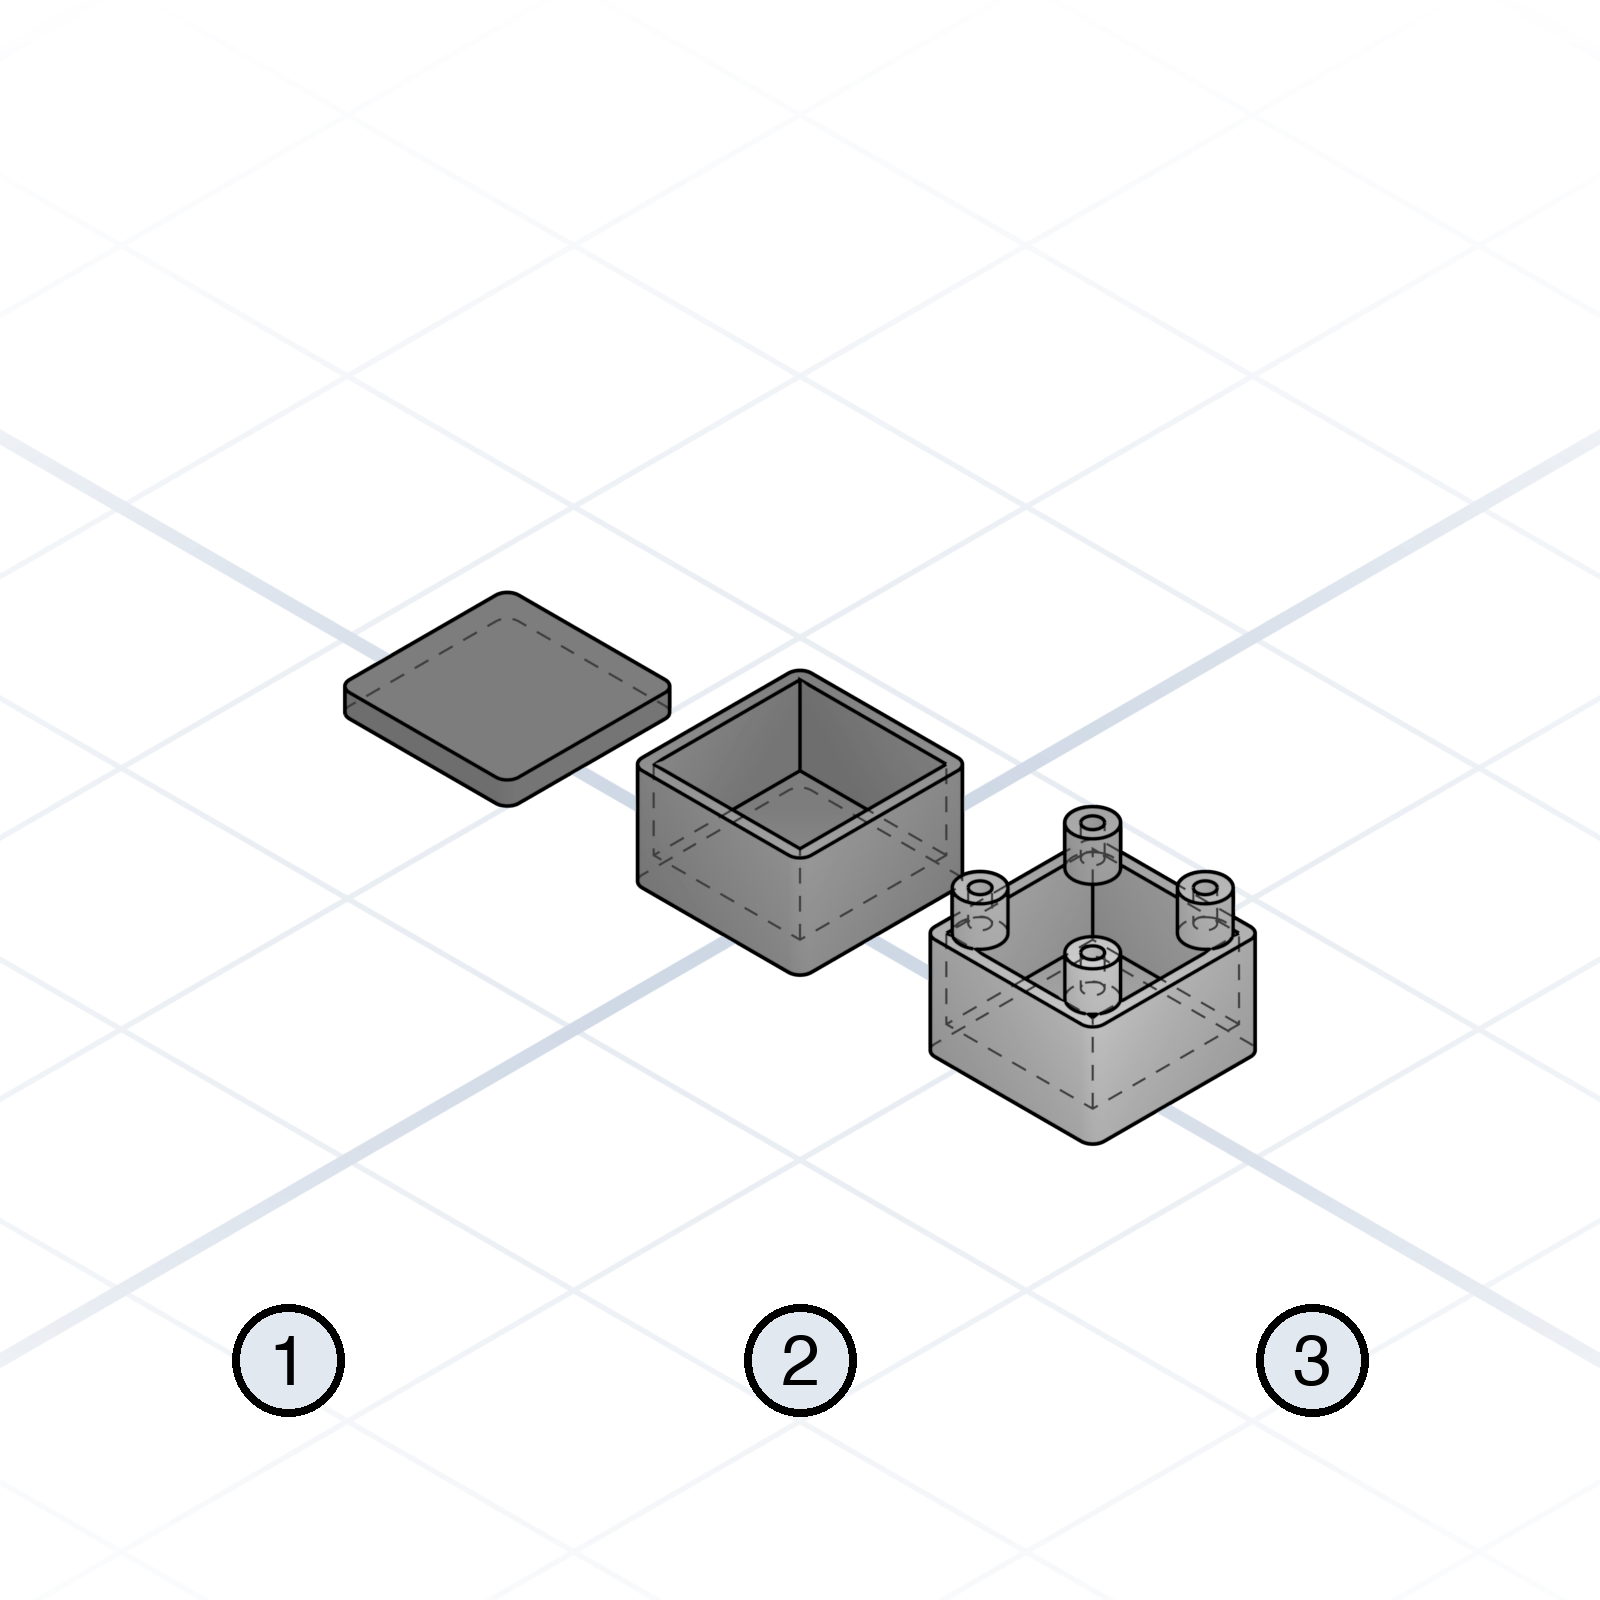
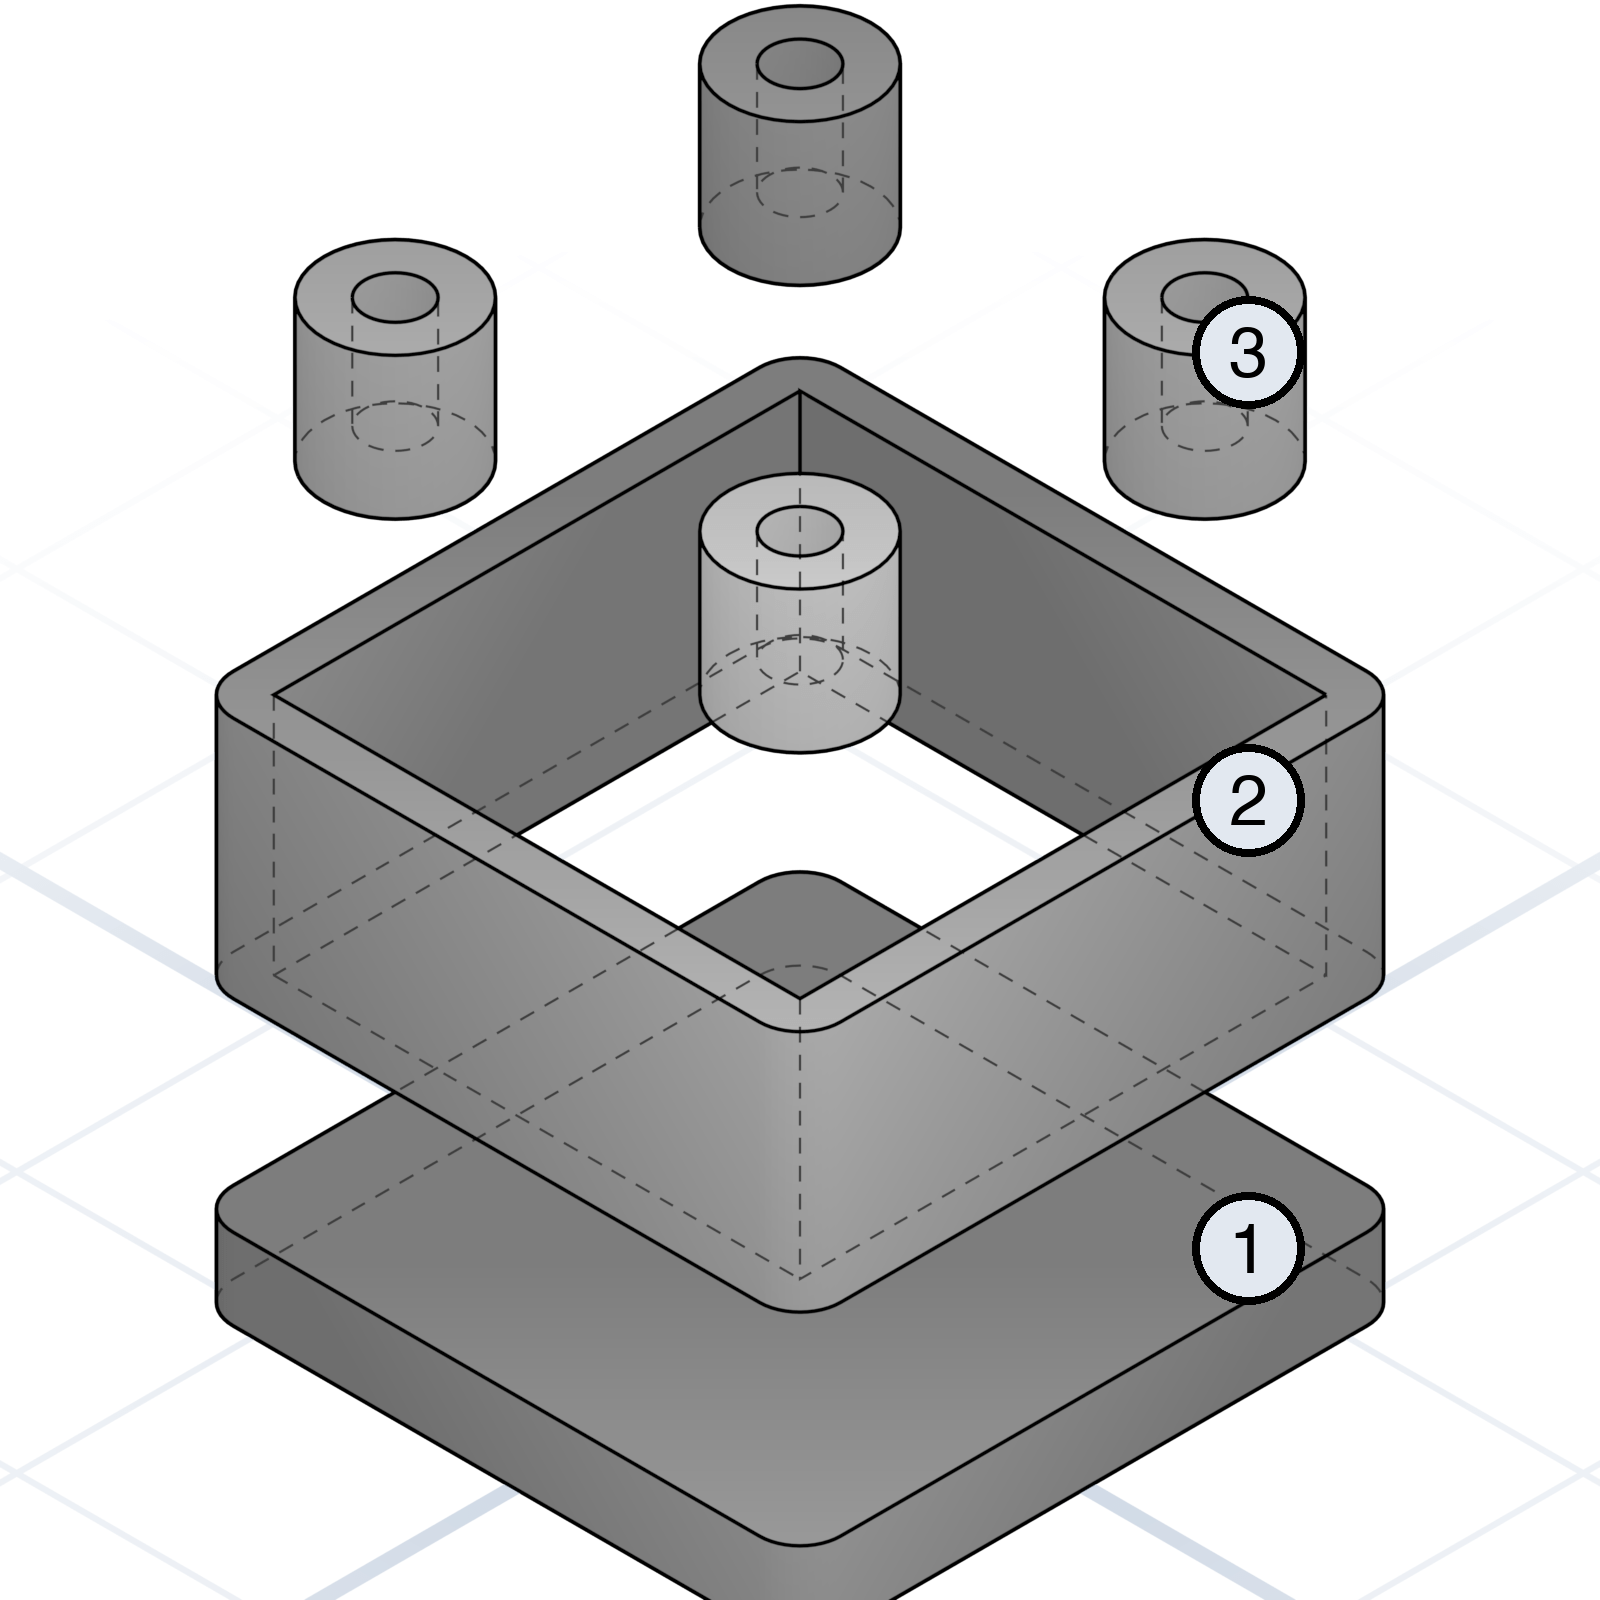
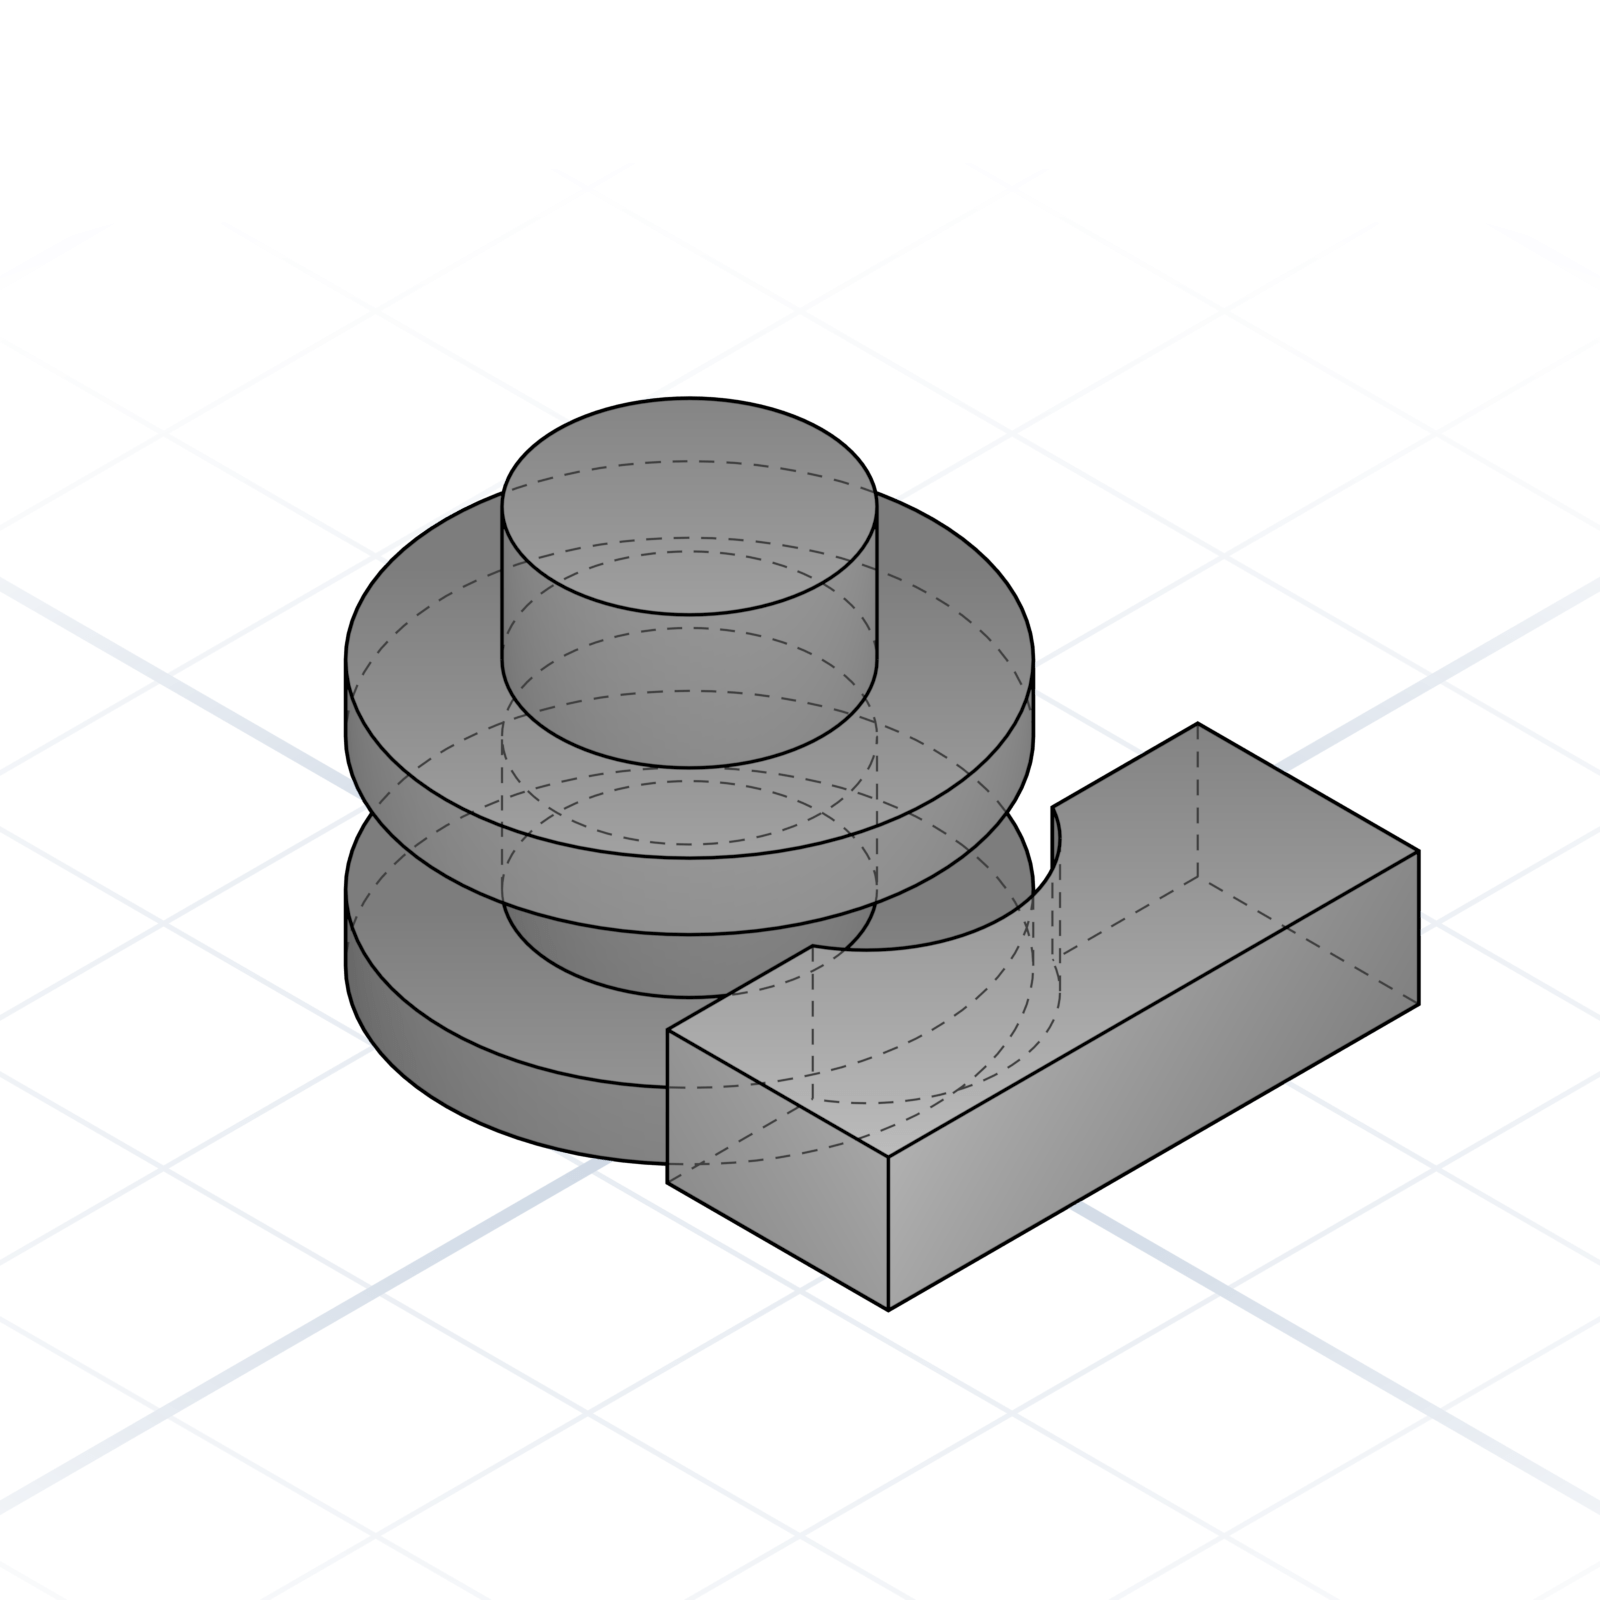
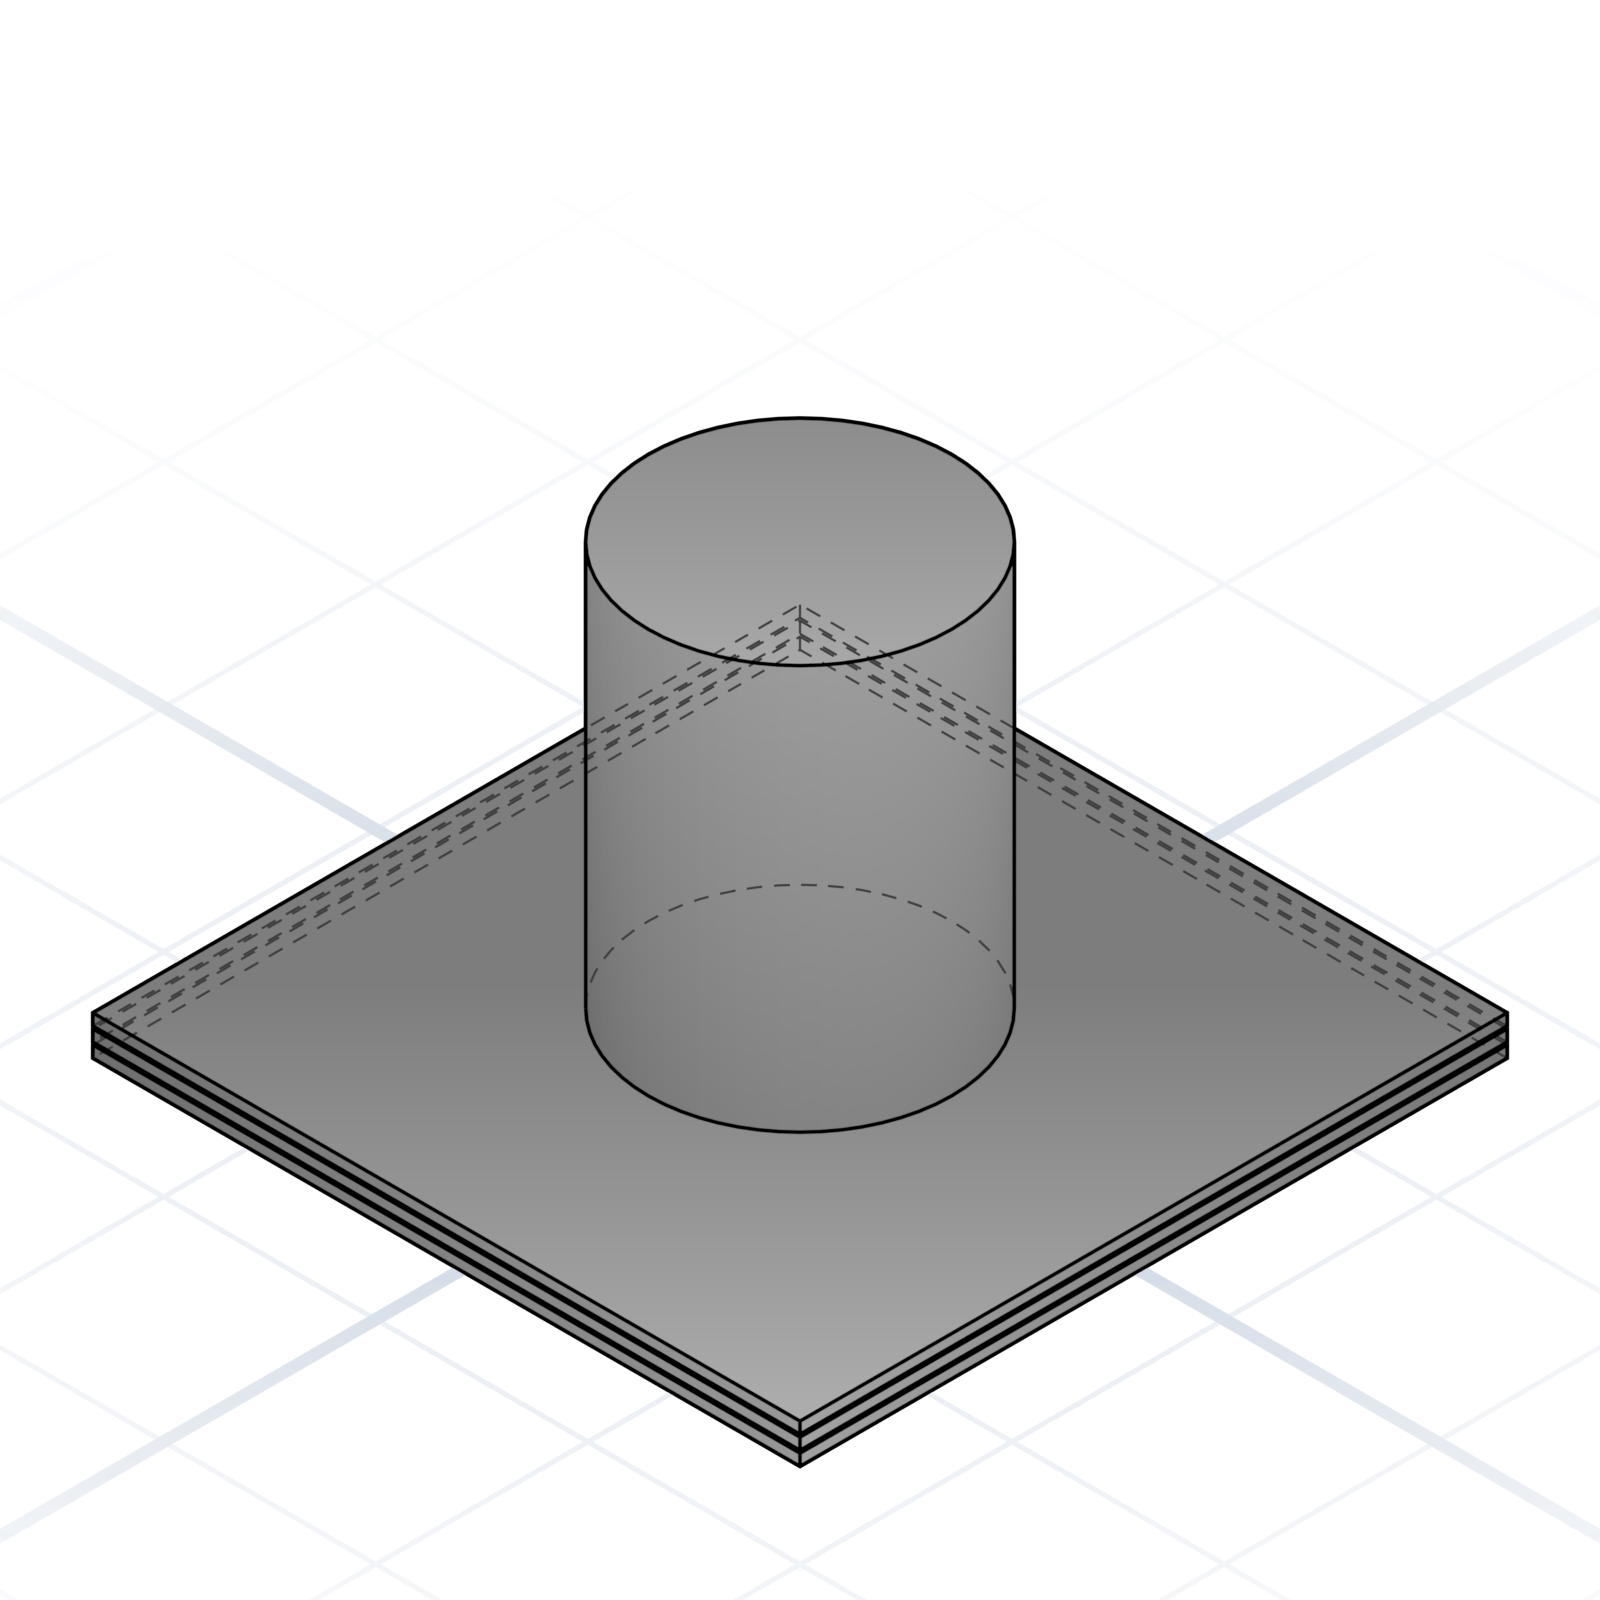
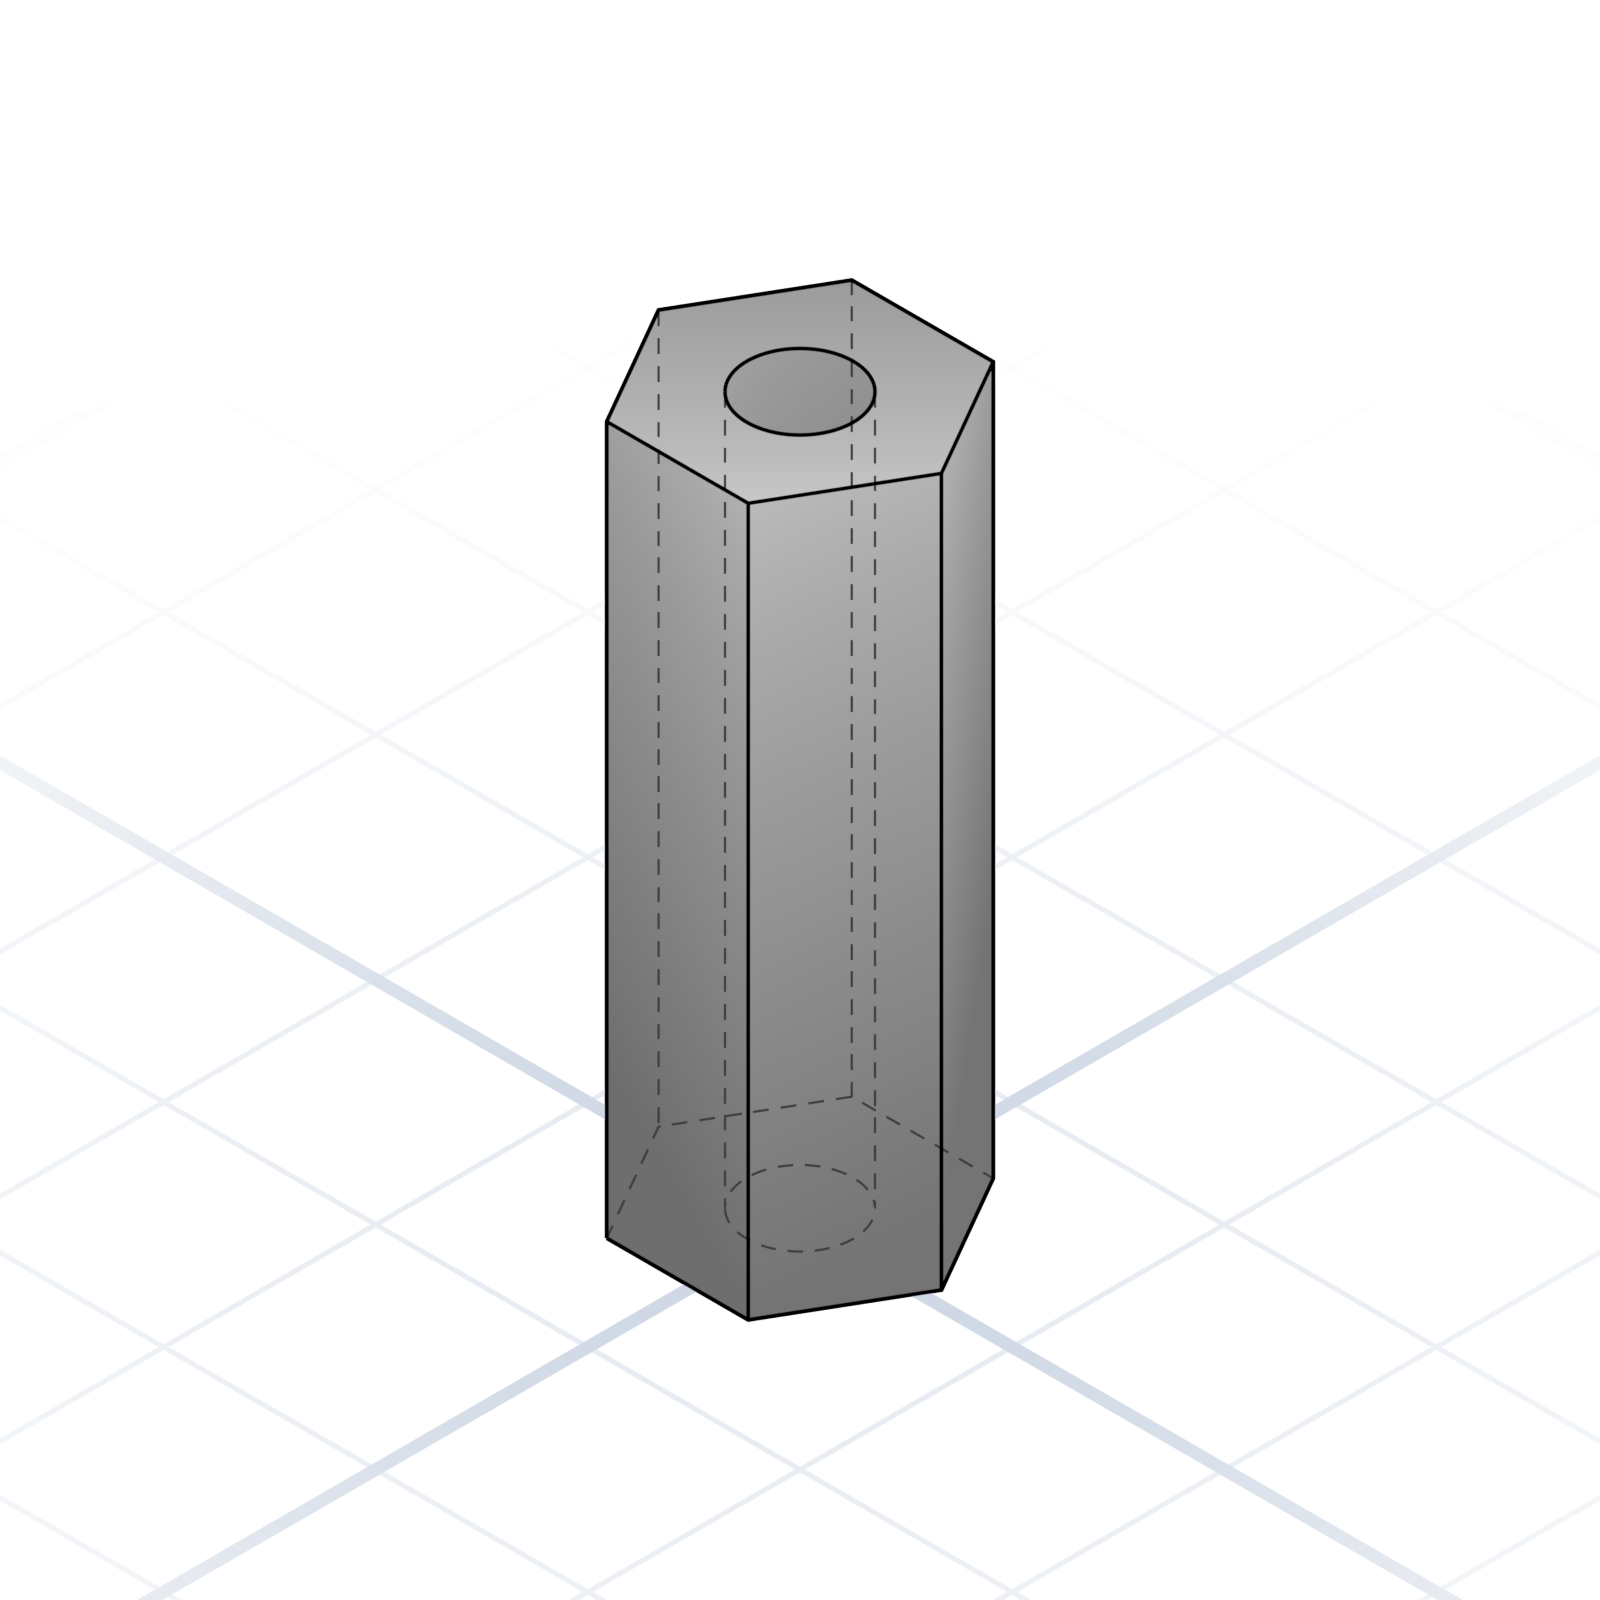
Boss
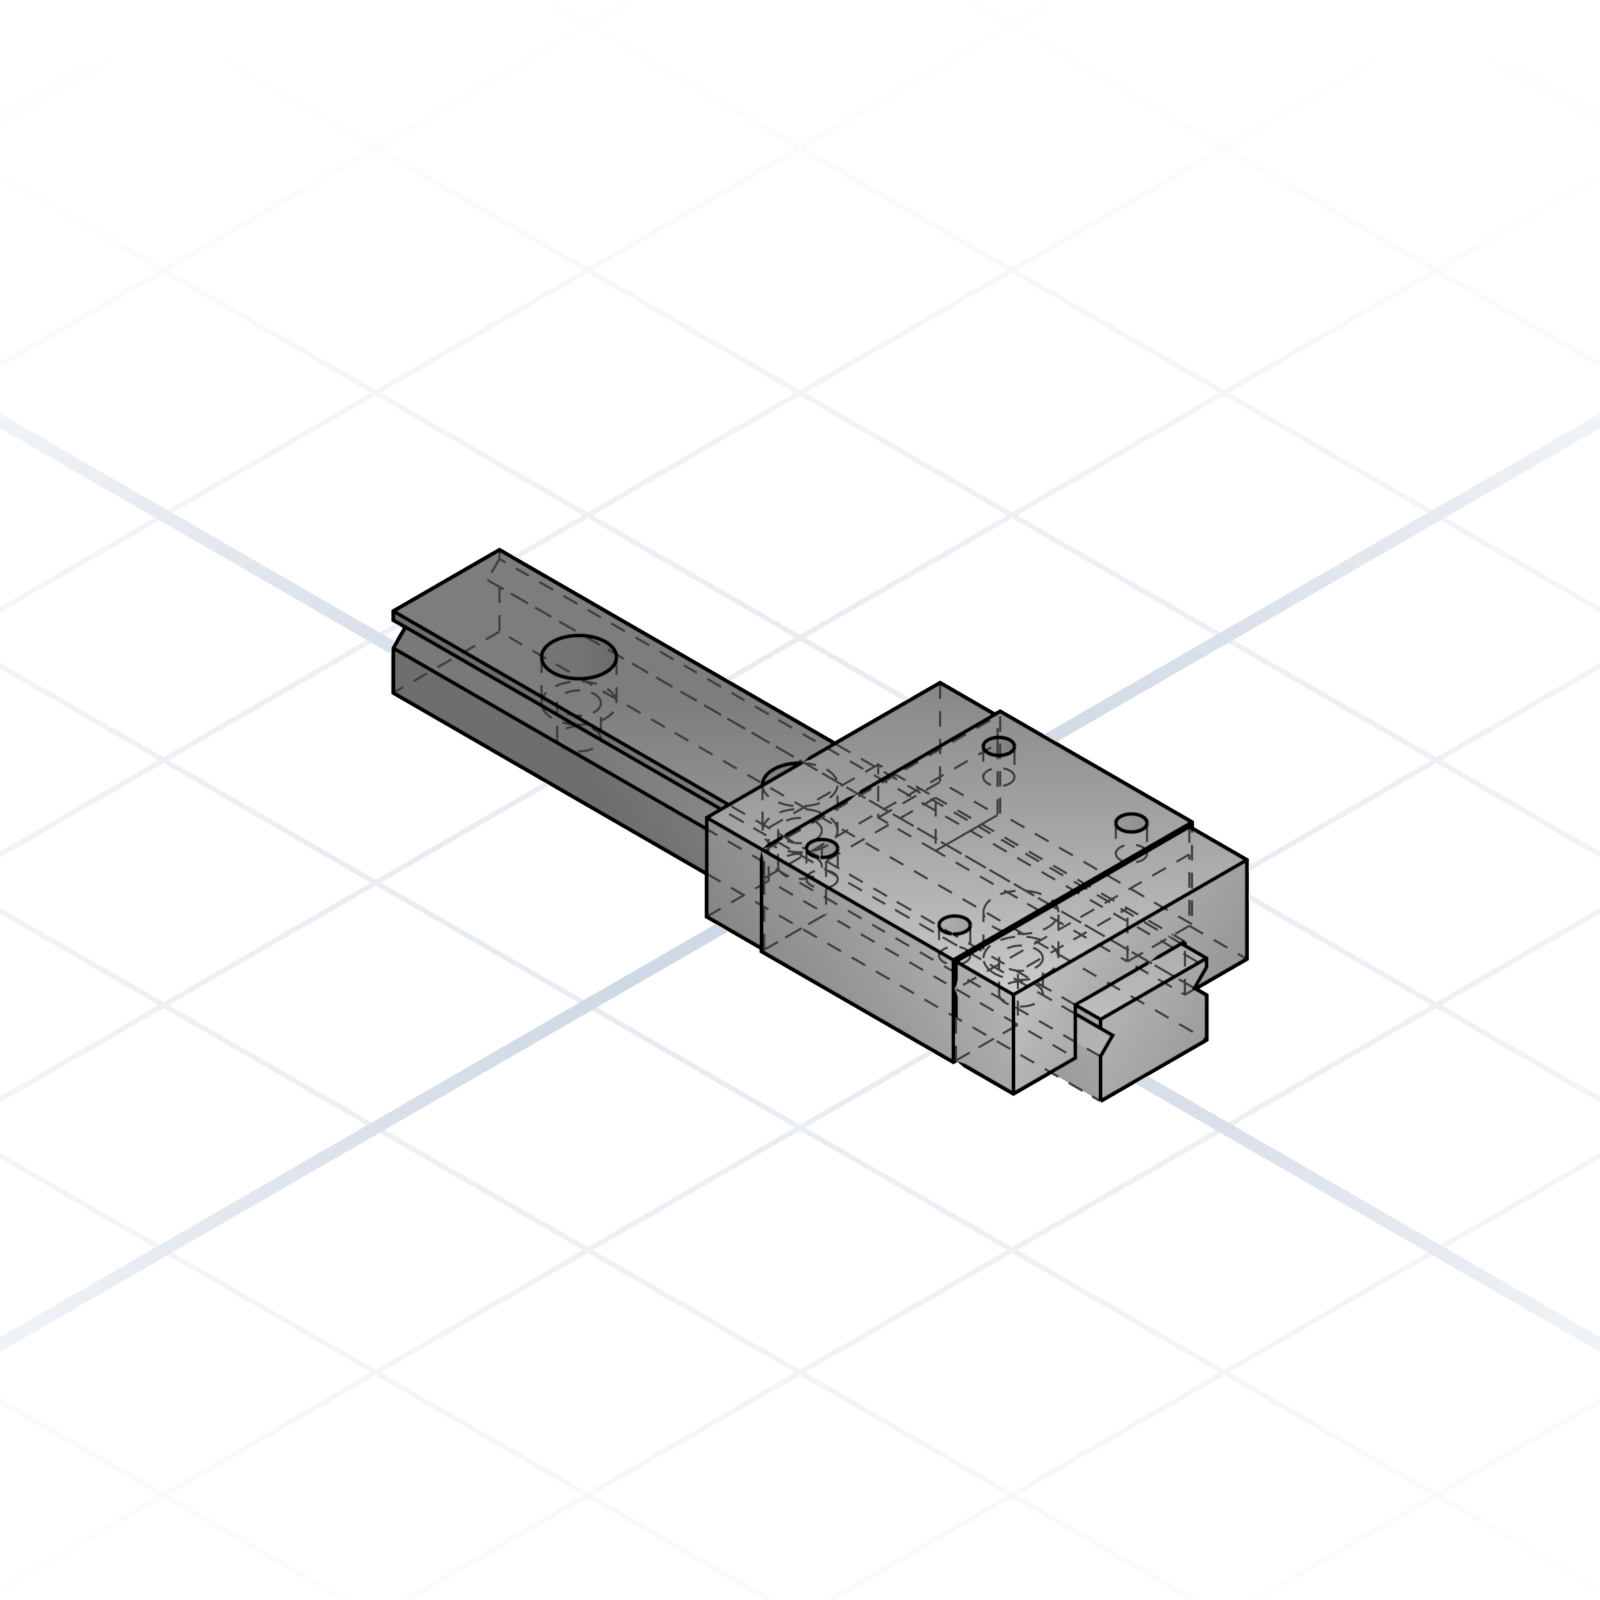
Cylindrical protrusion with a hole, usually for a screw or heat-set insert. The "where parts bolt together" feature.
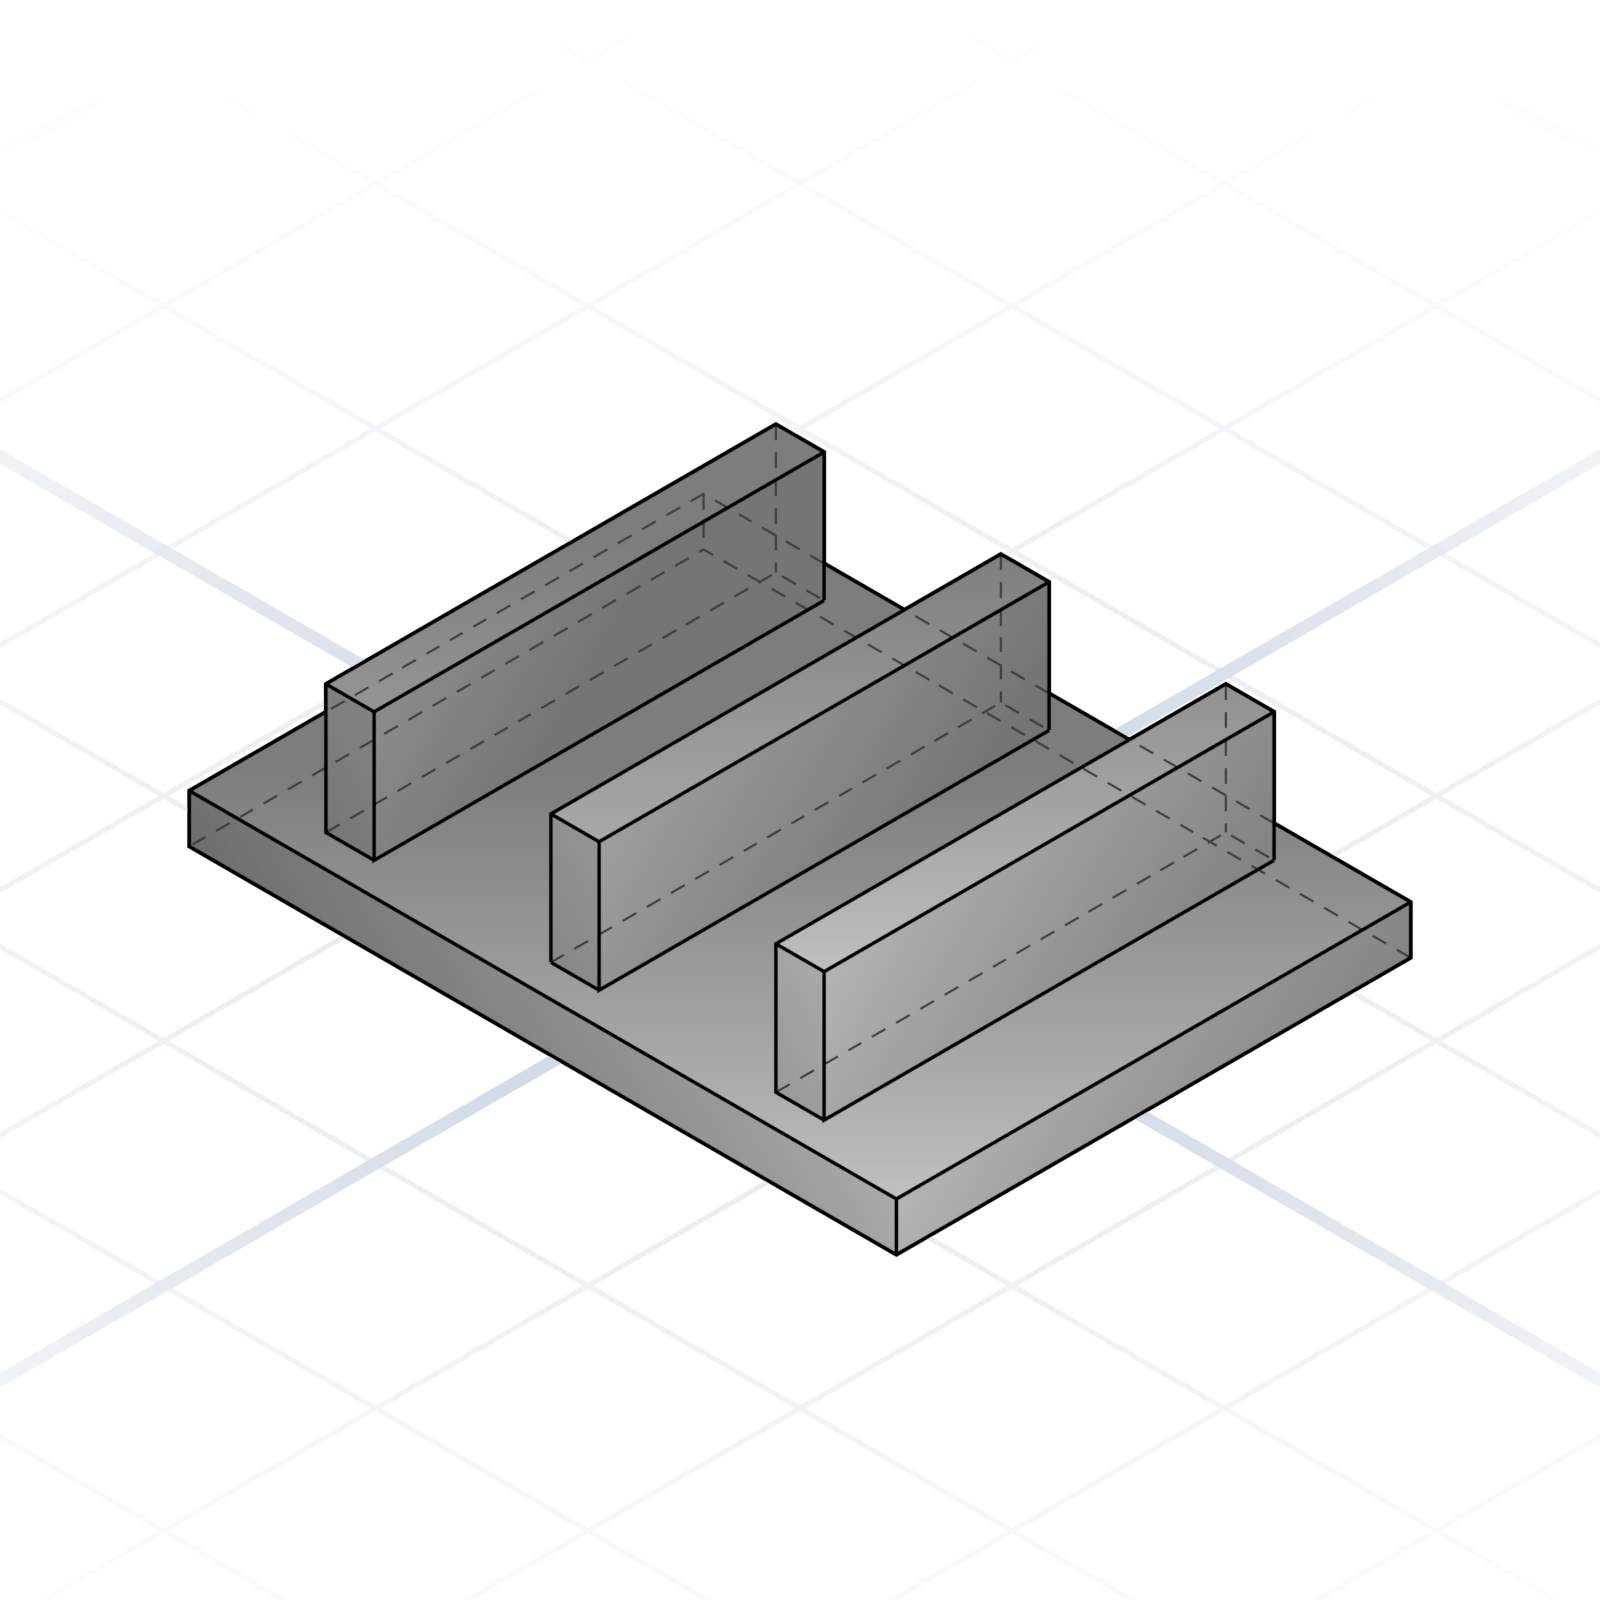
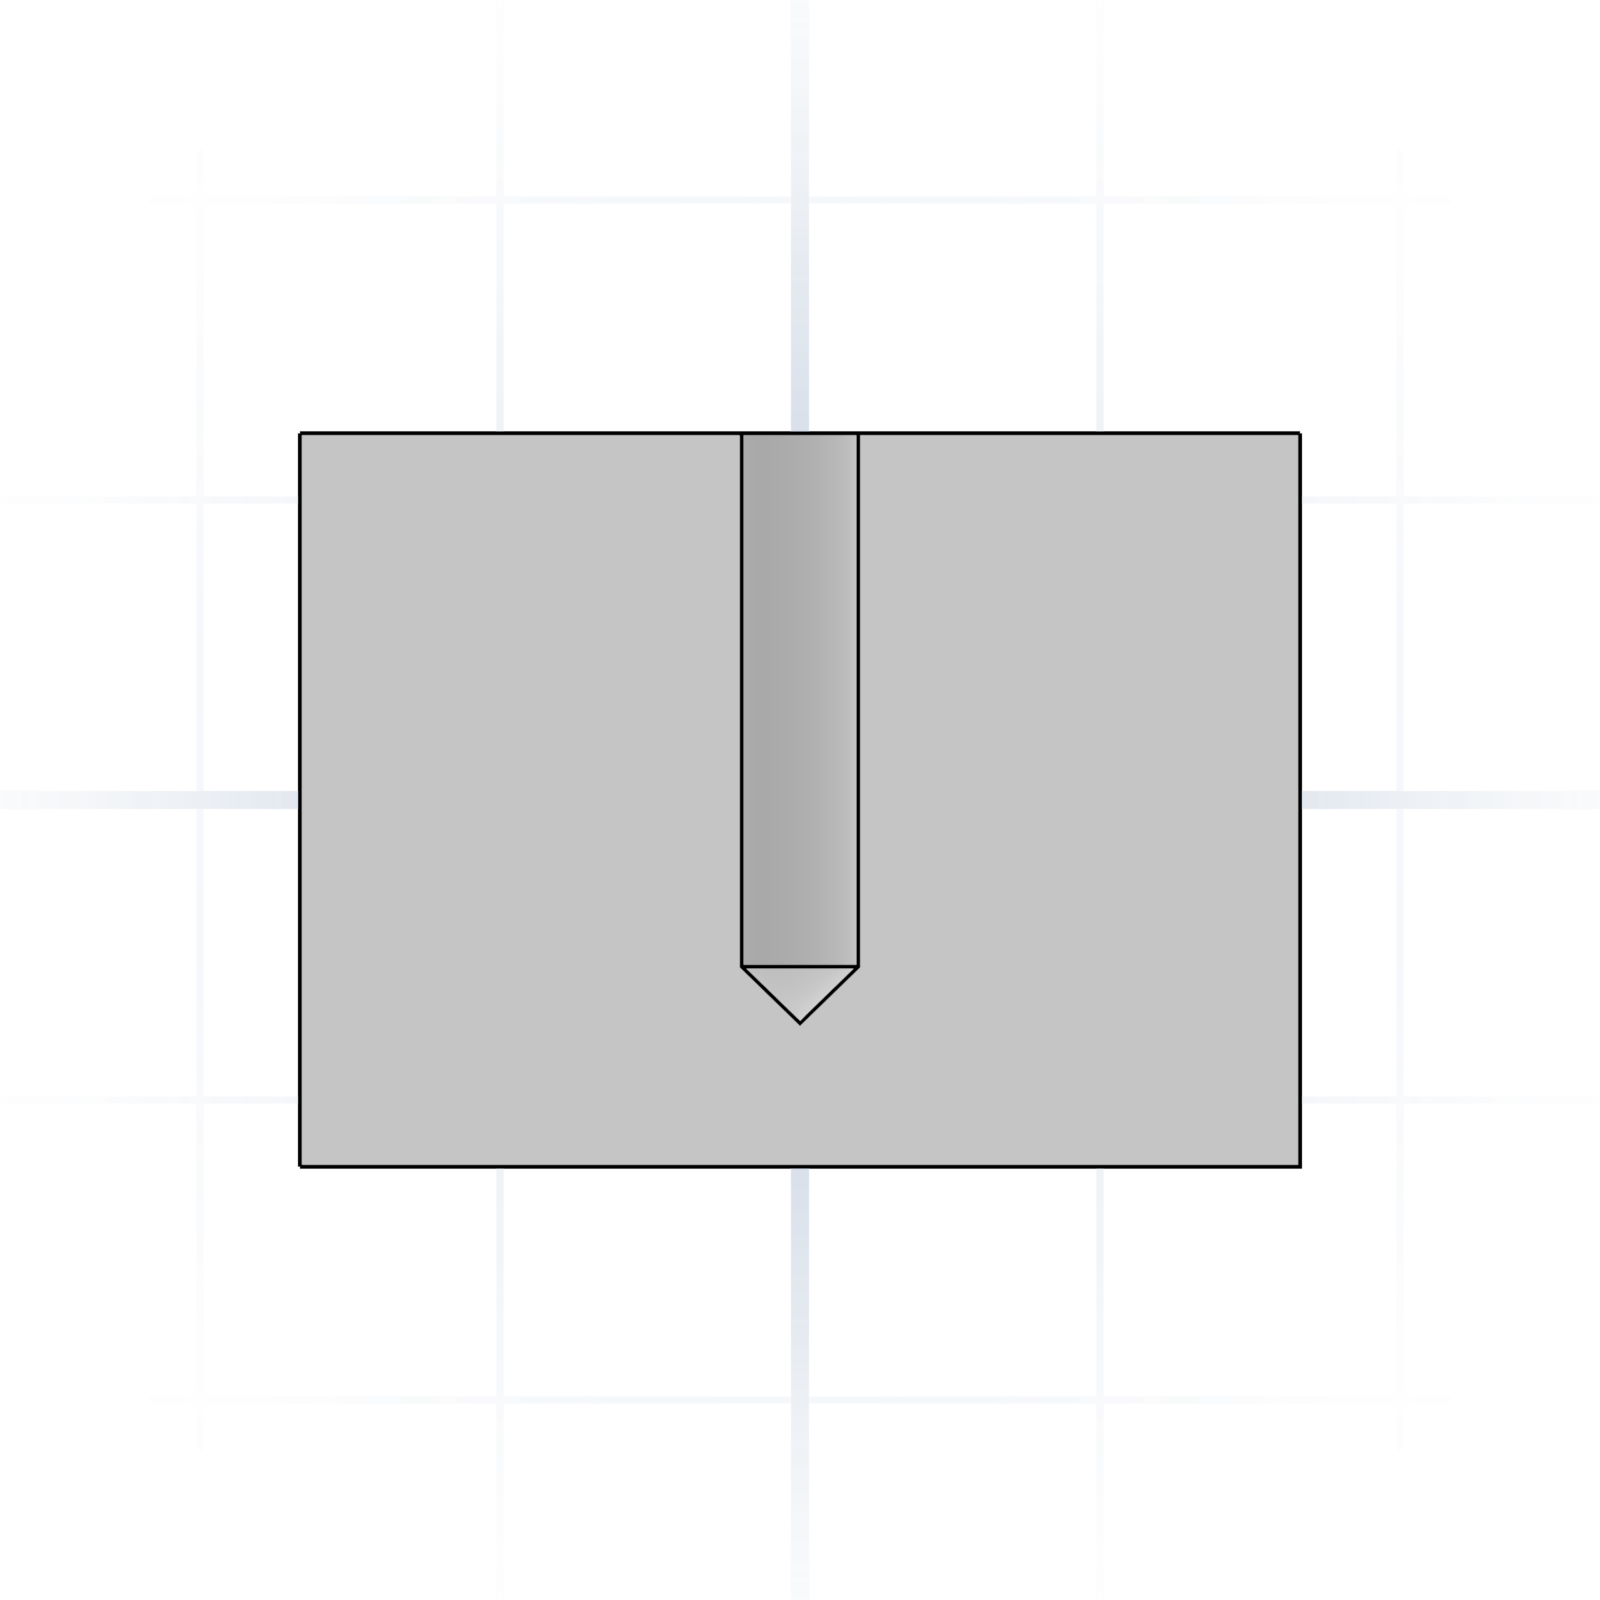
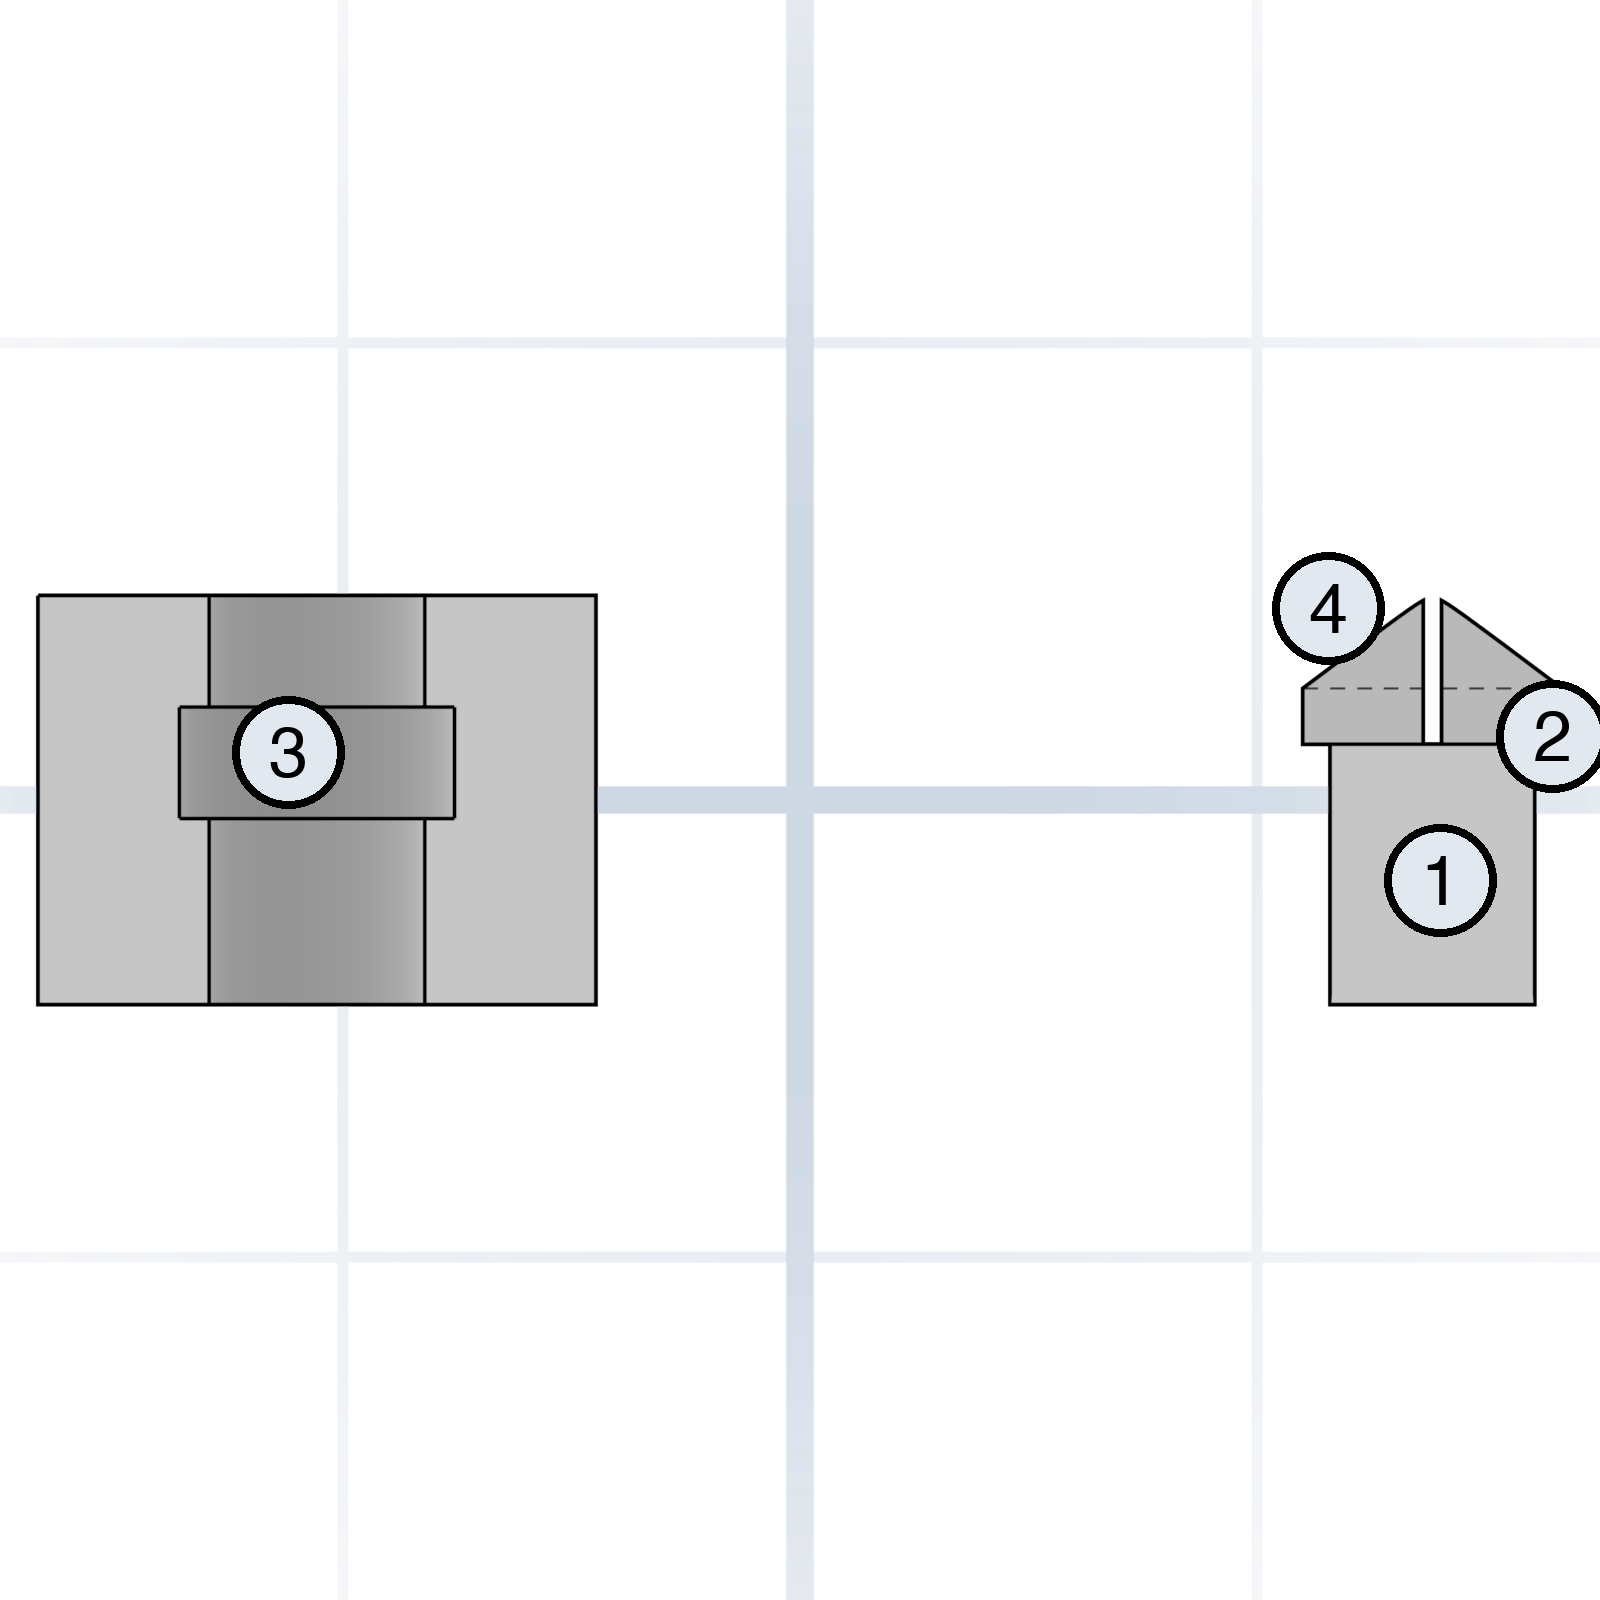
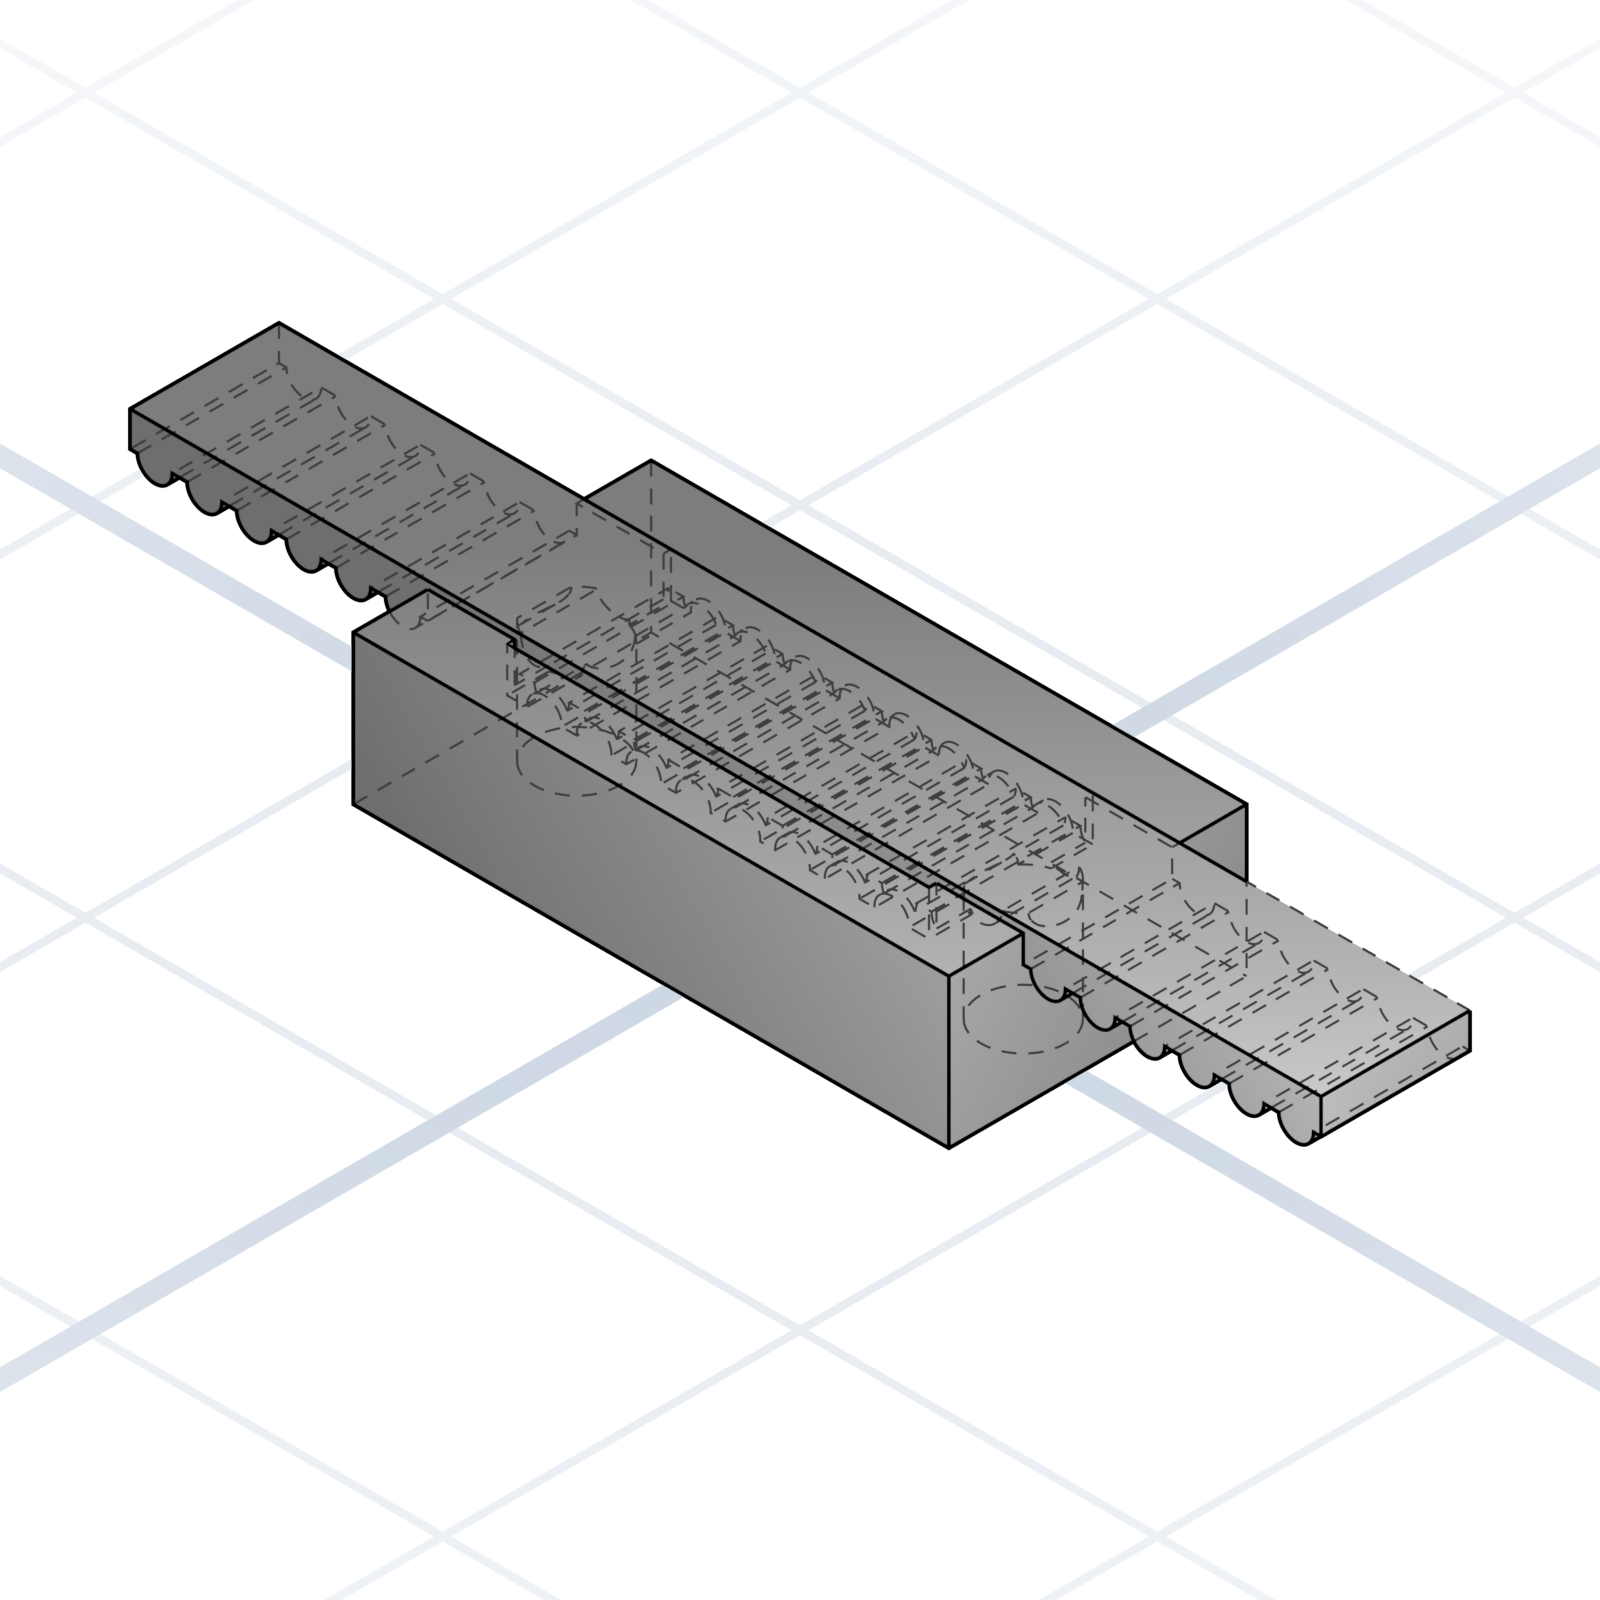
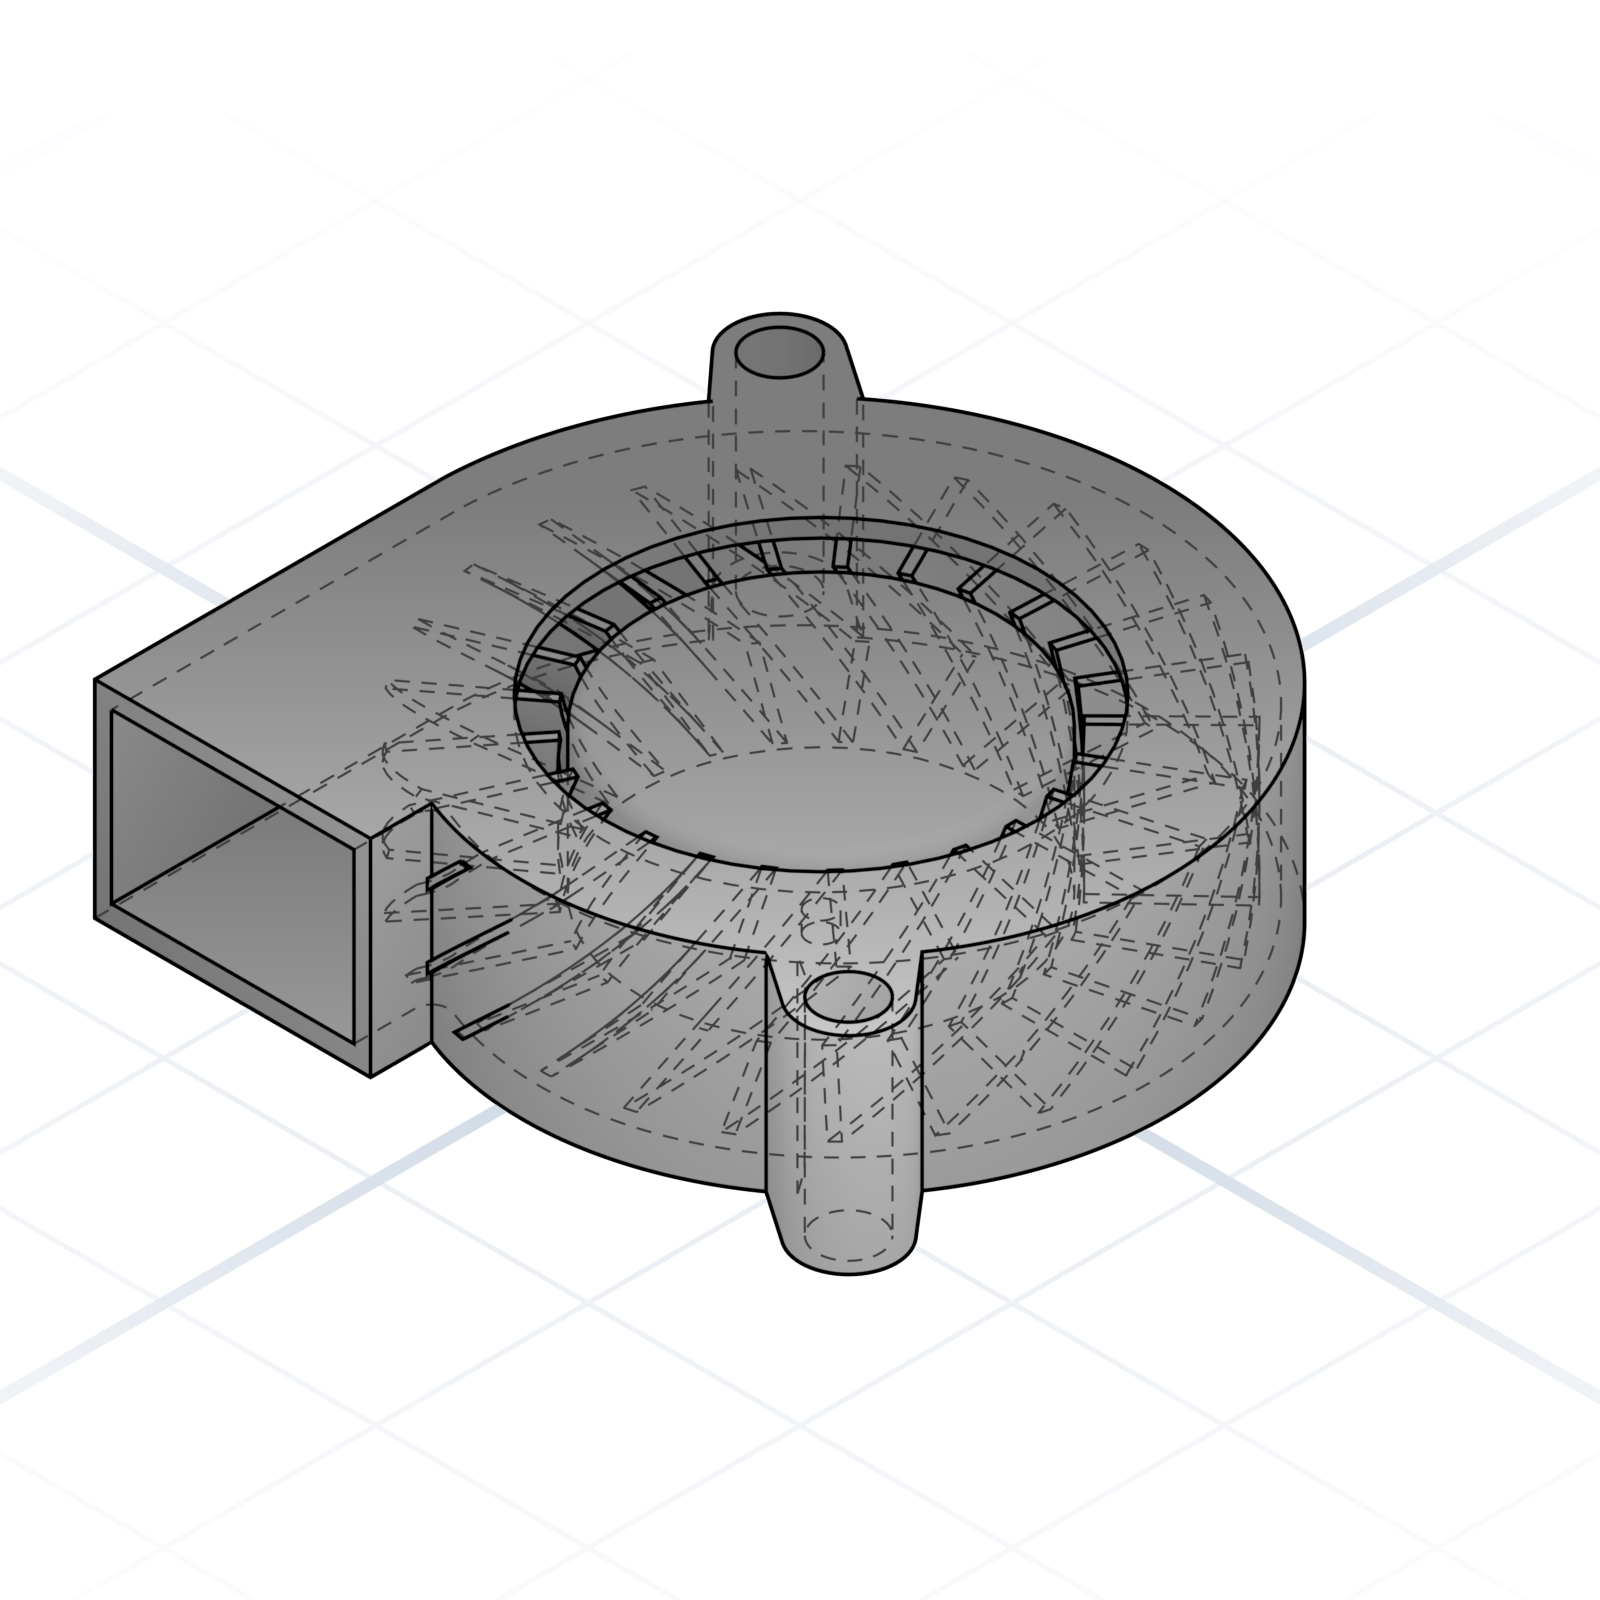
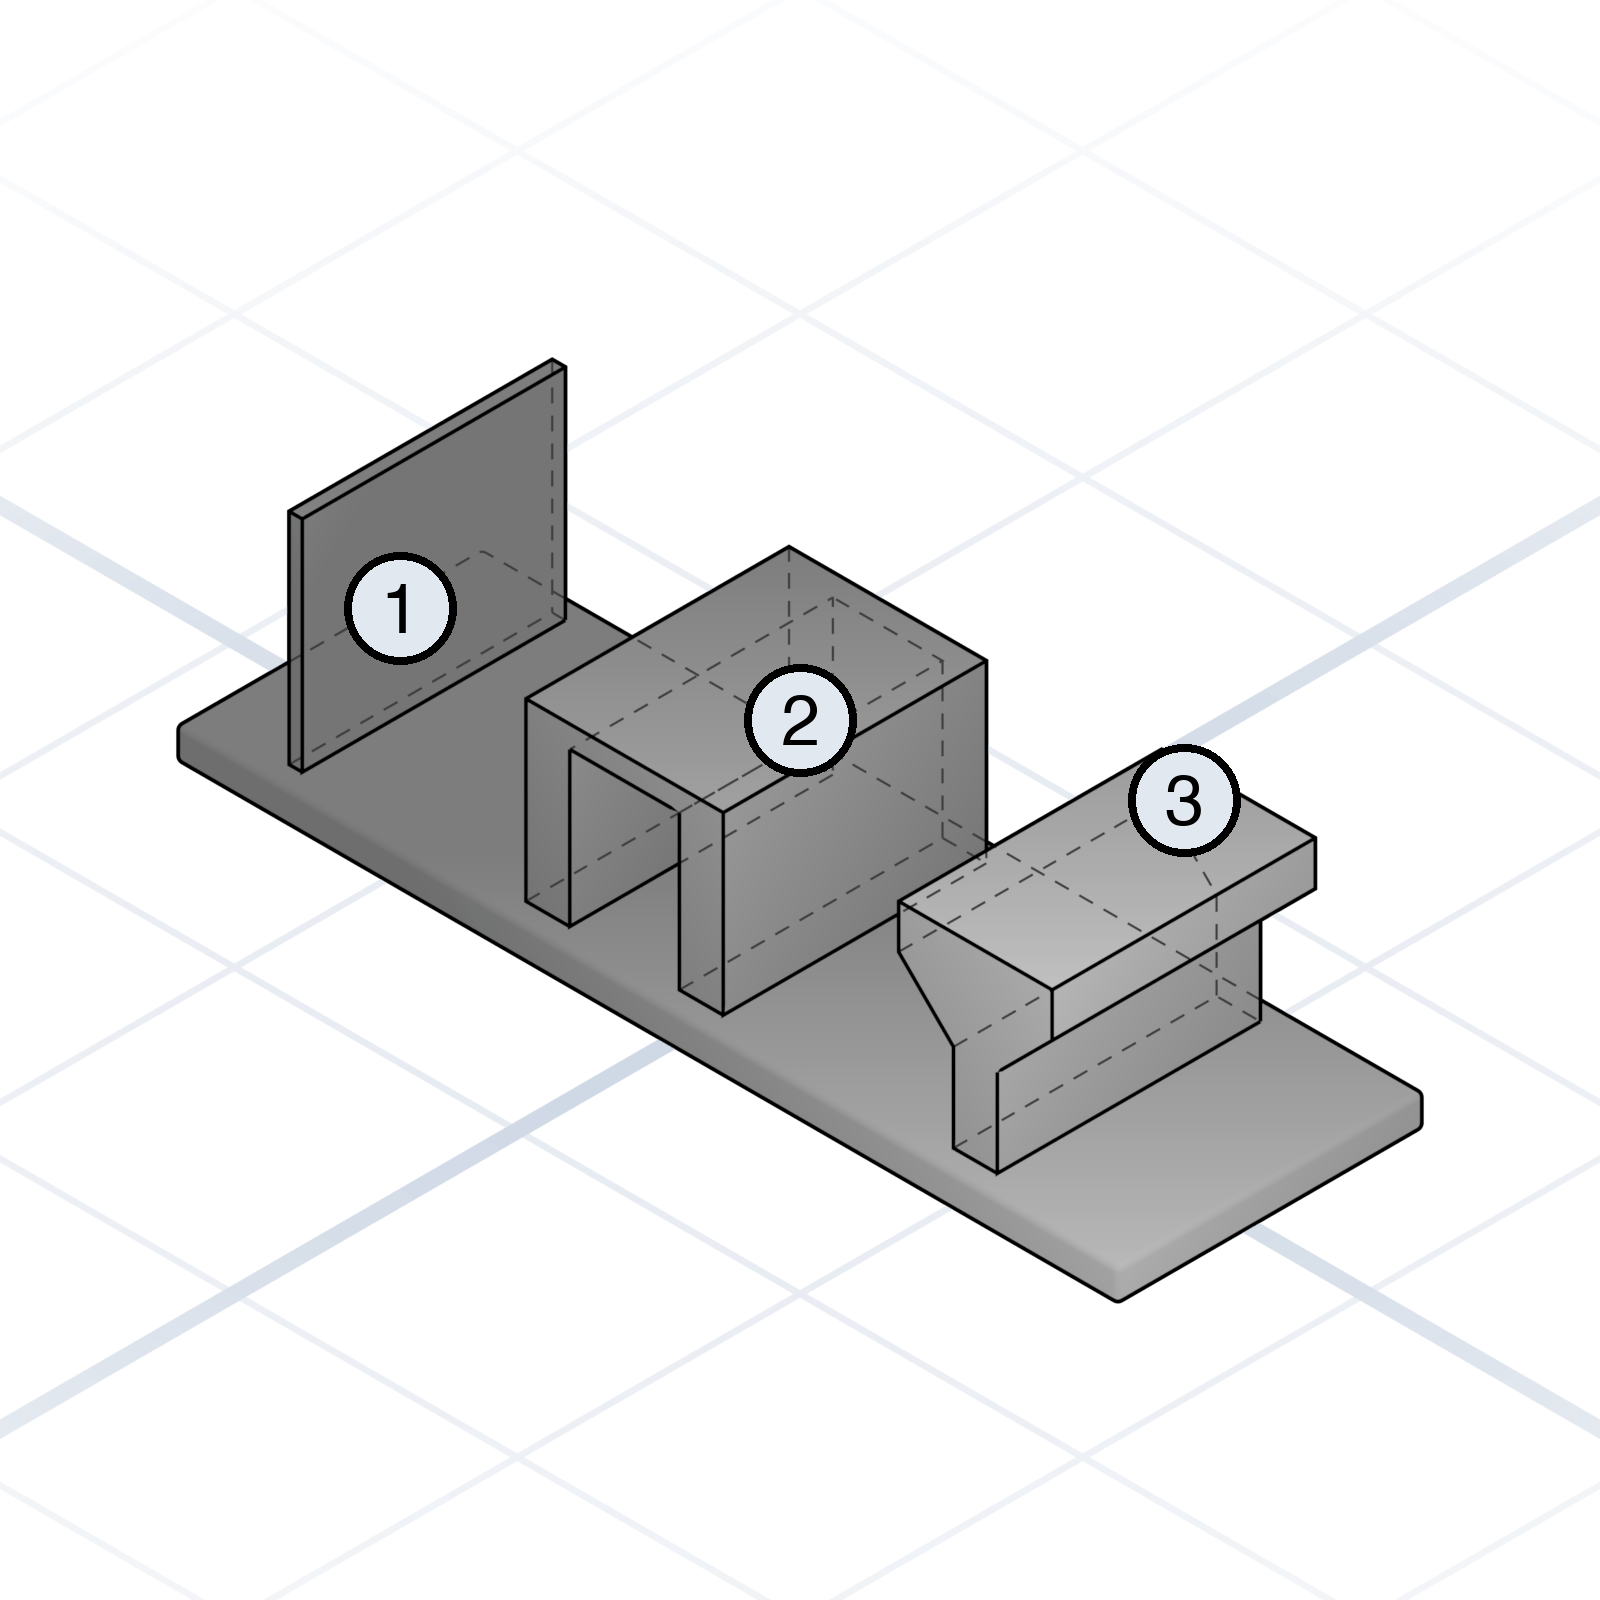
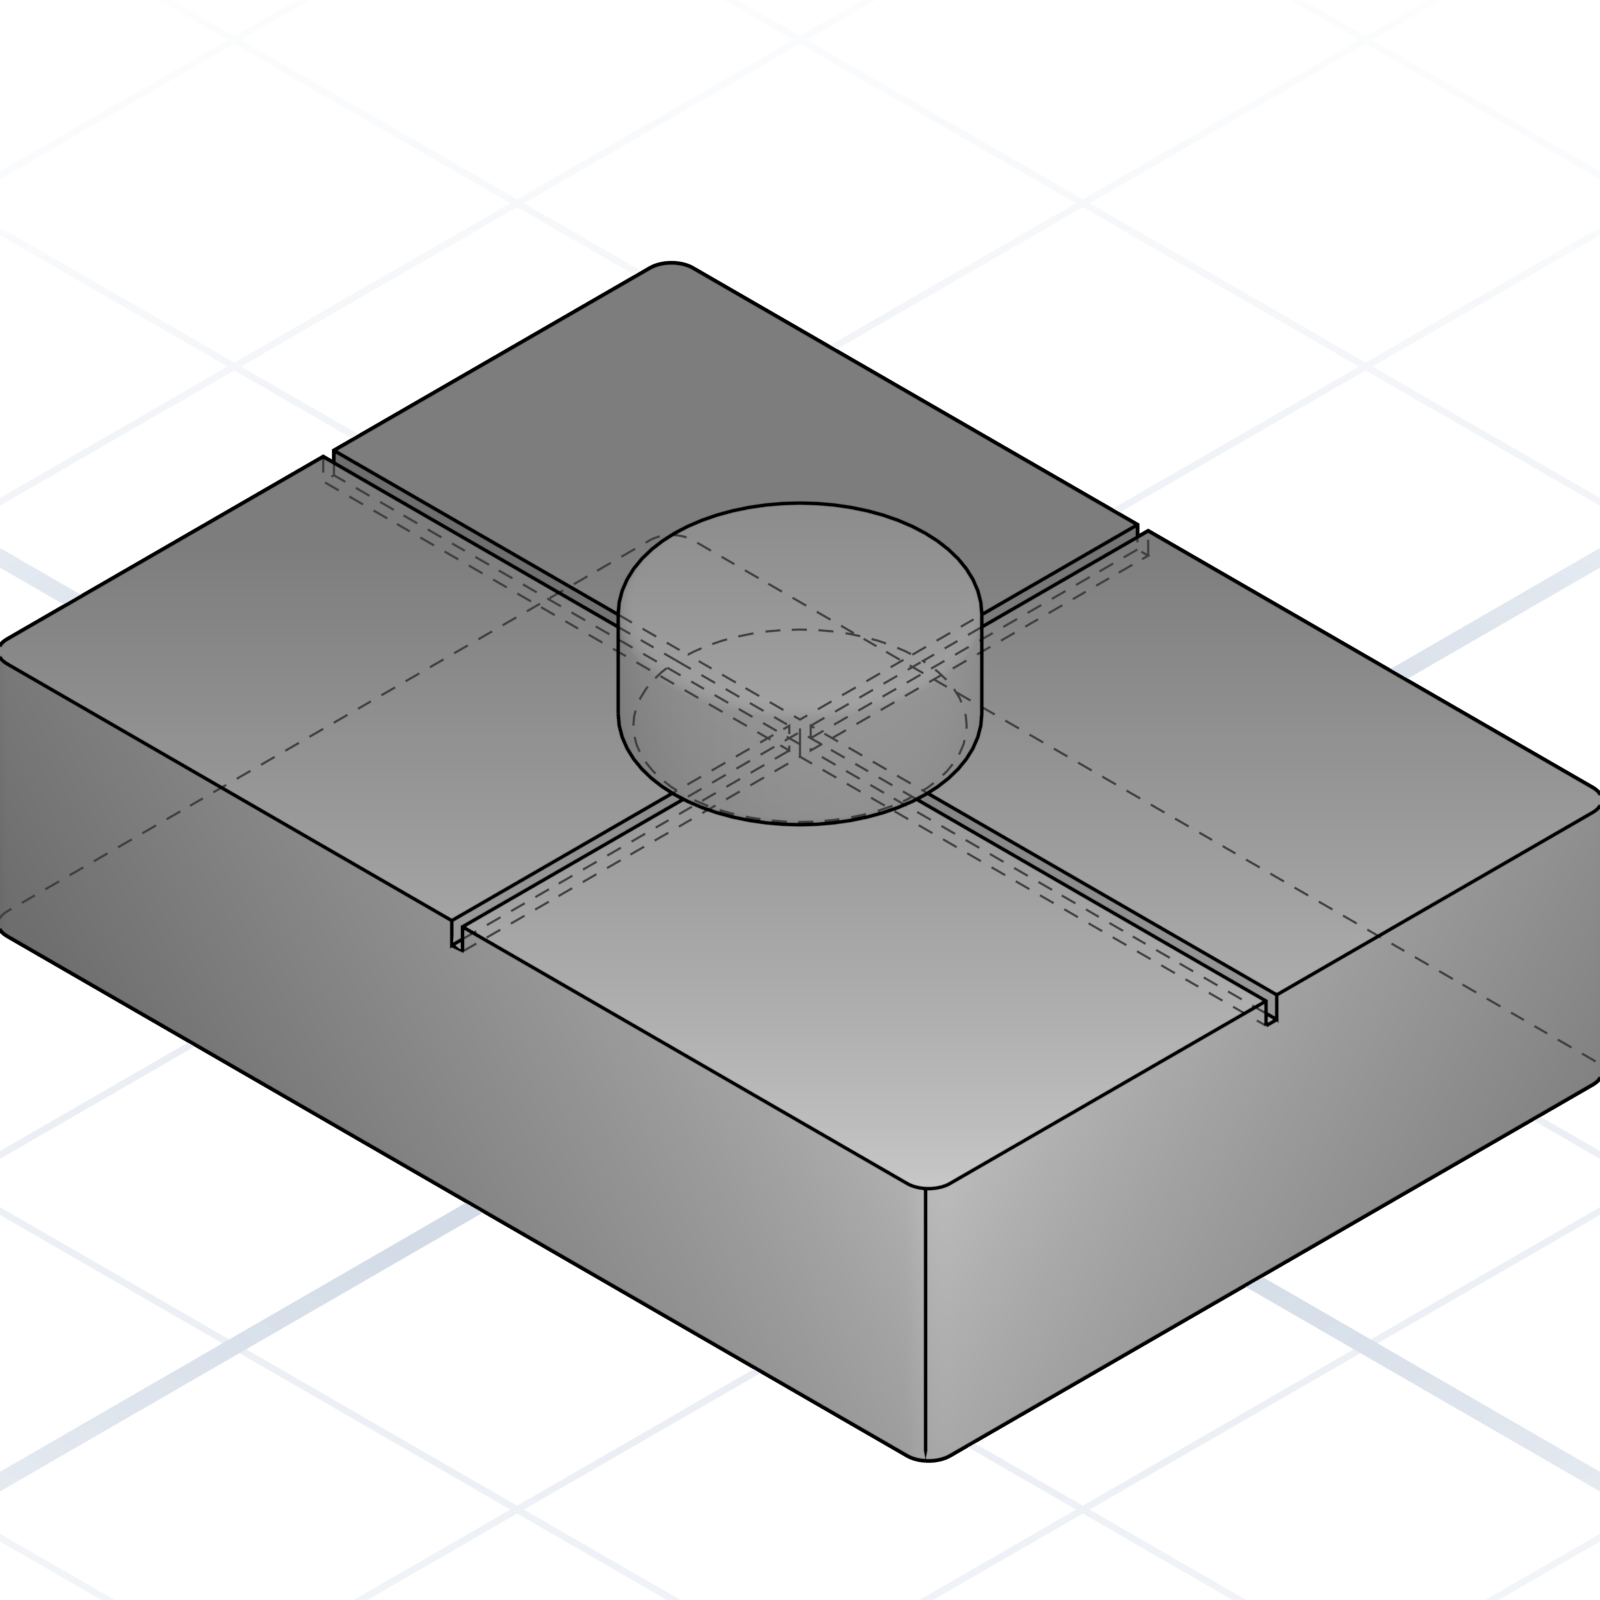
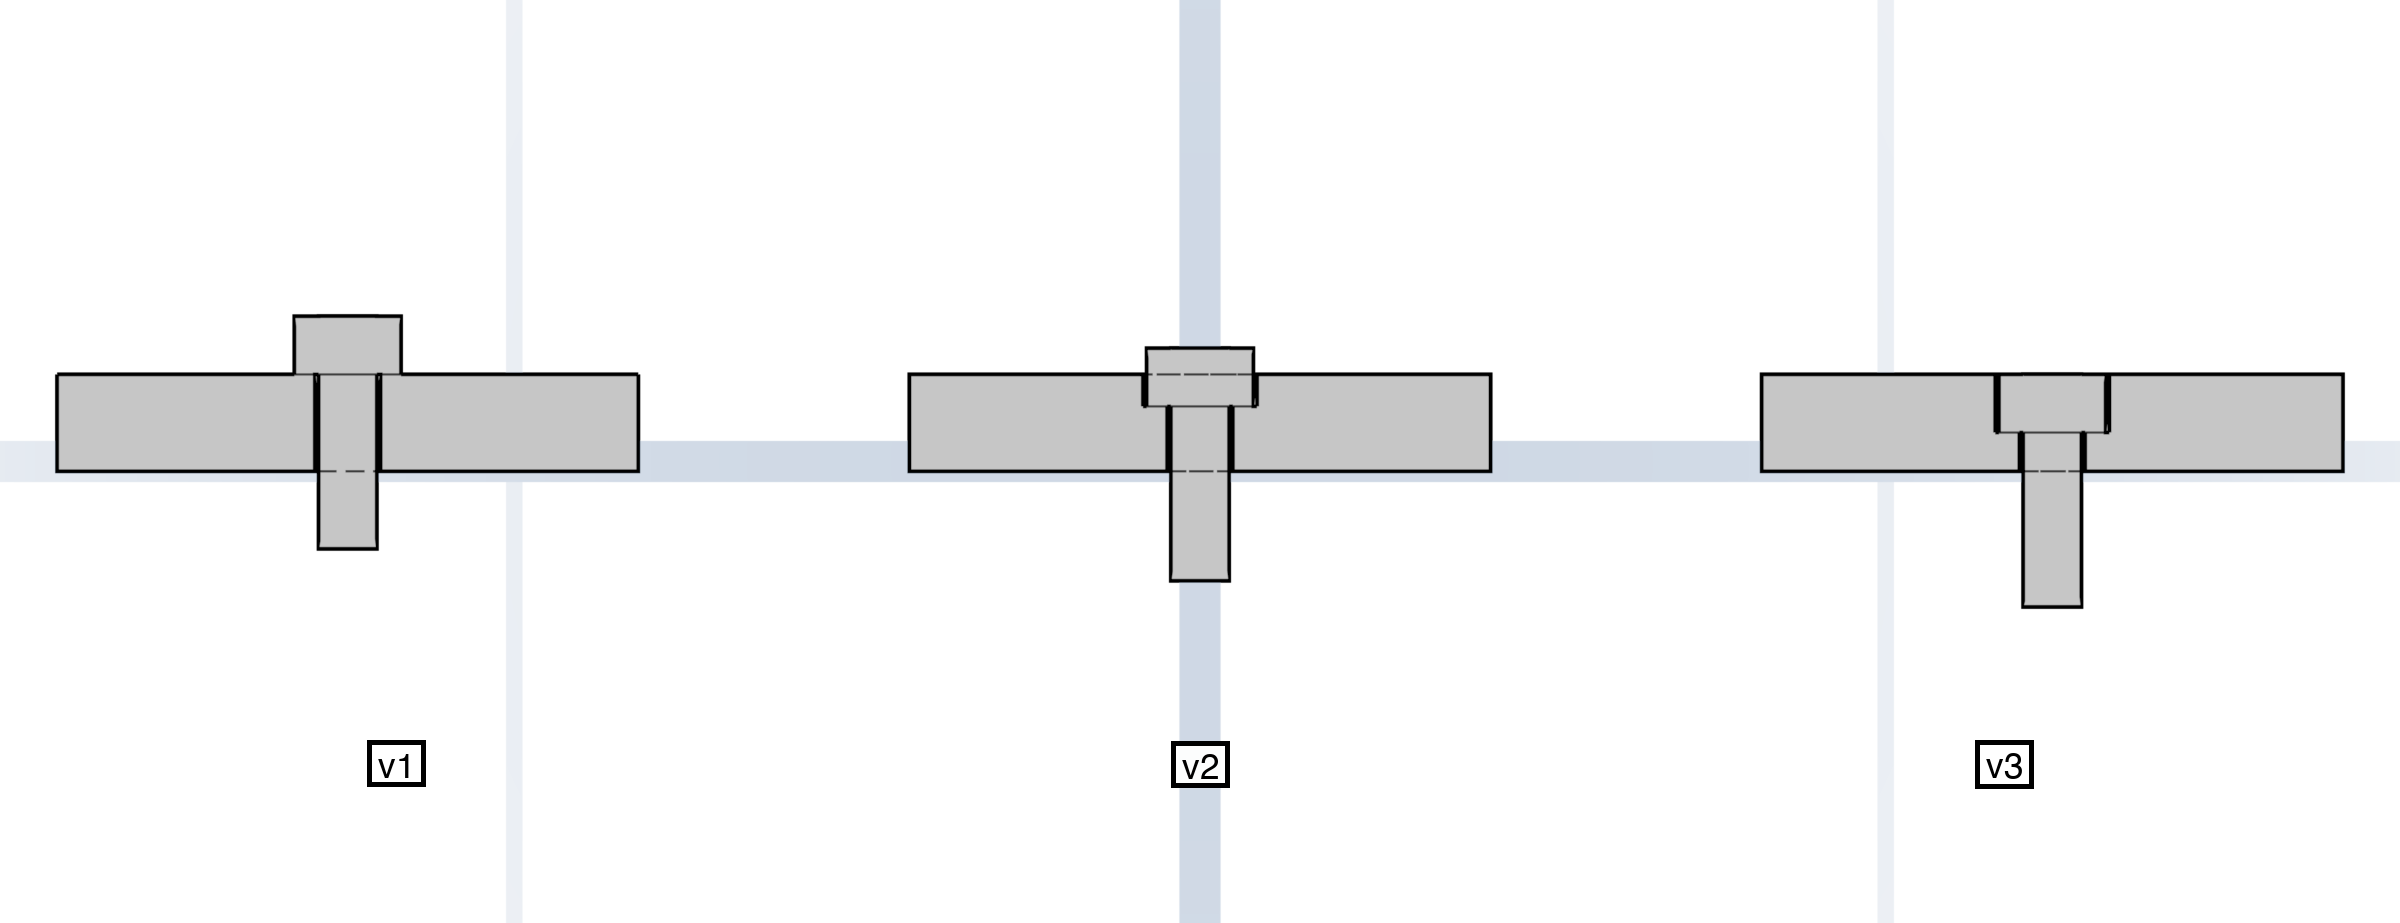
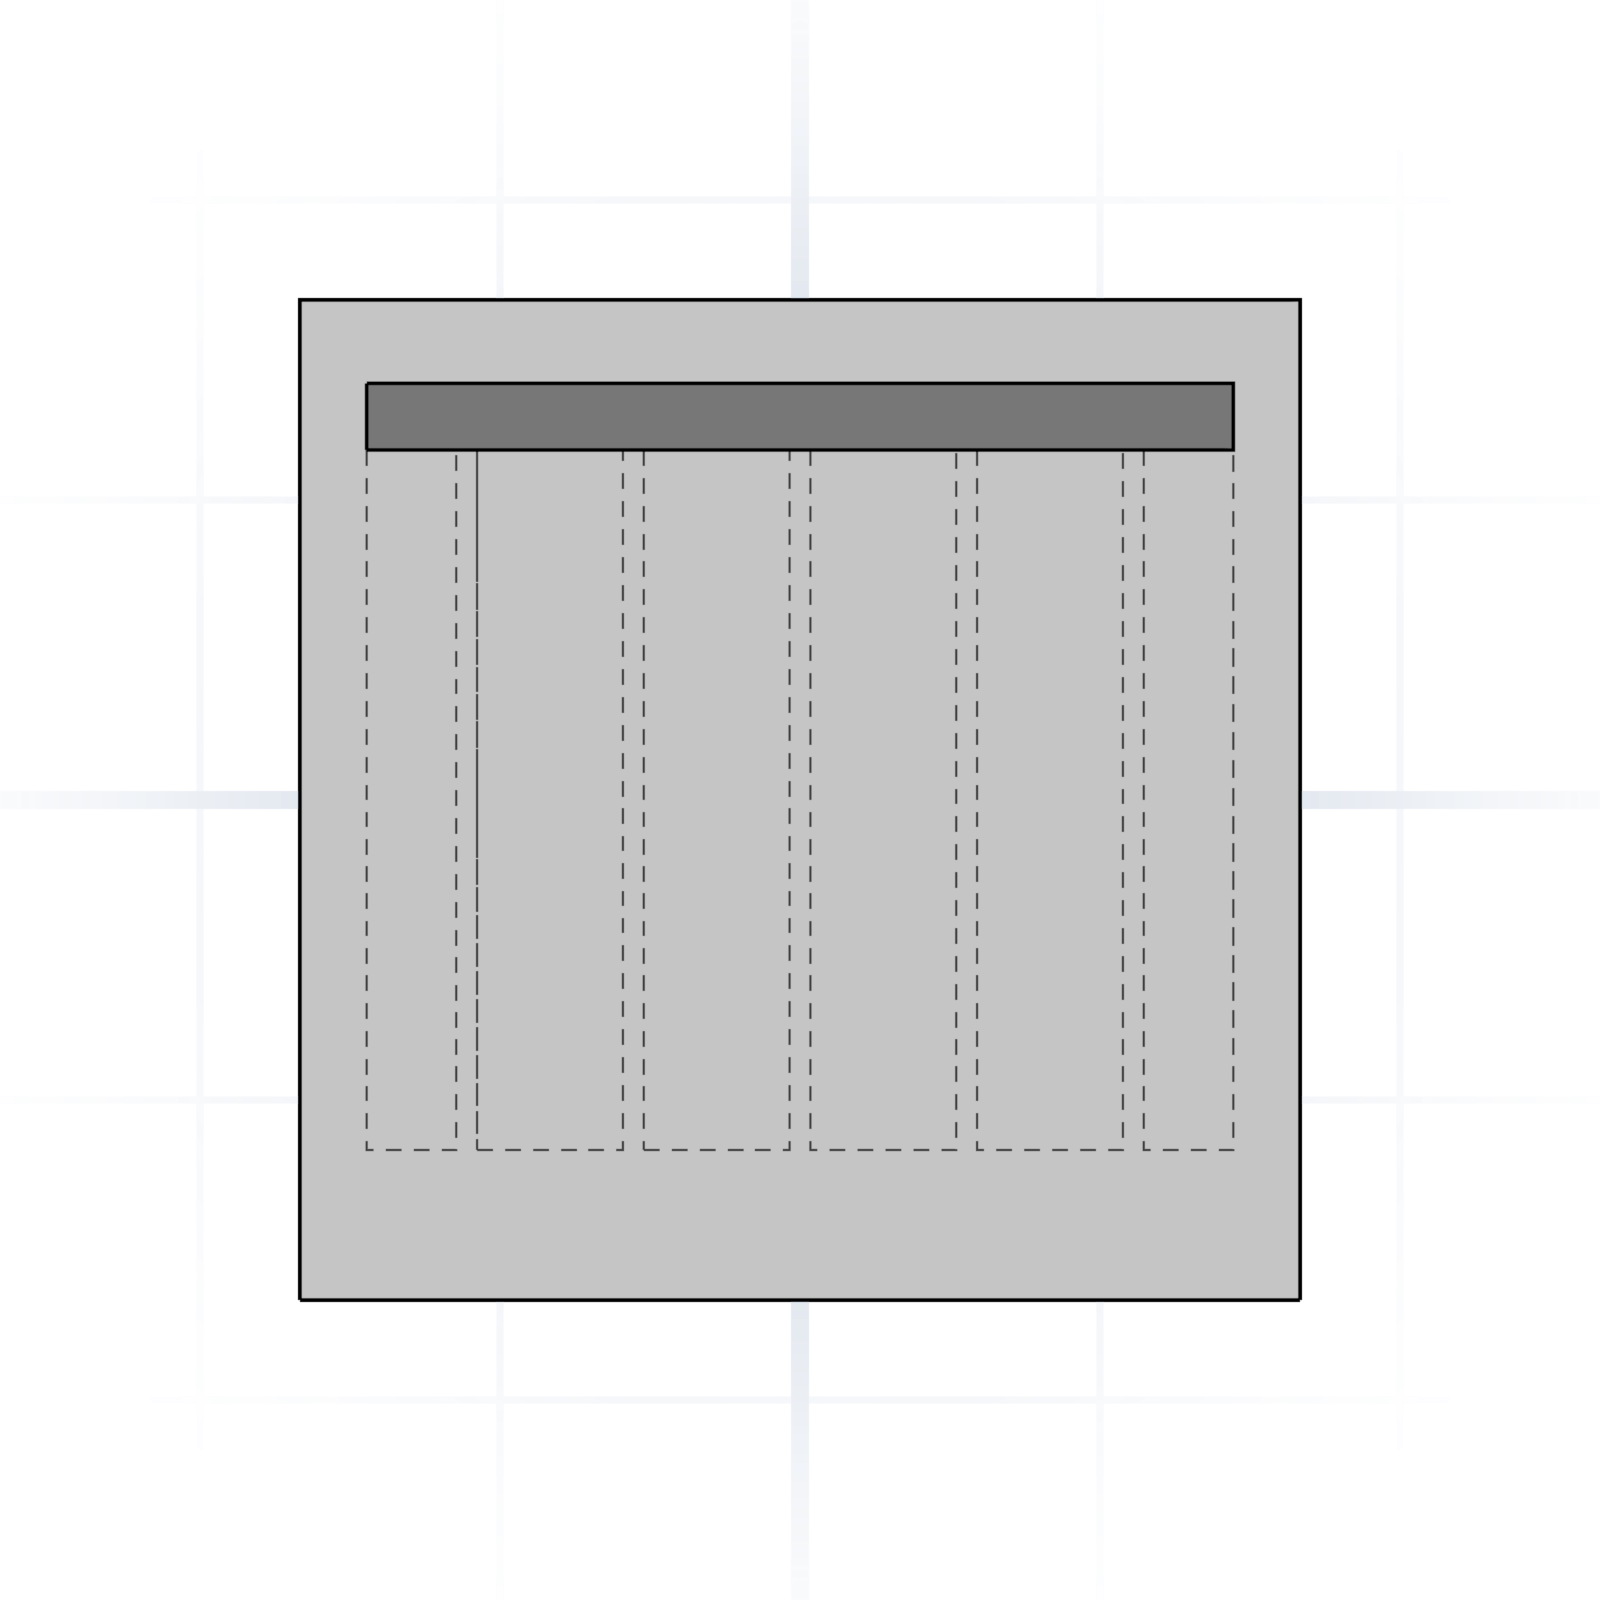
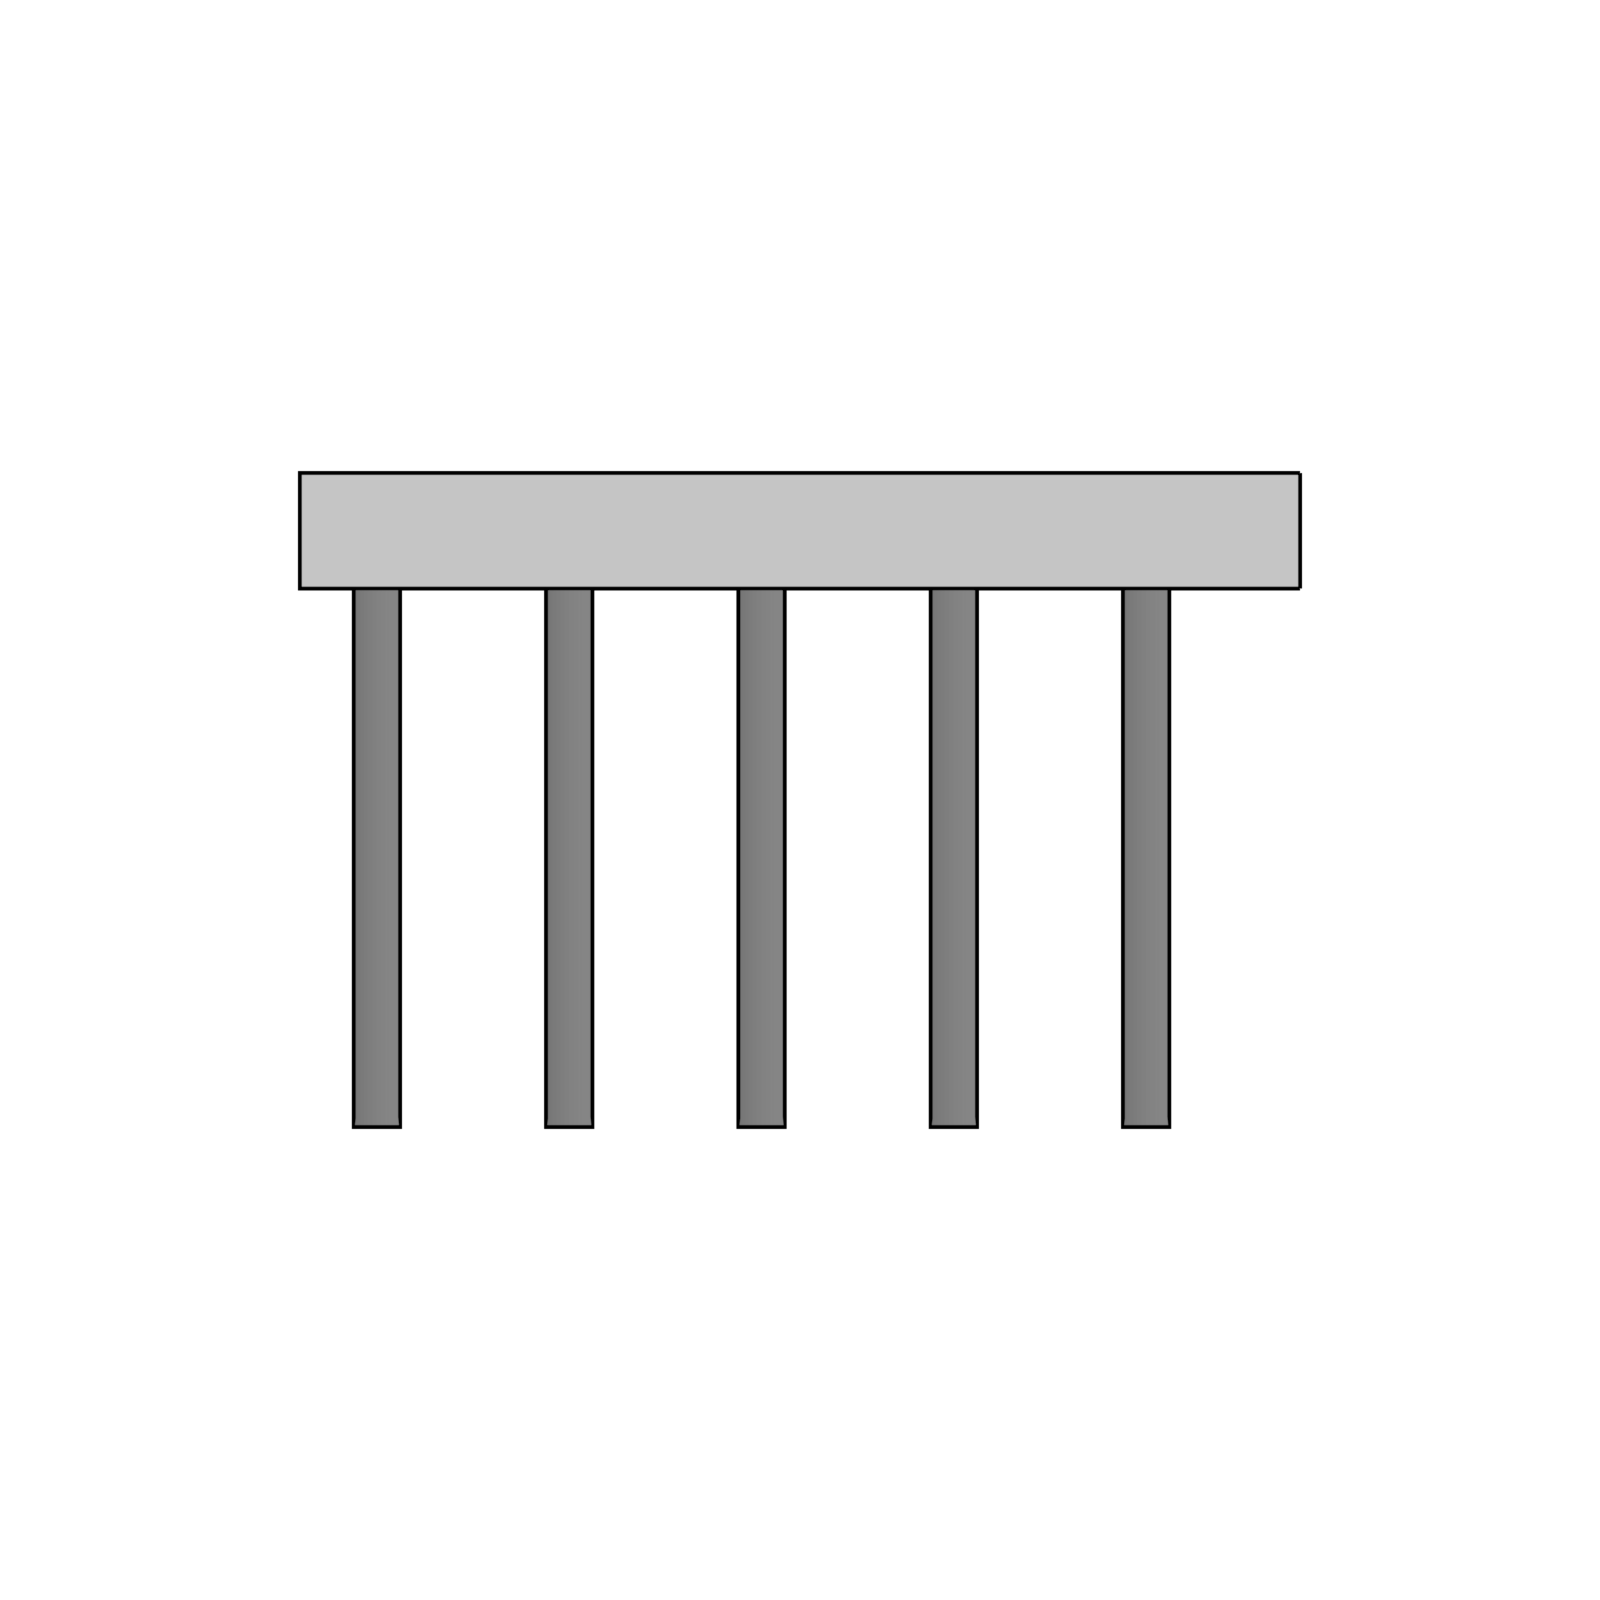
Rib
A thin reinforcing fin running along a surface. Stops a flat plate from flexing without doubling the wall thickness.
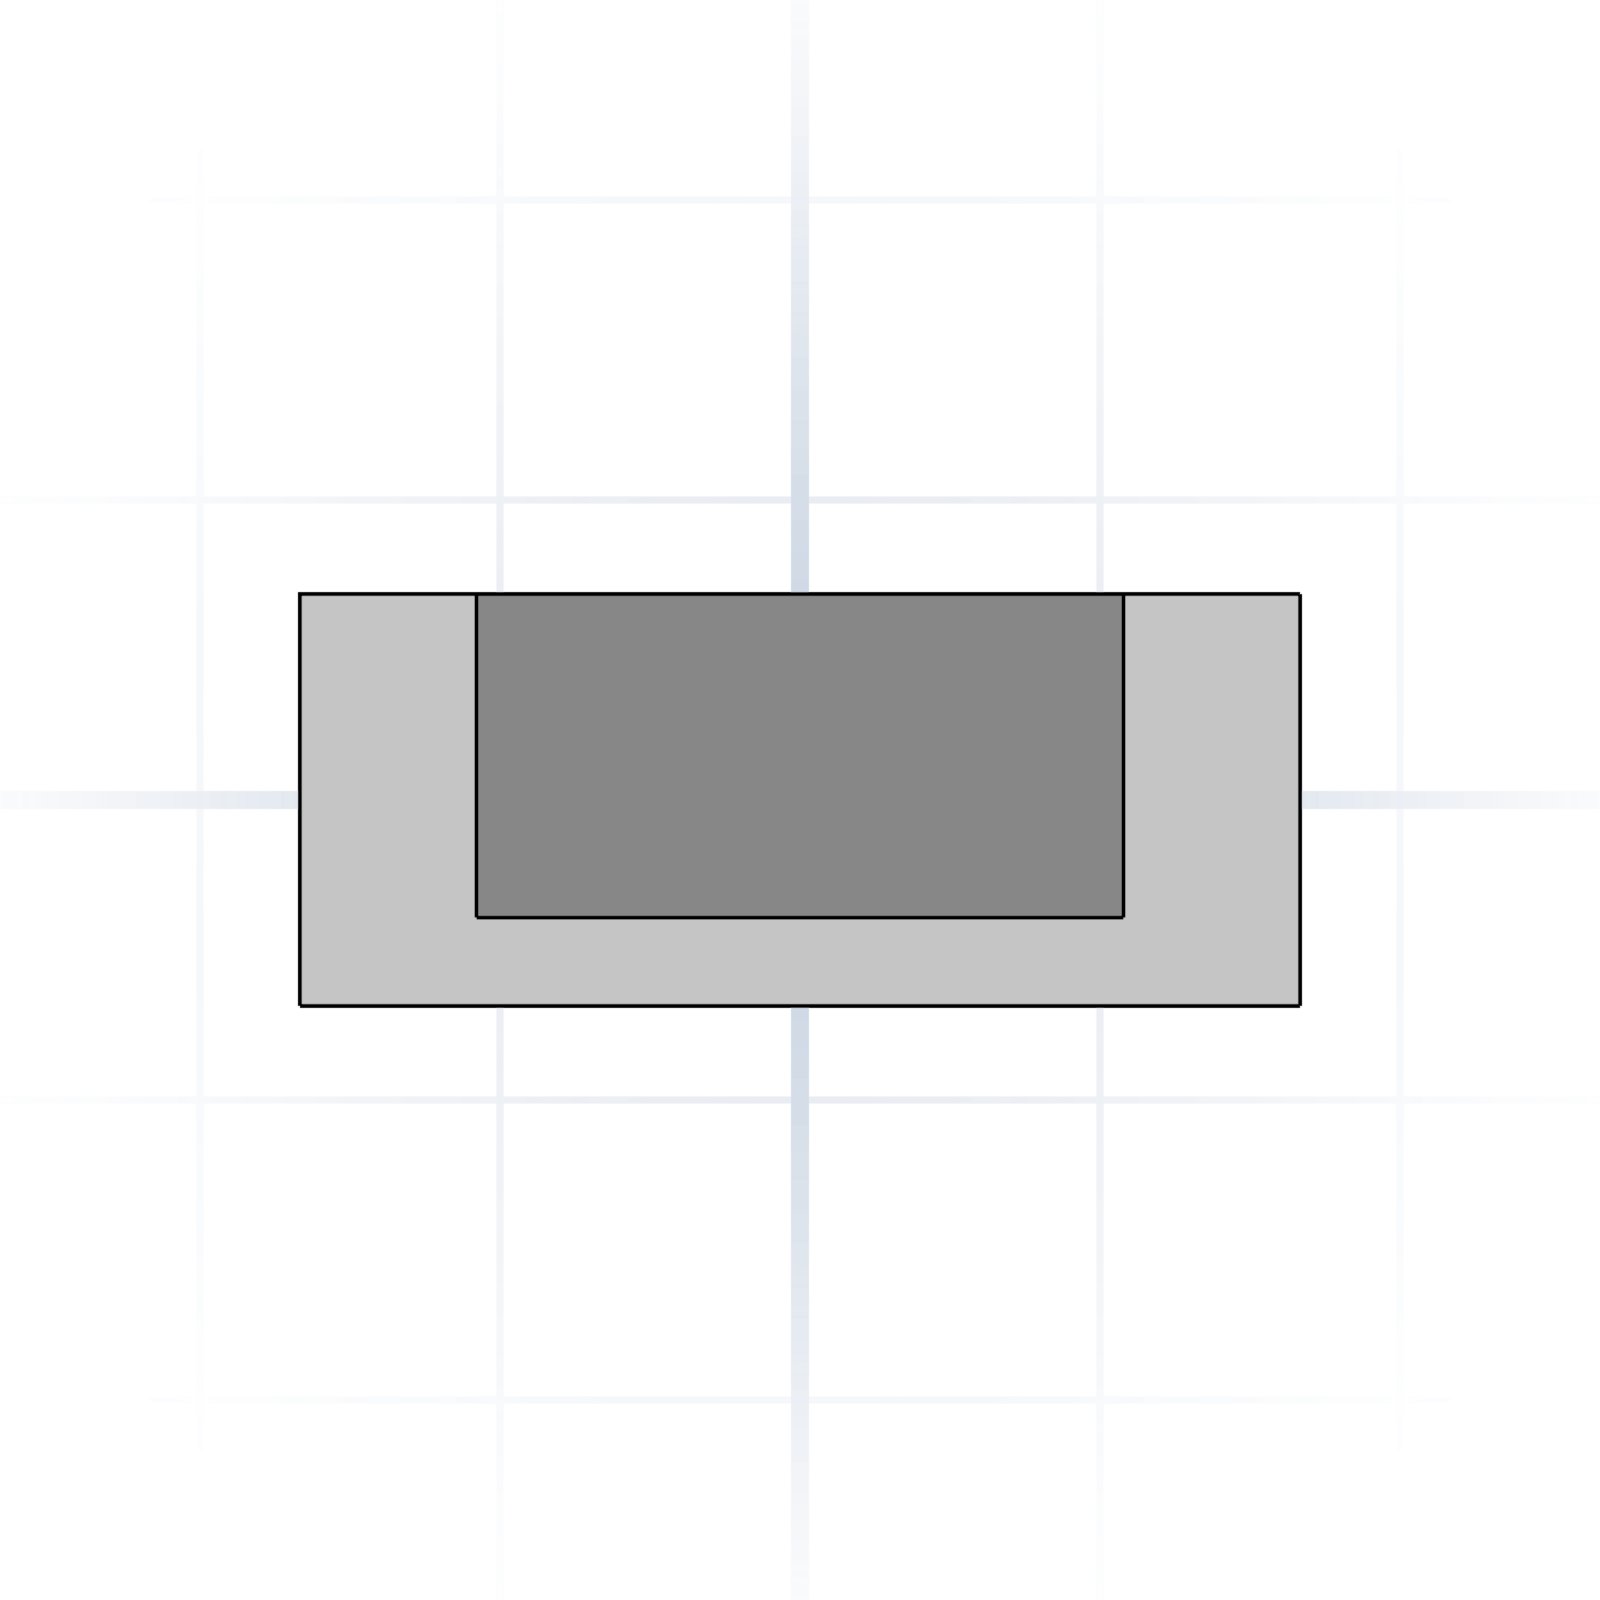
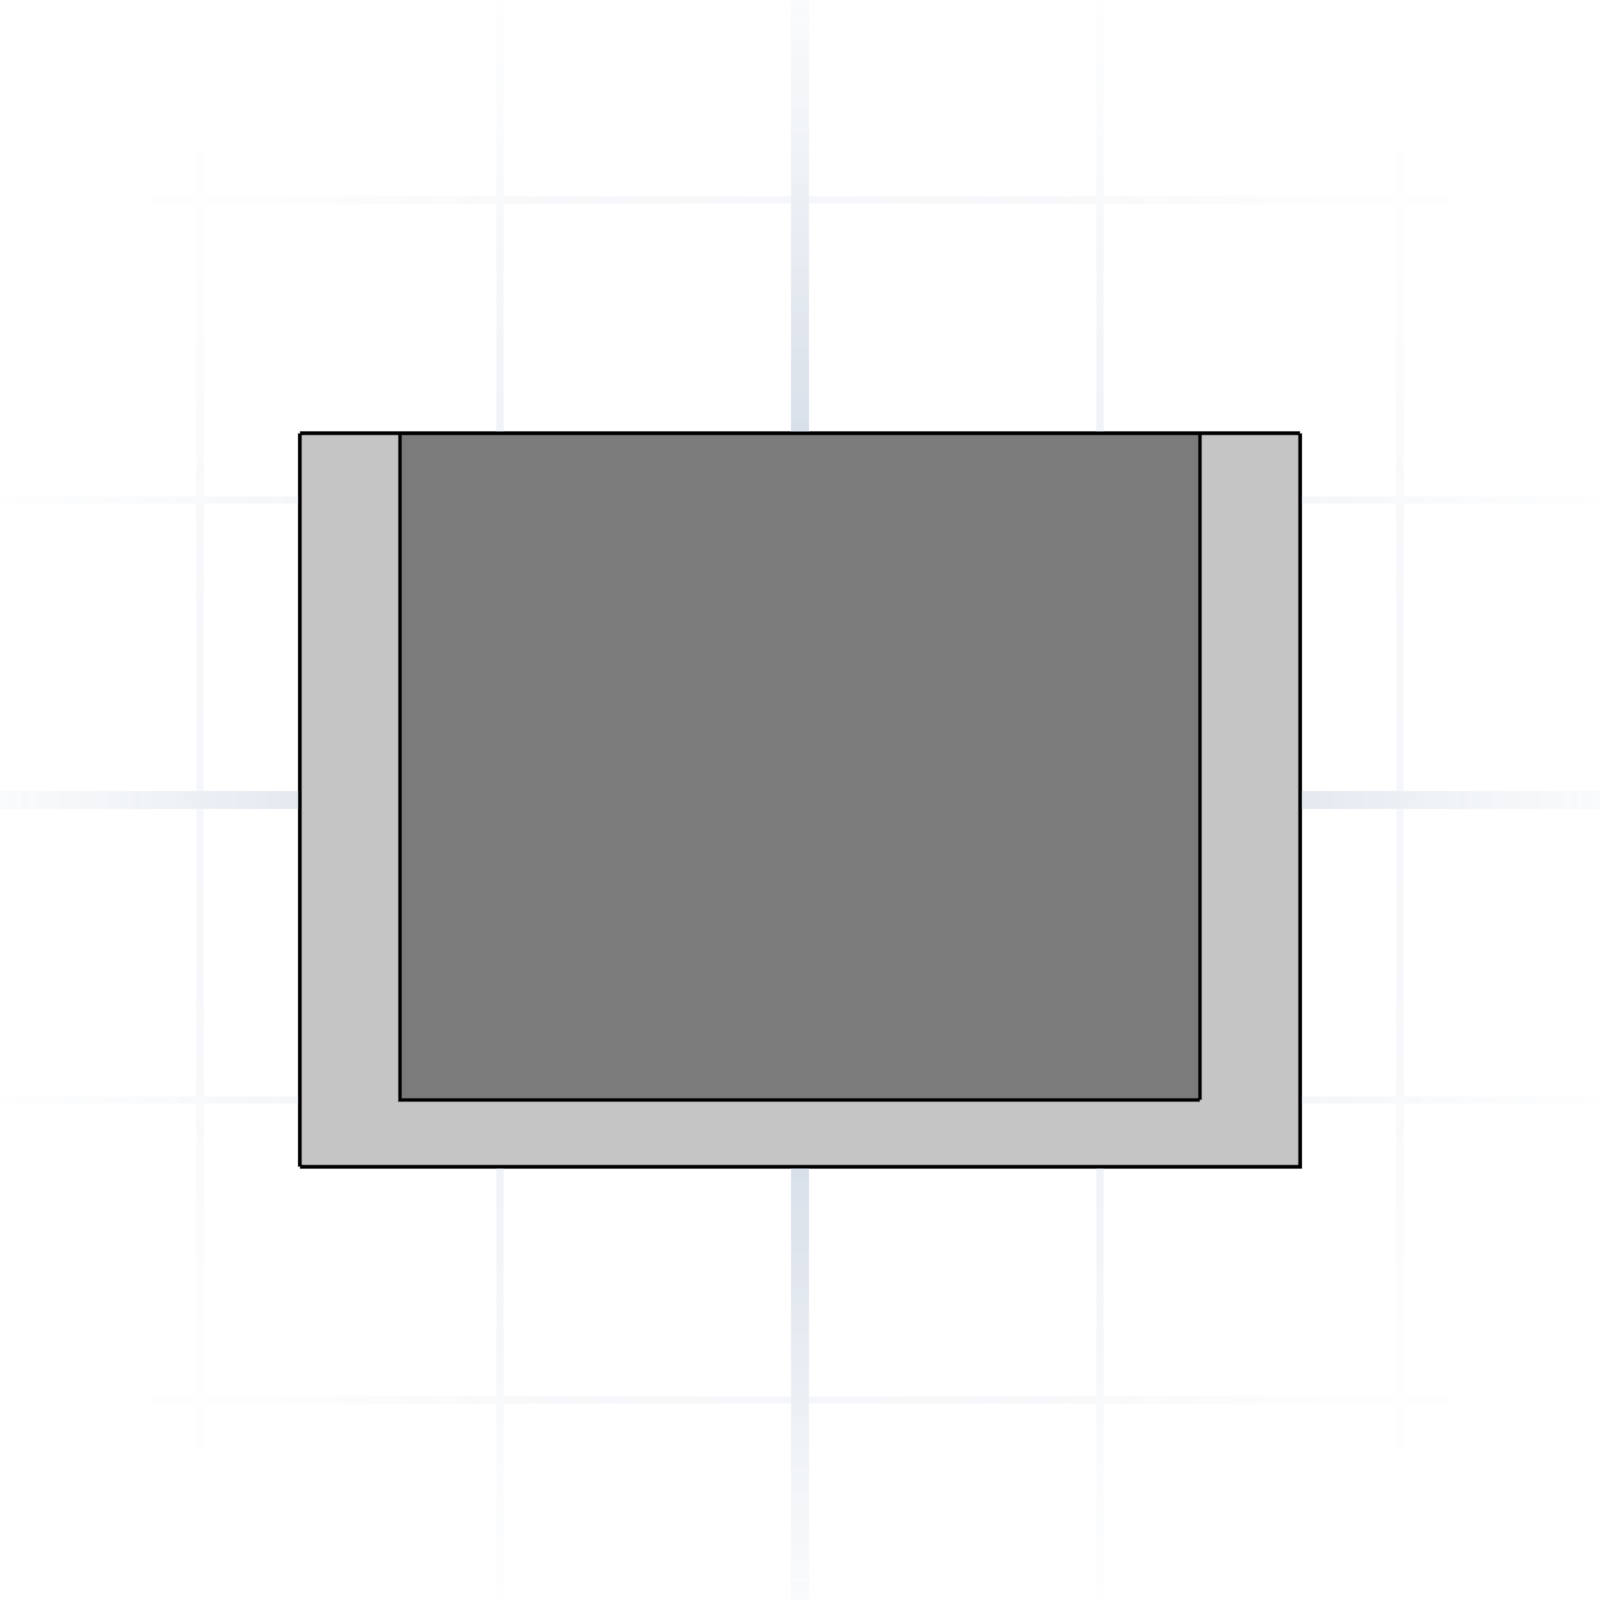
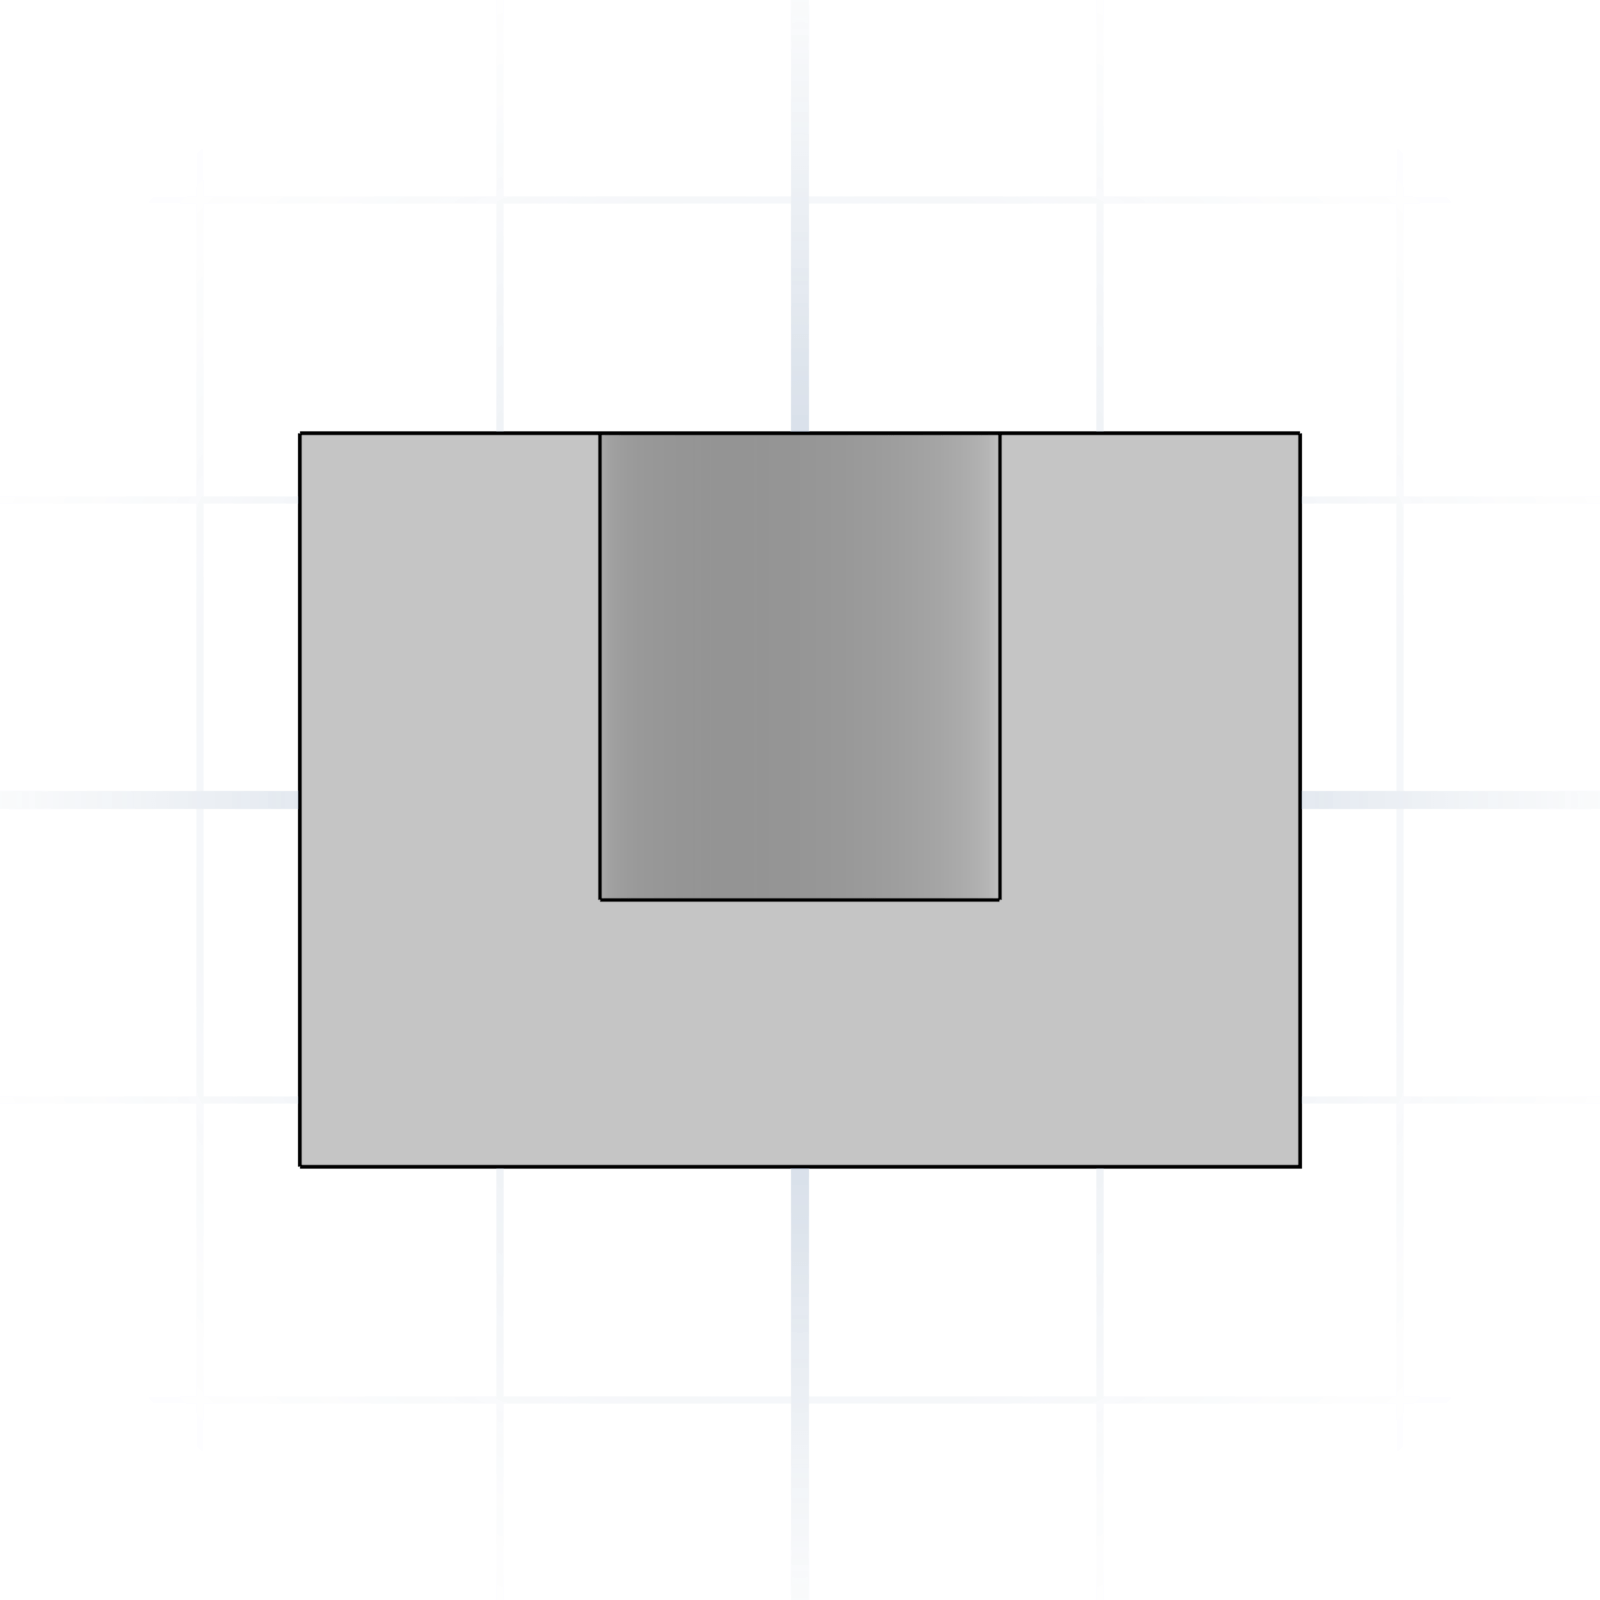
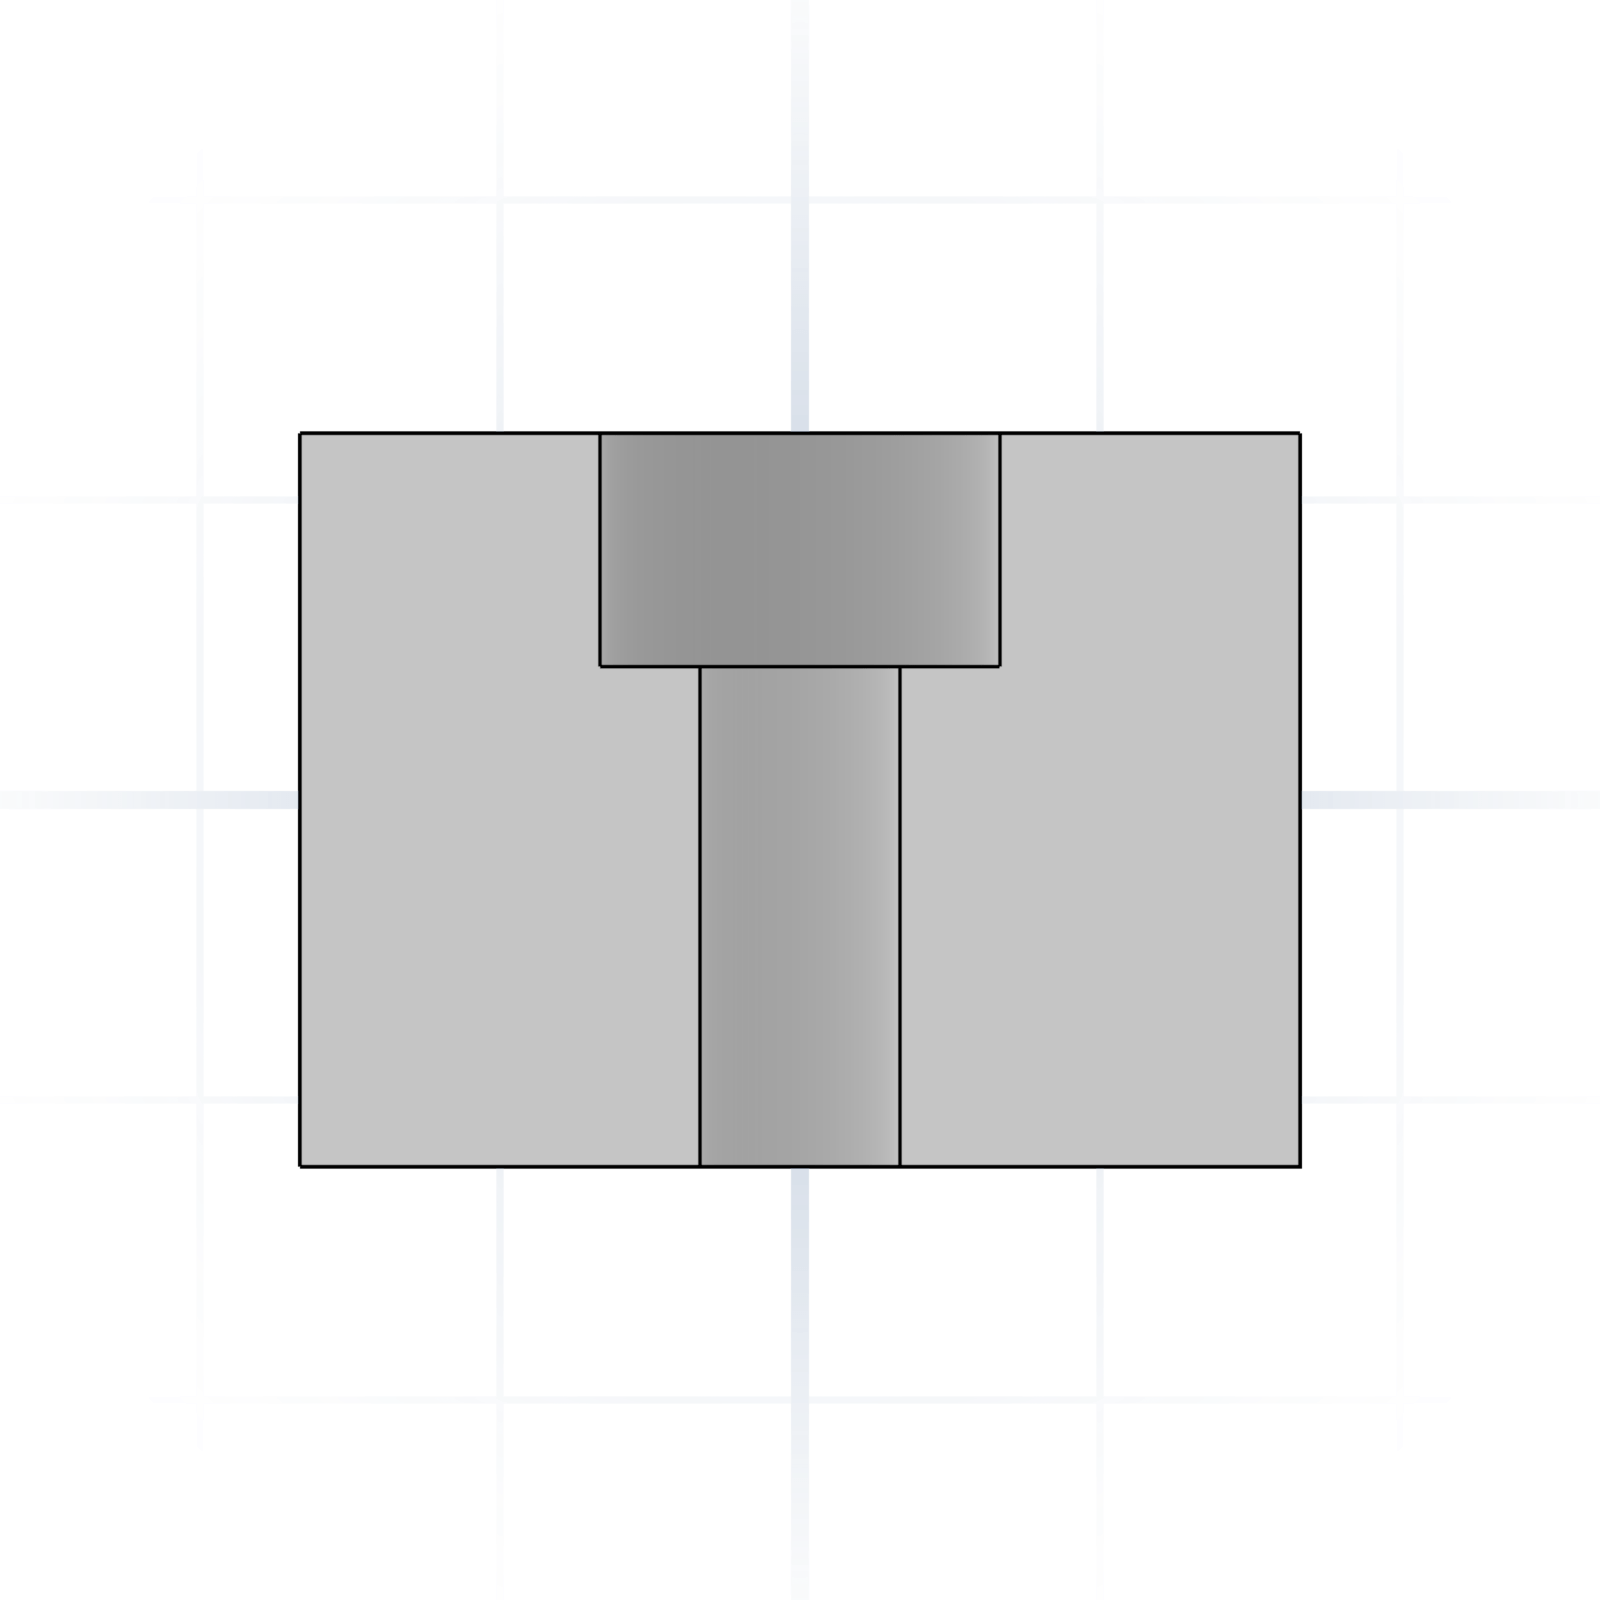
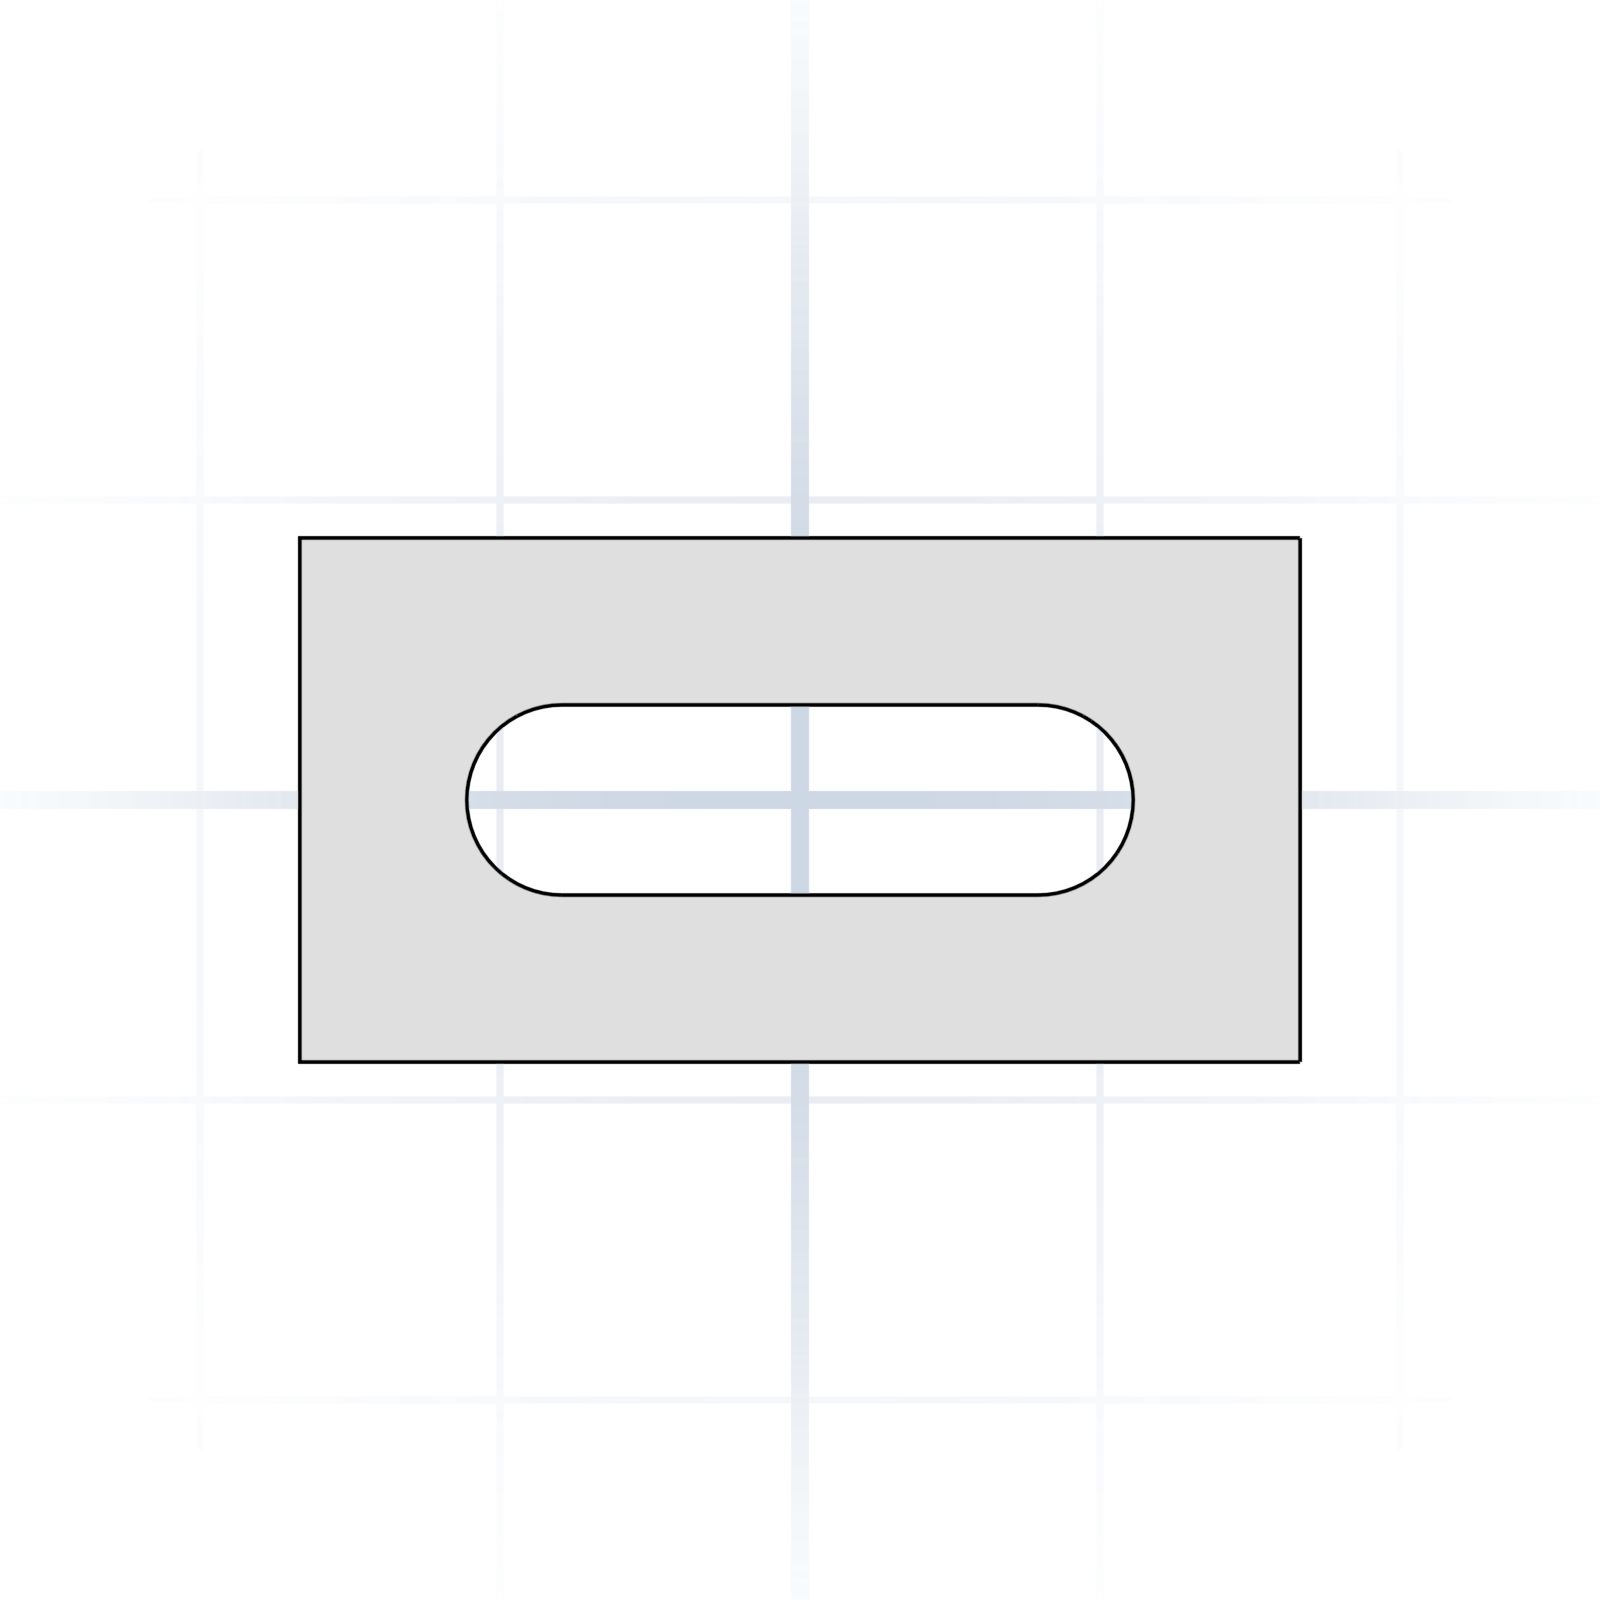
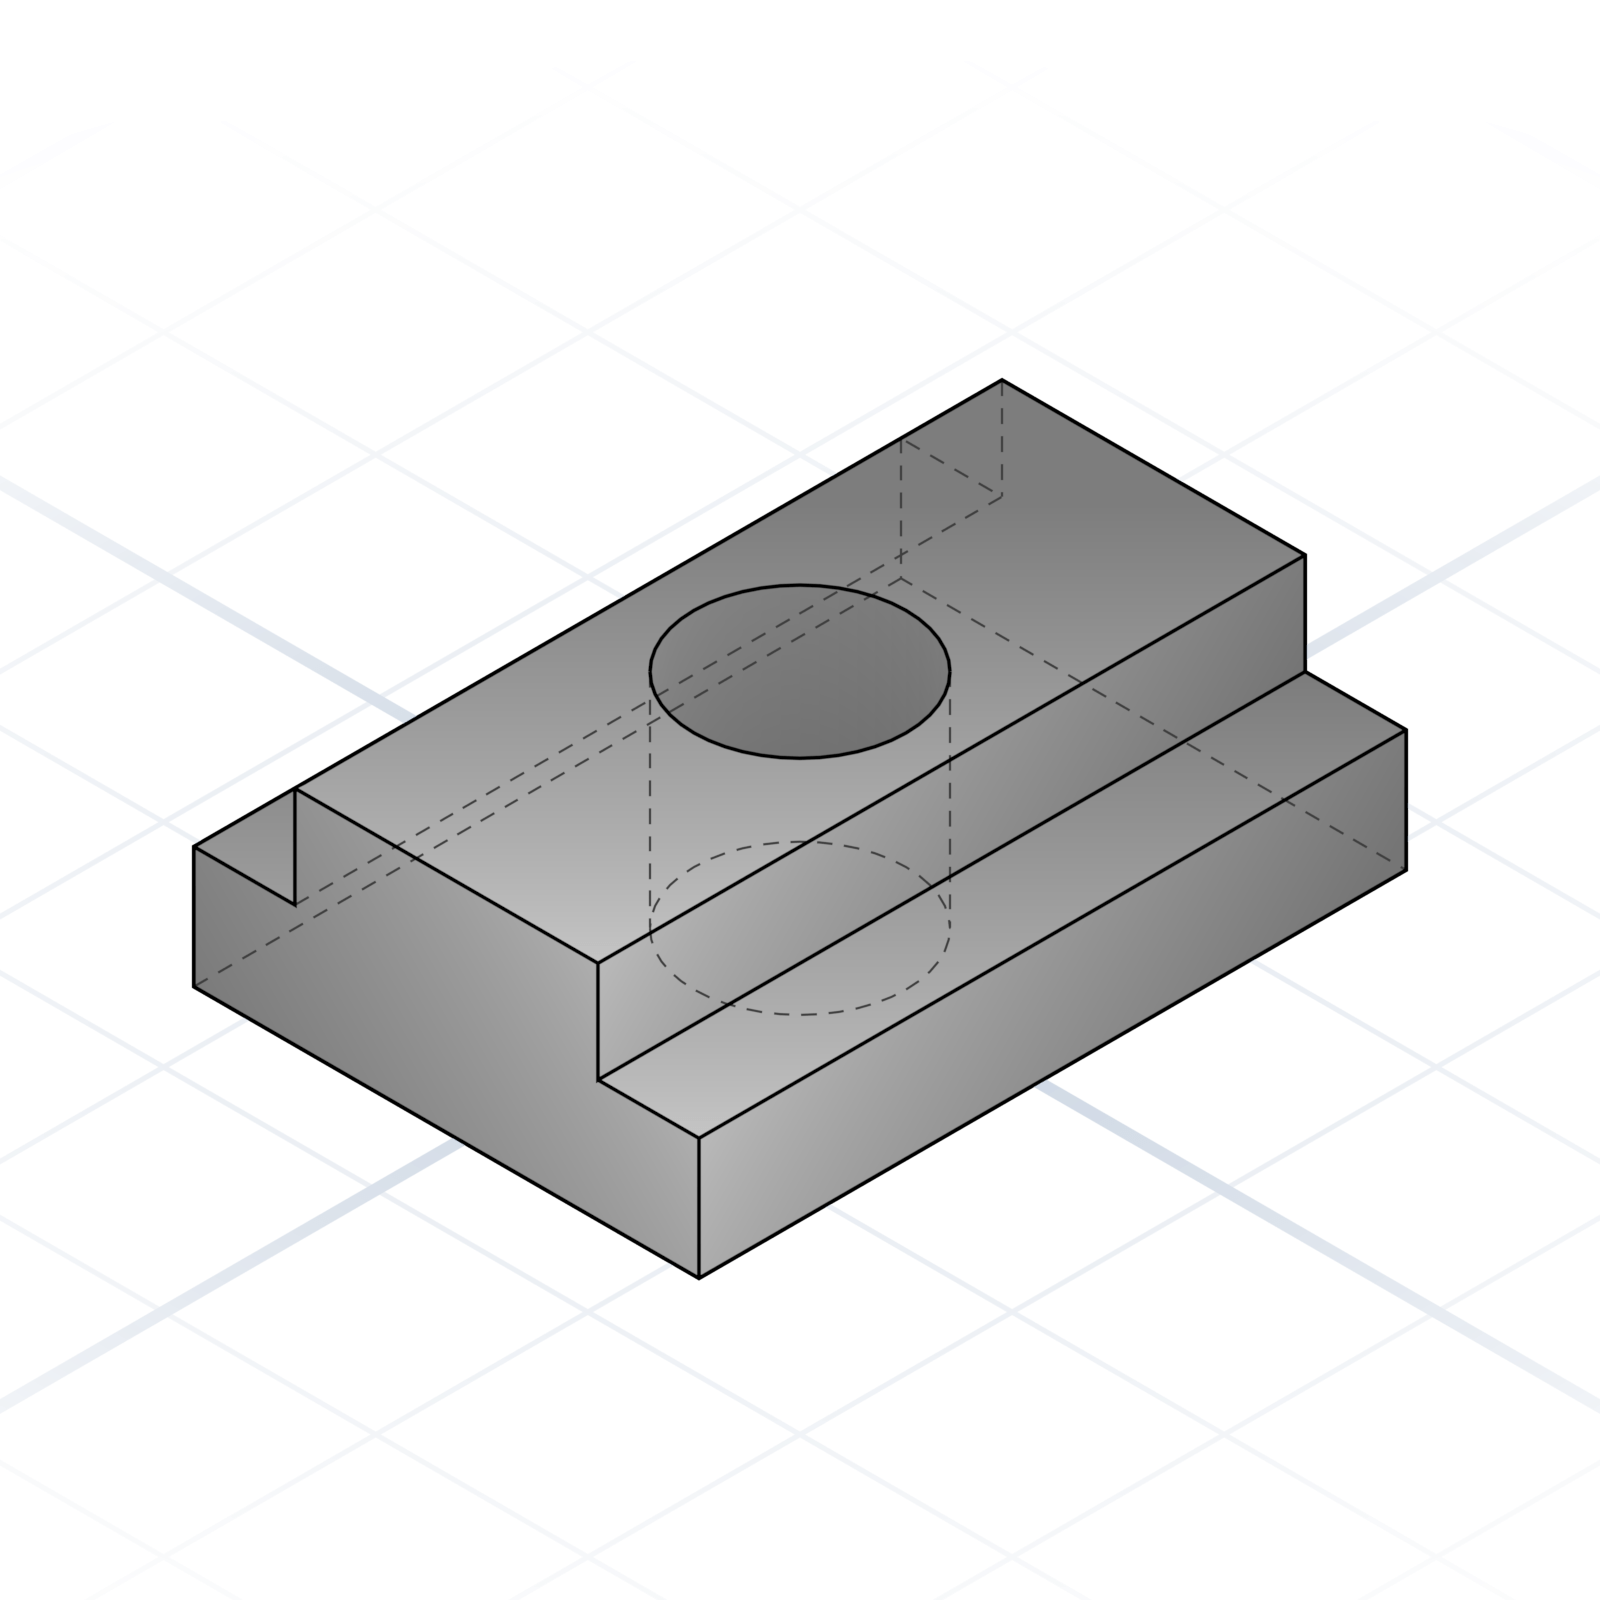
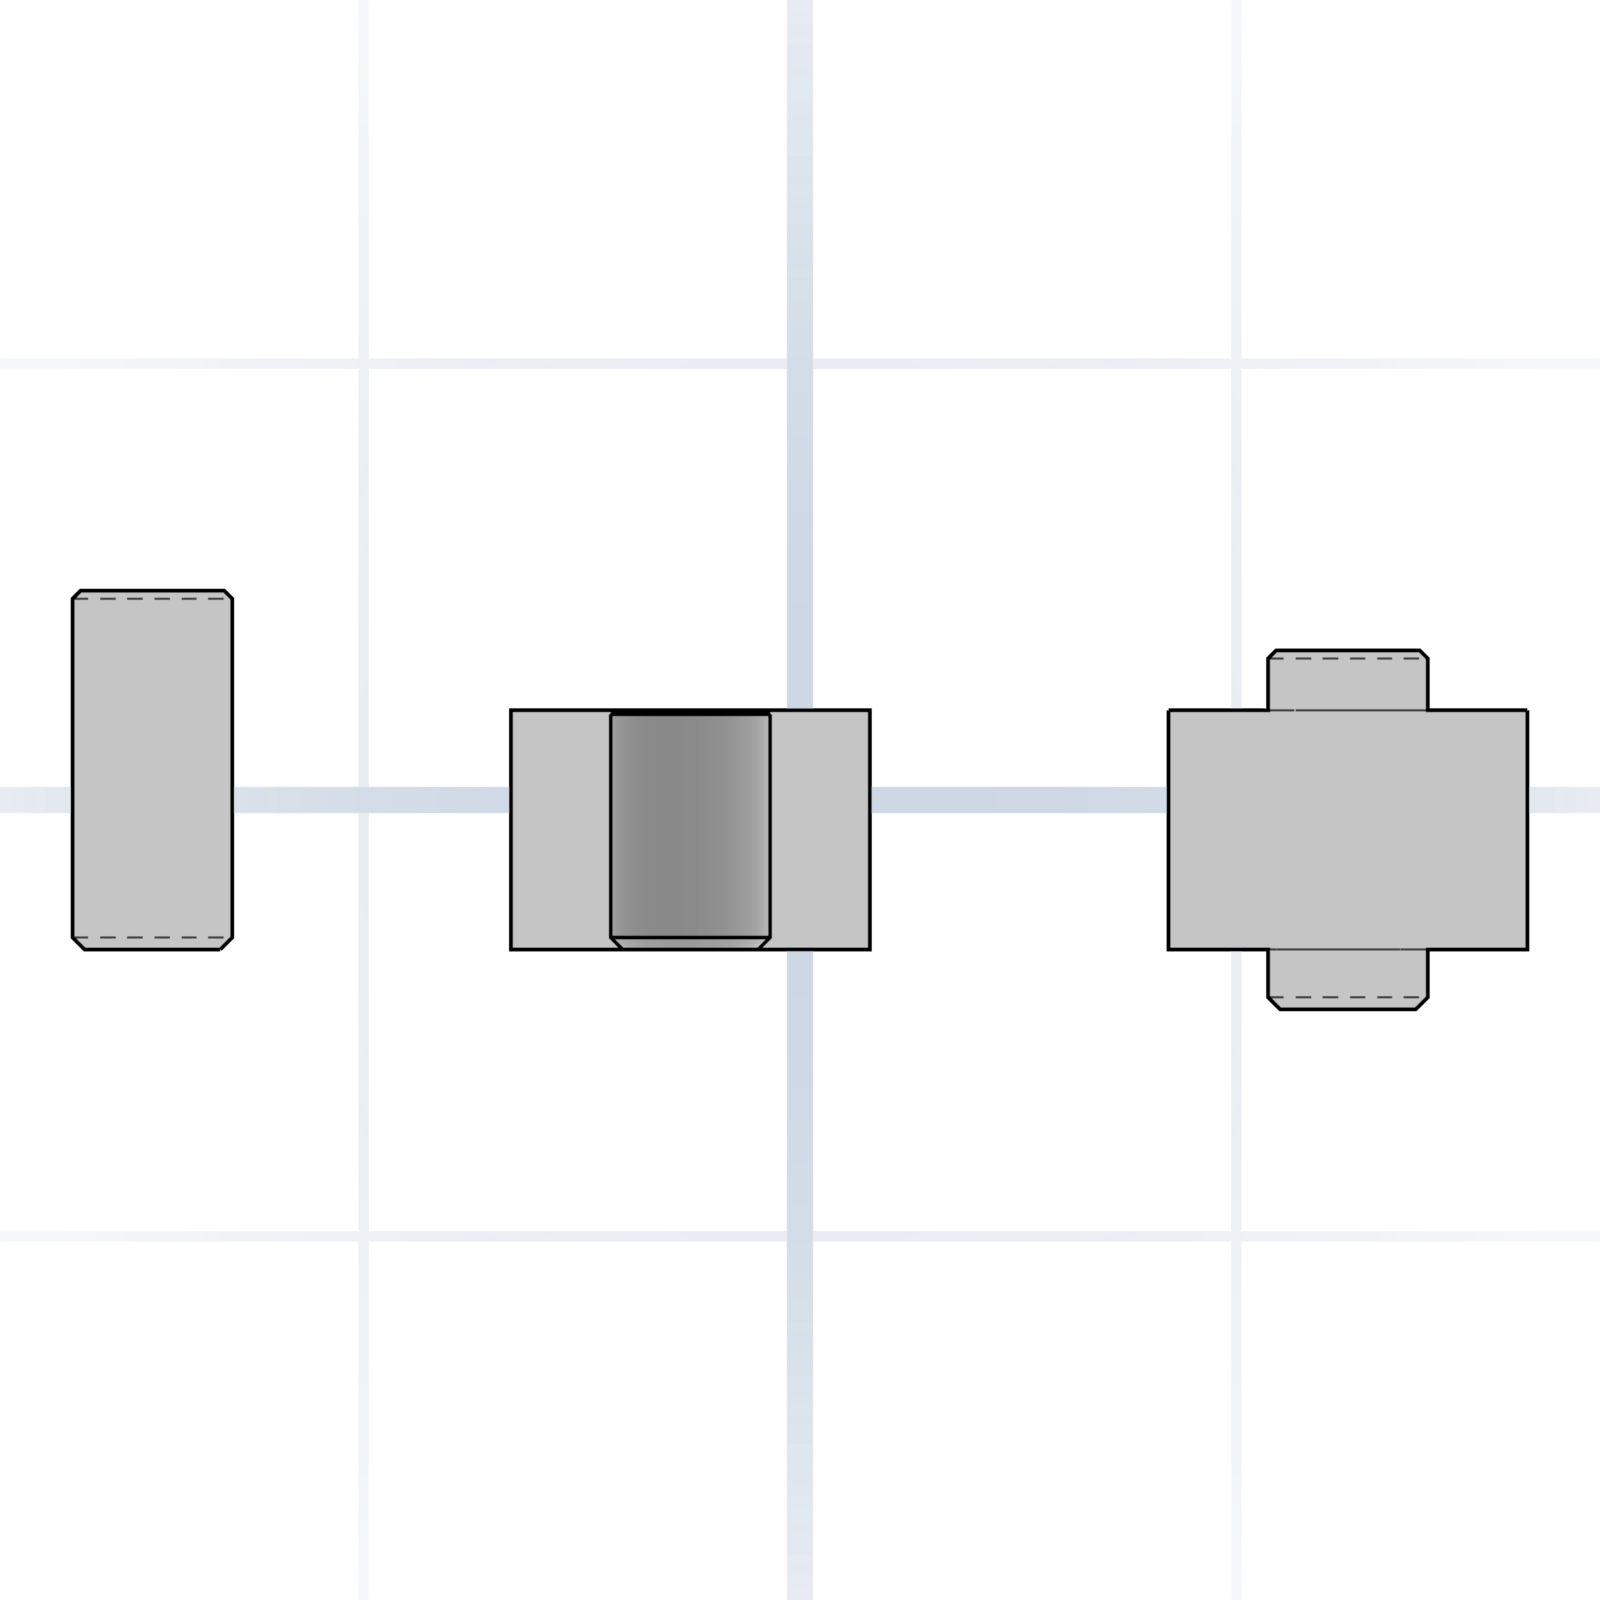
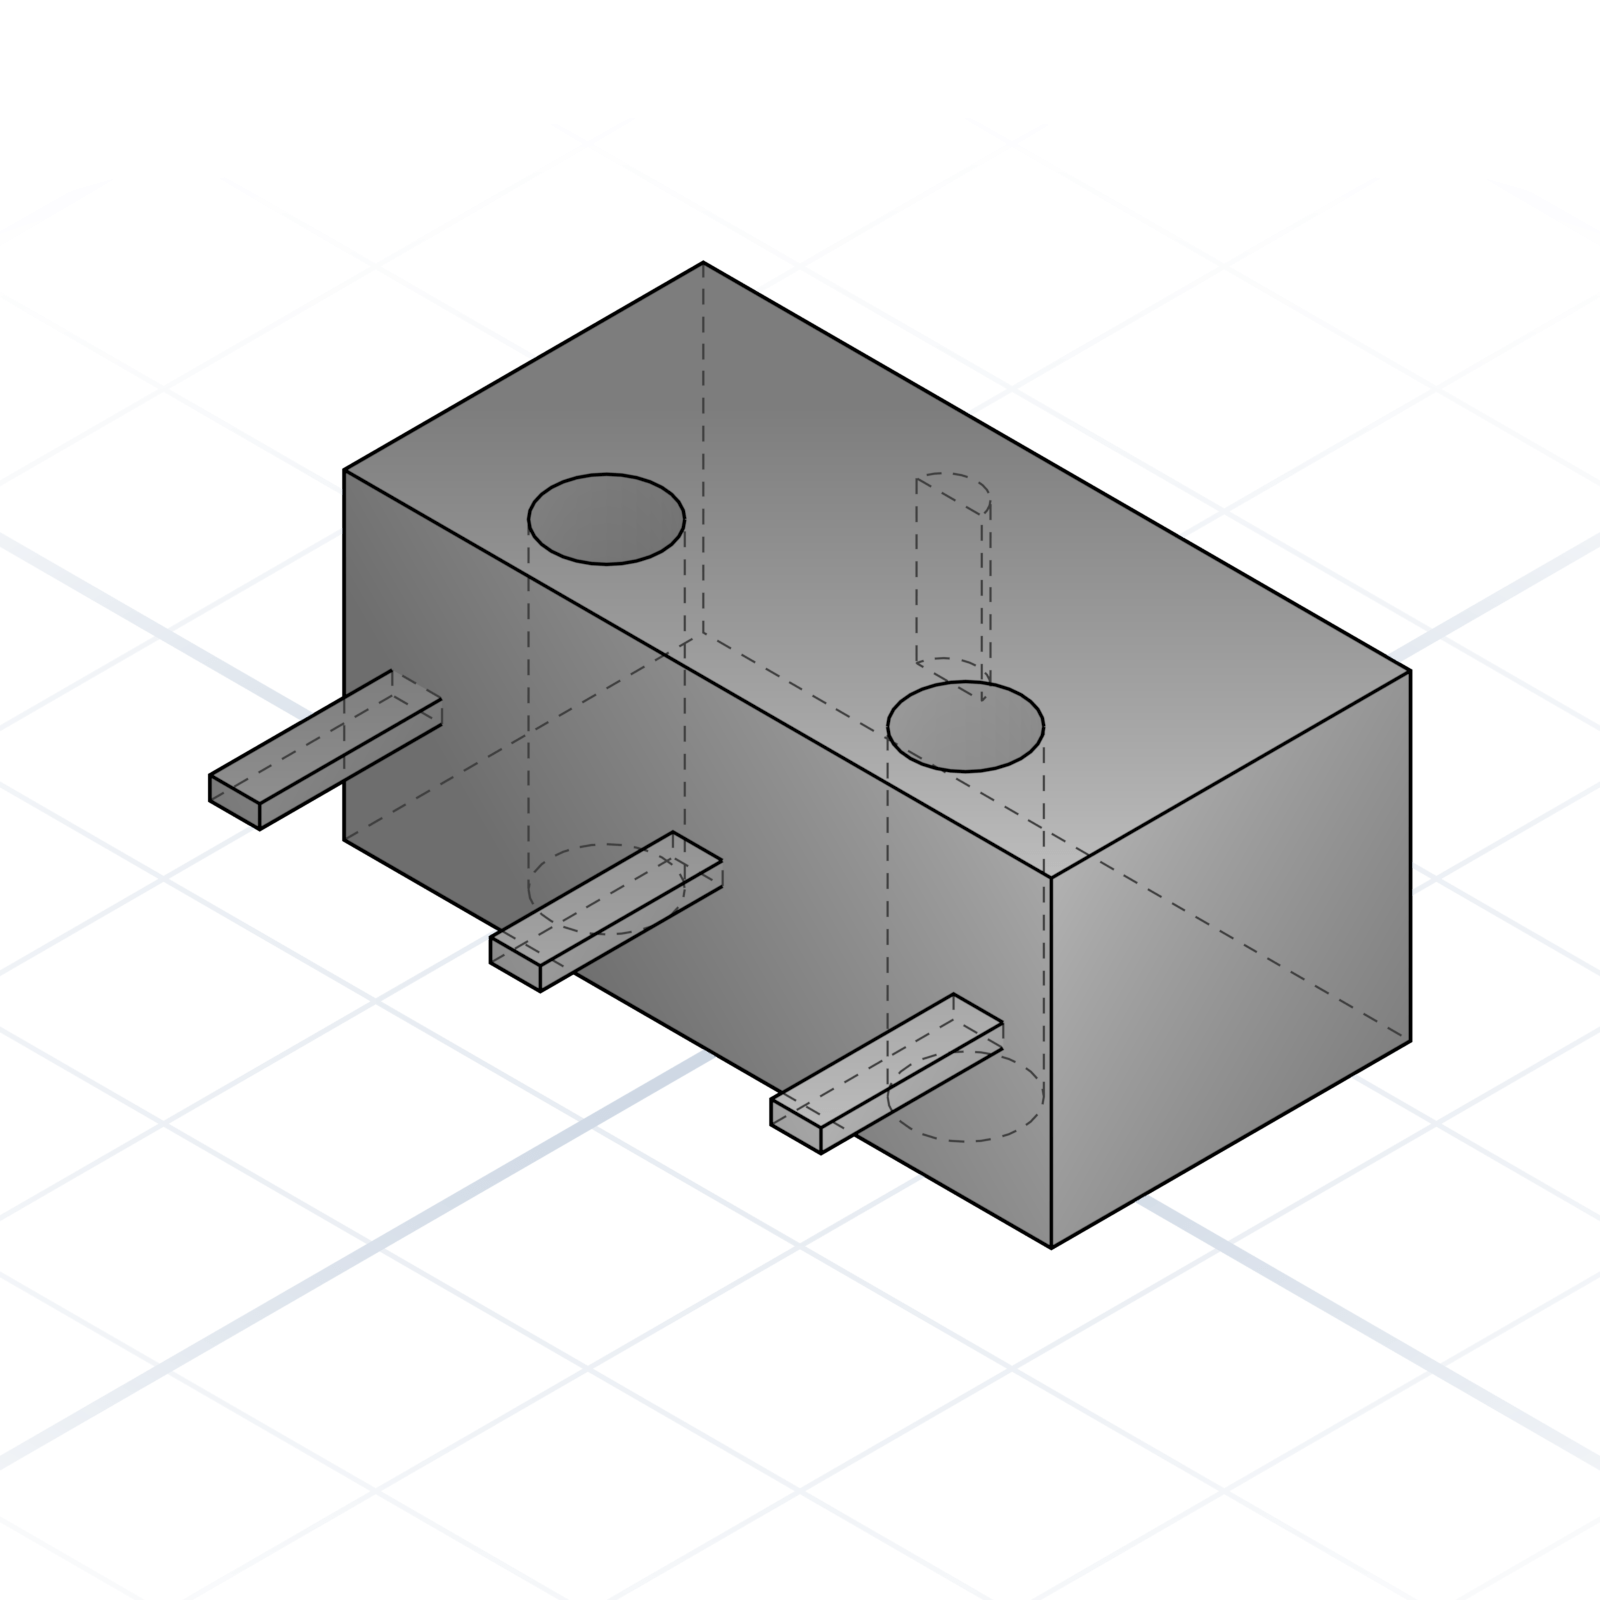
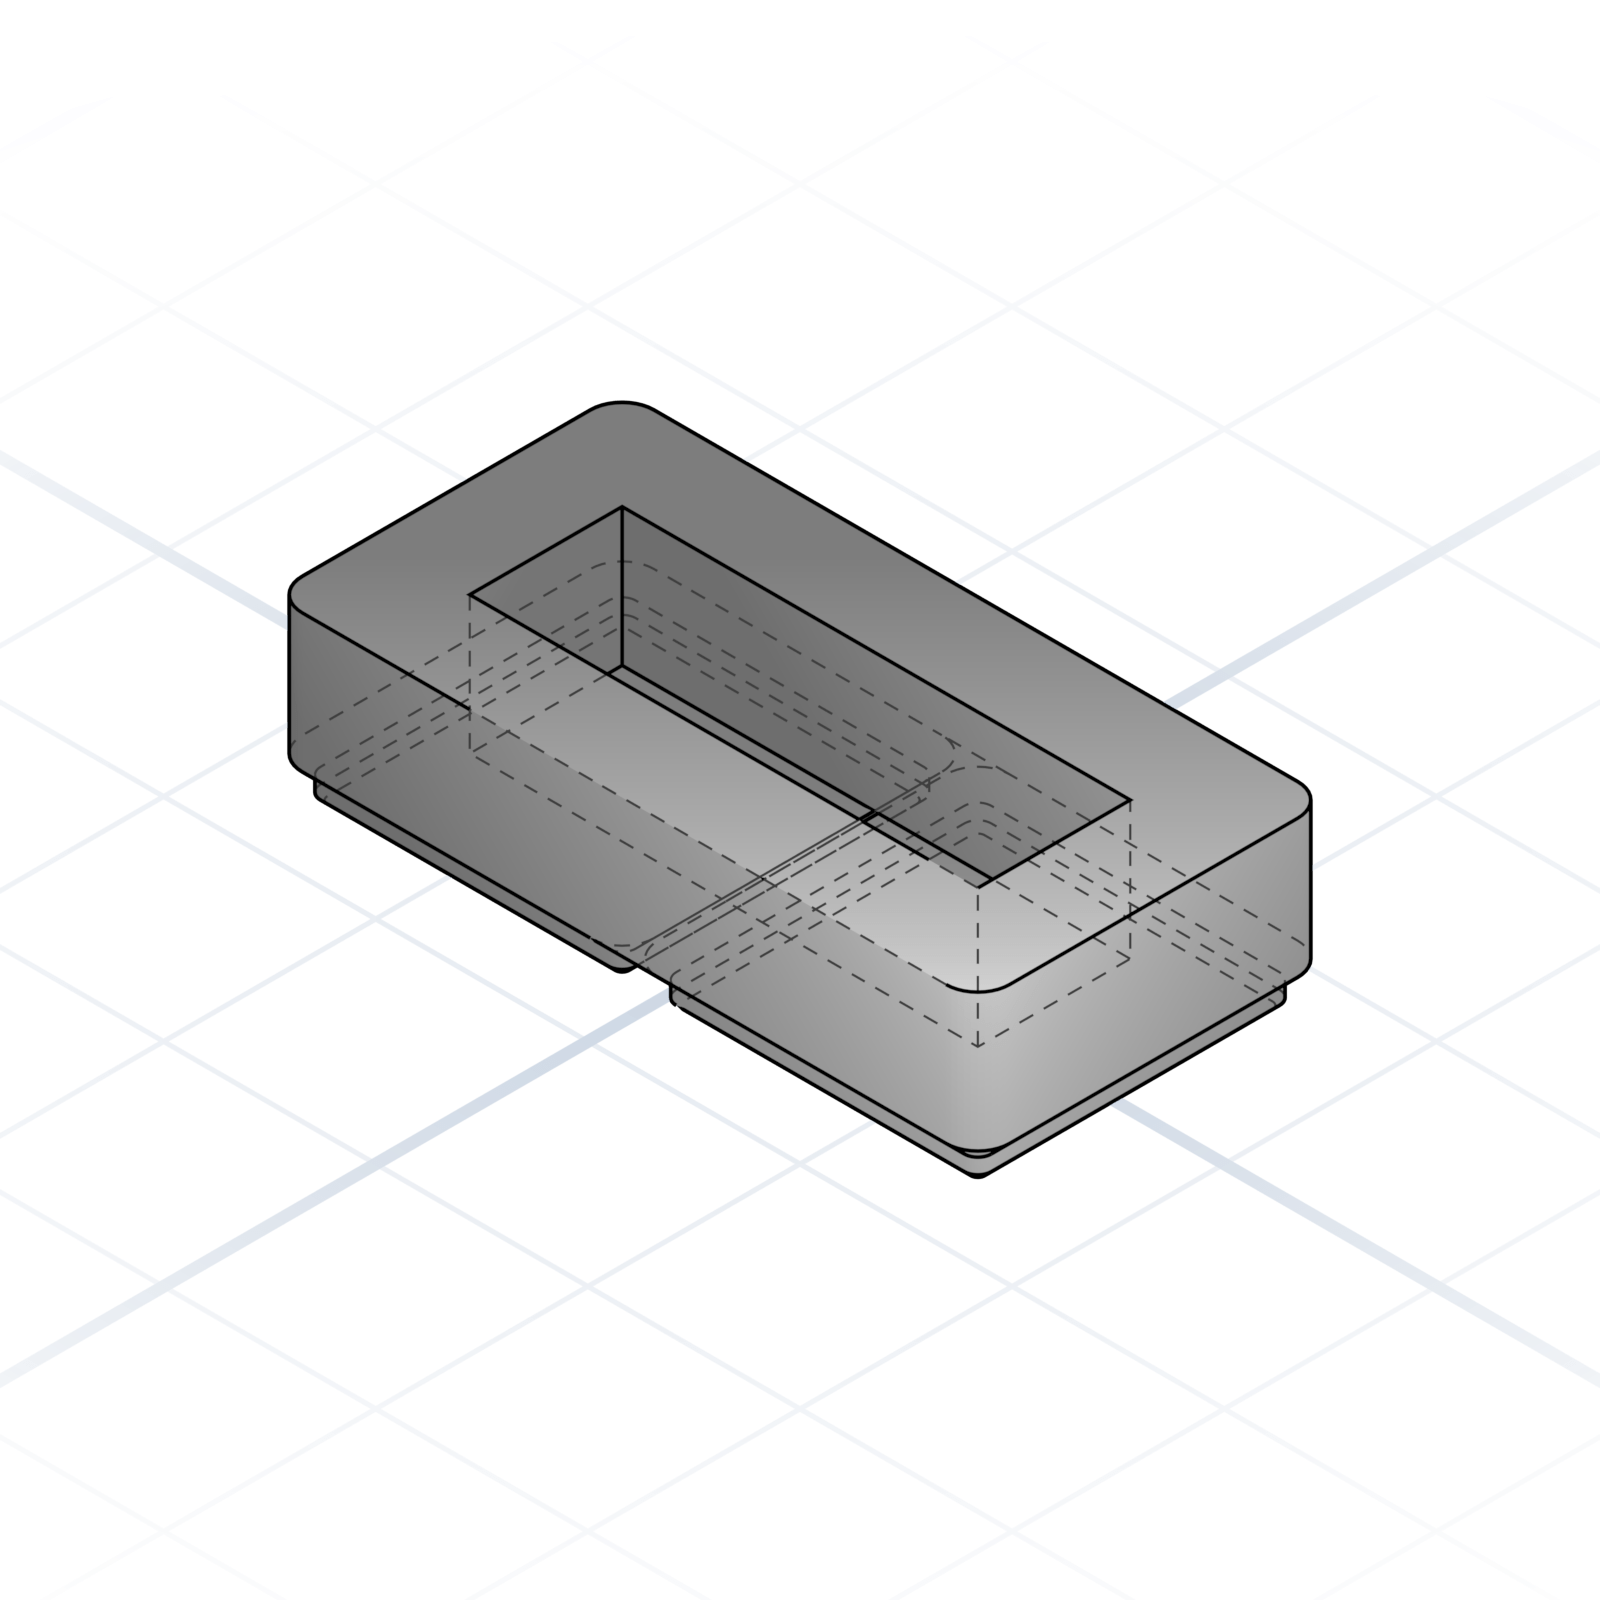
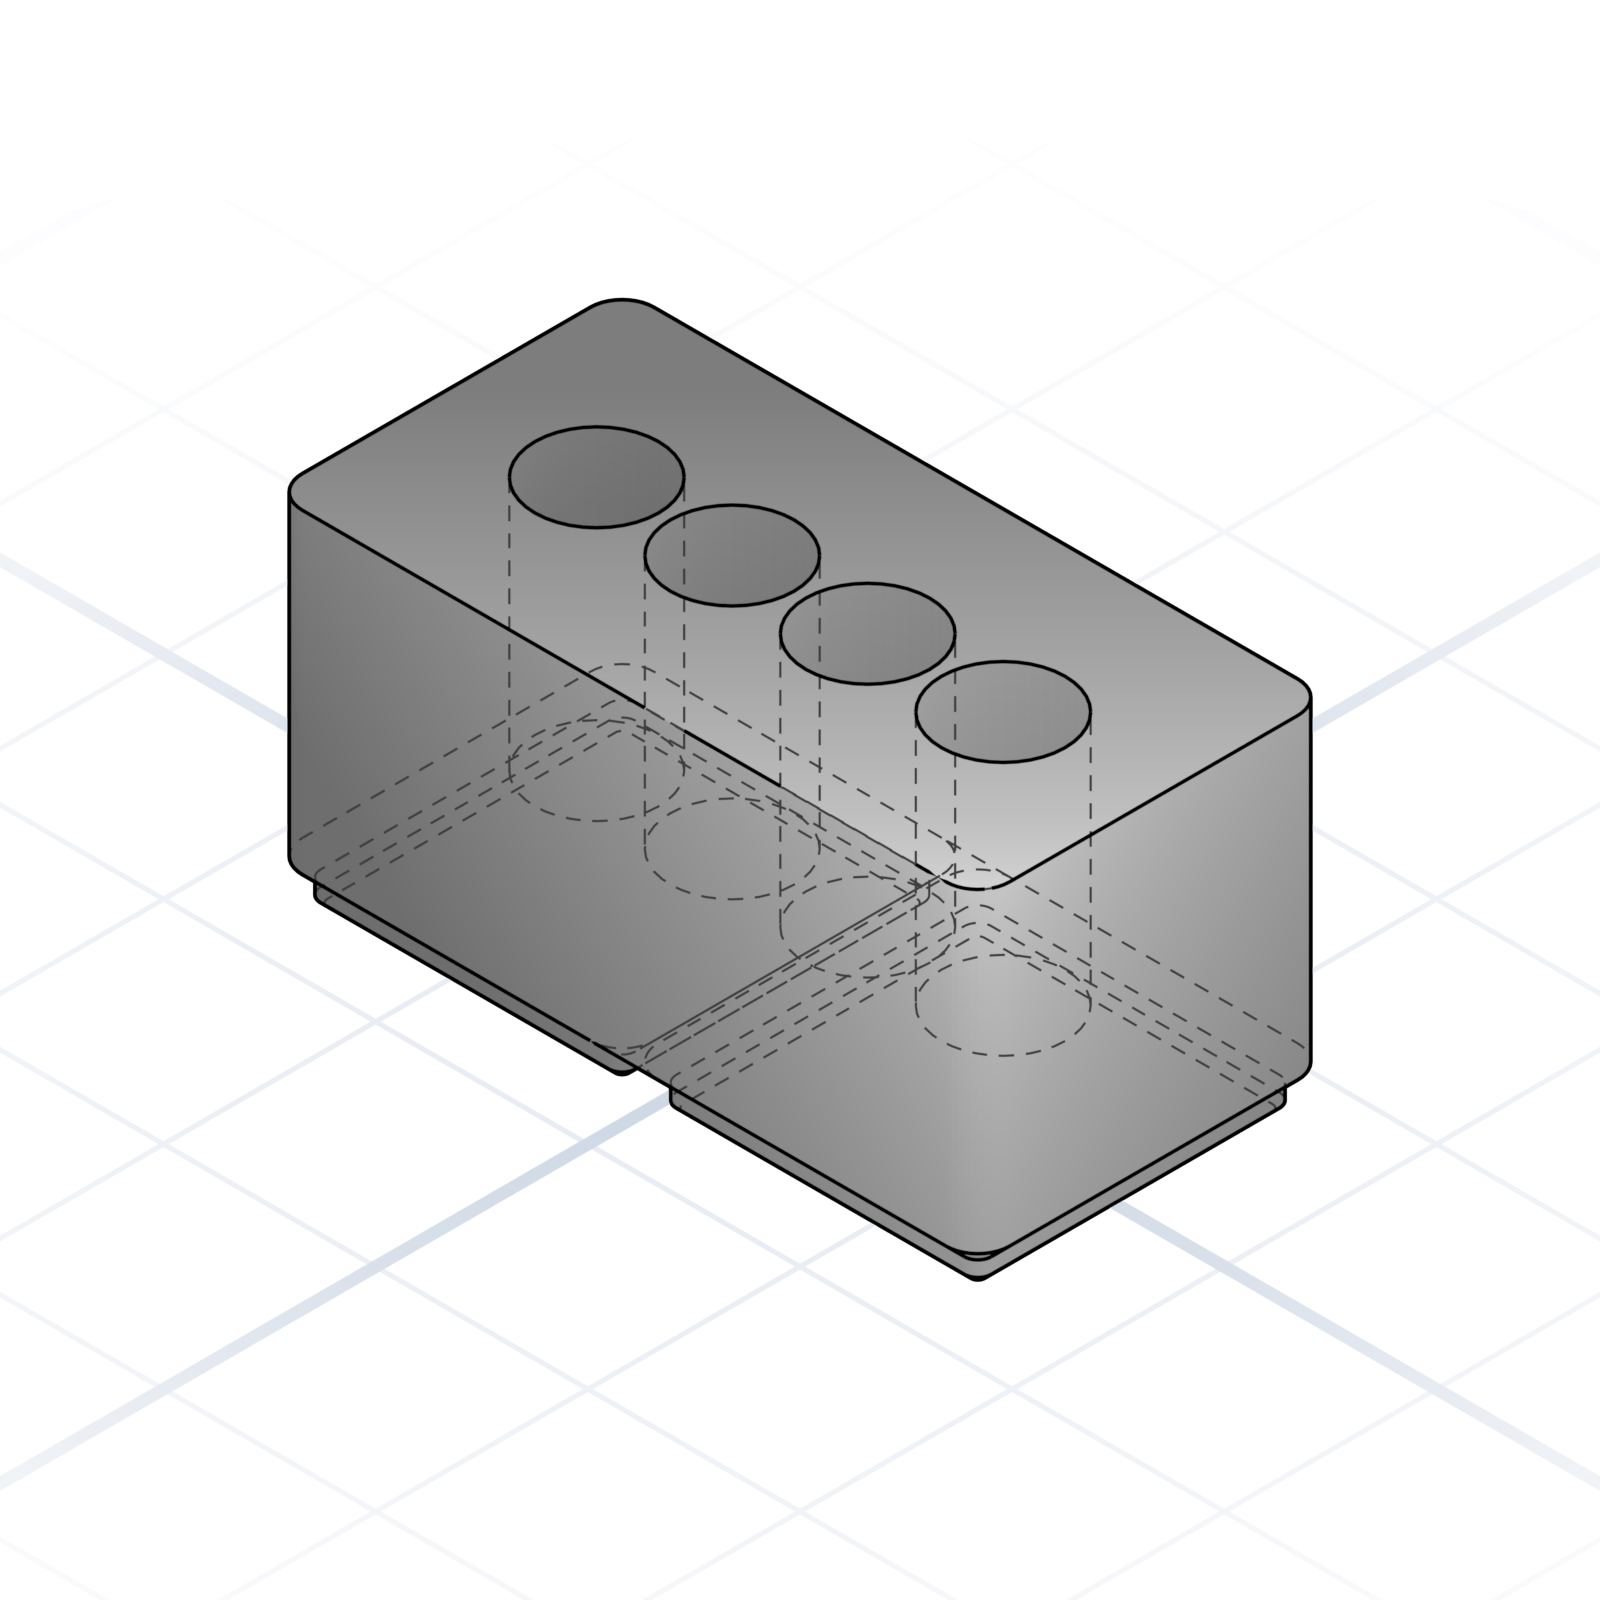
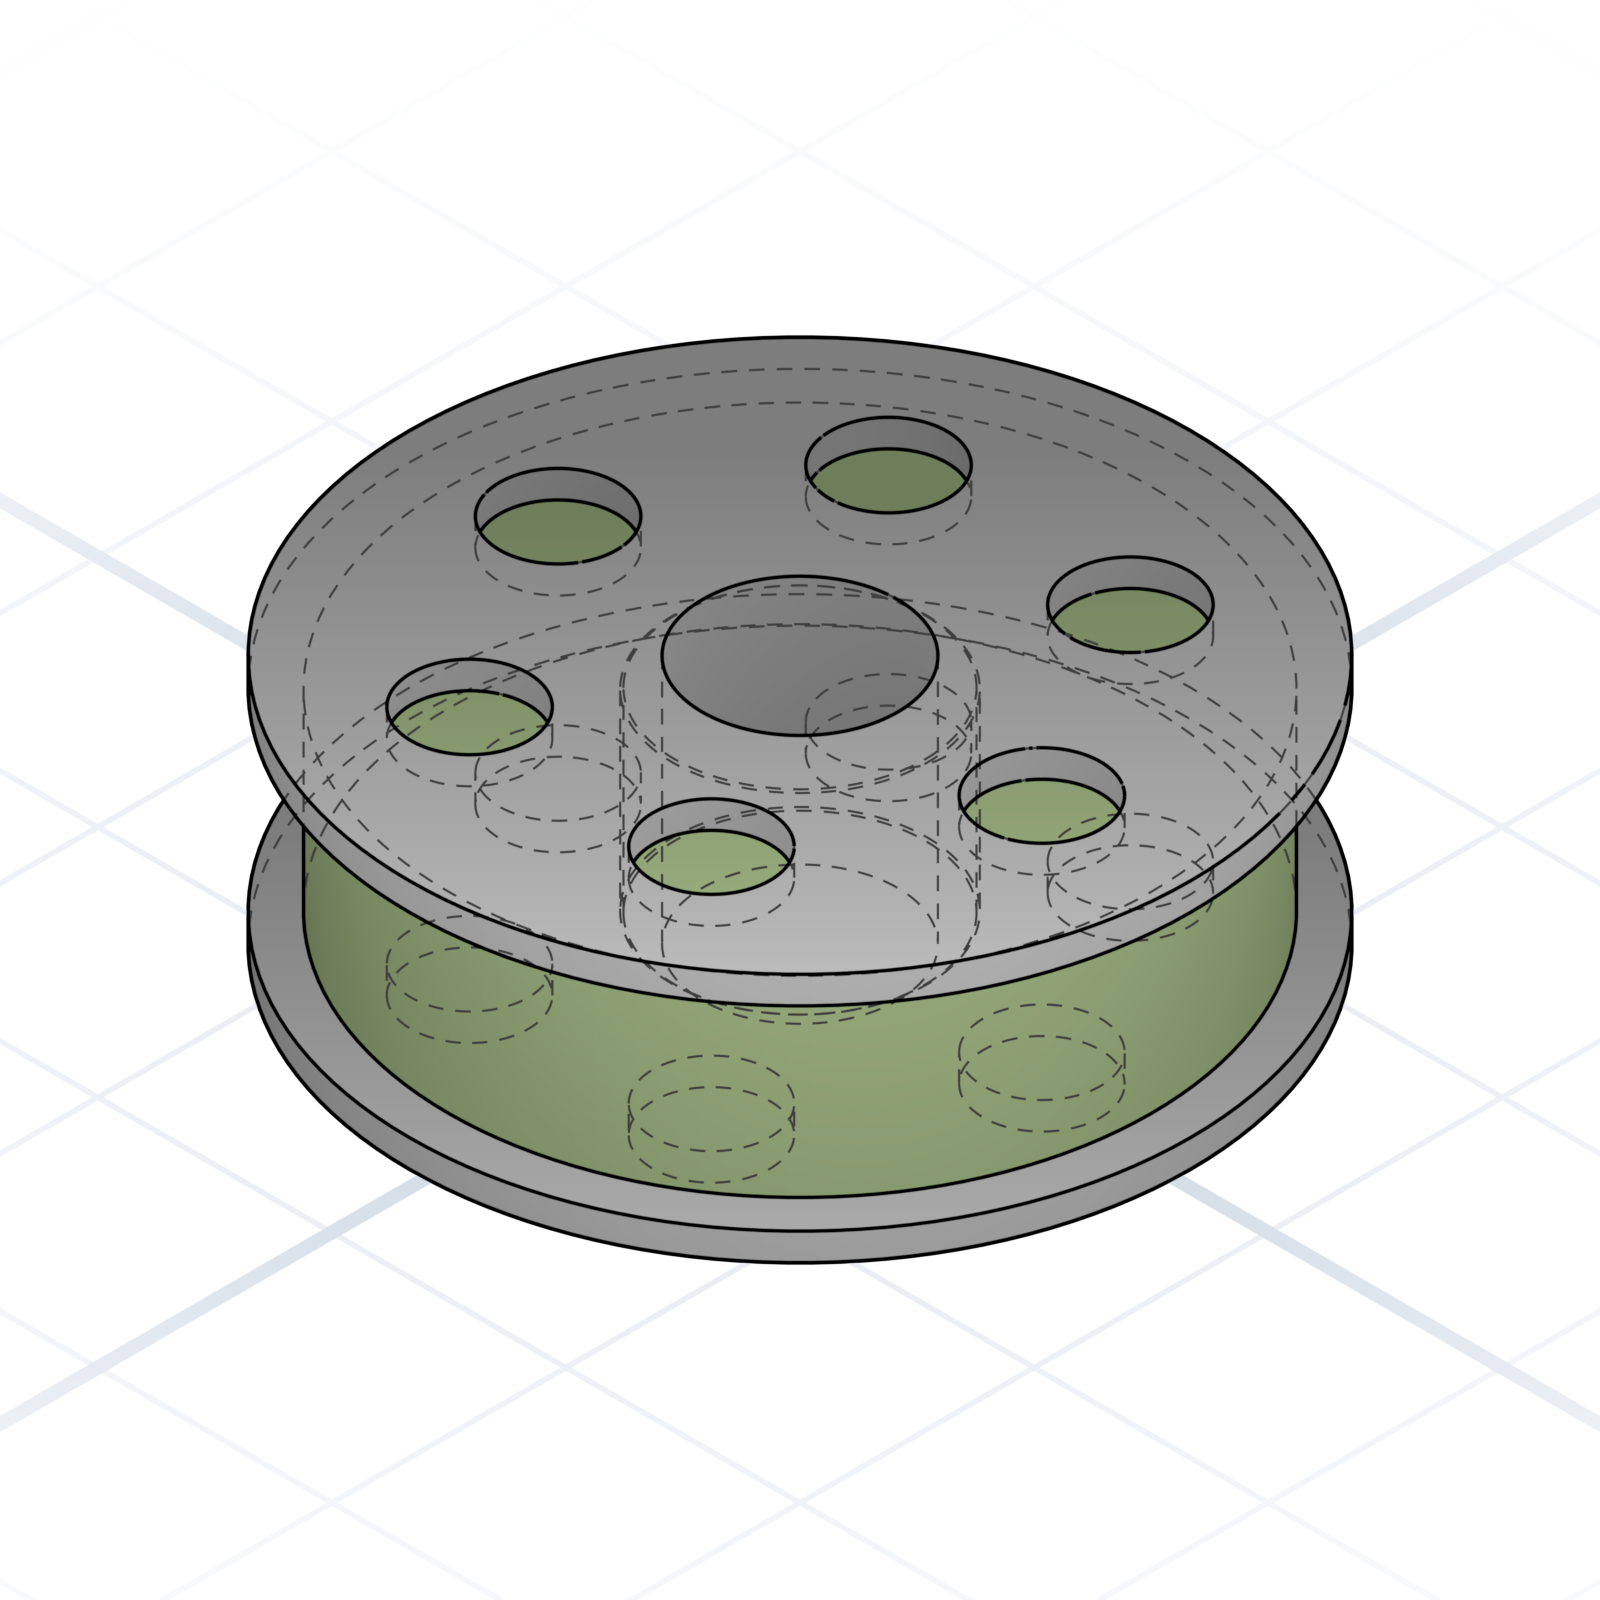
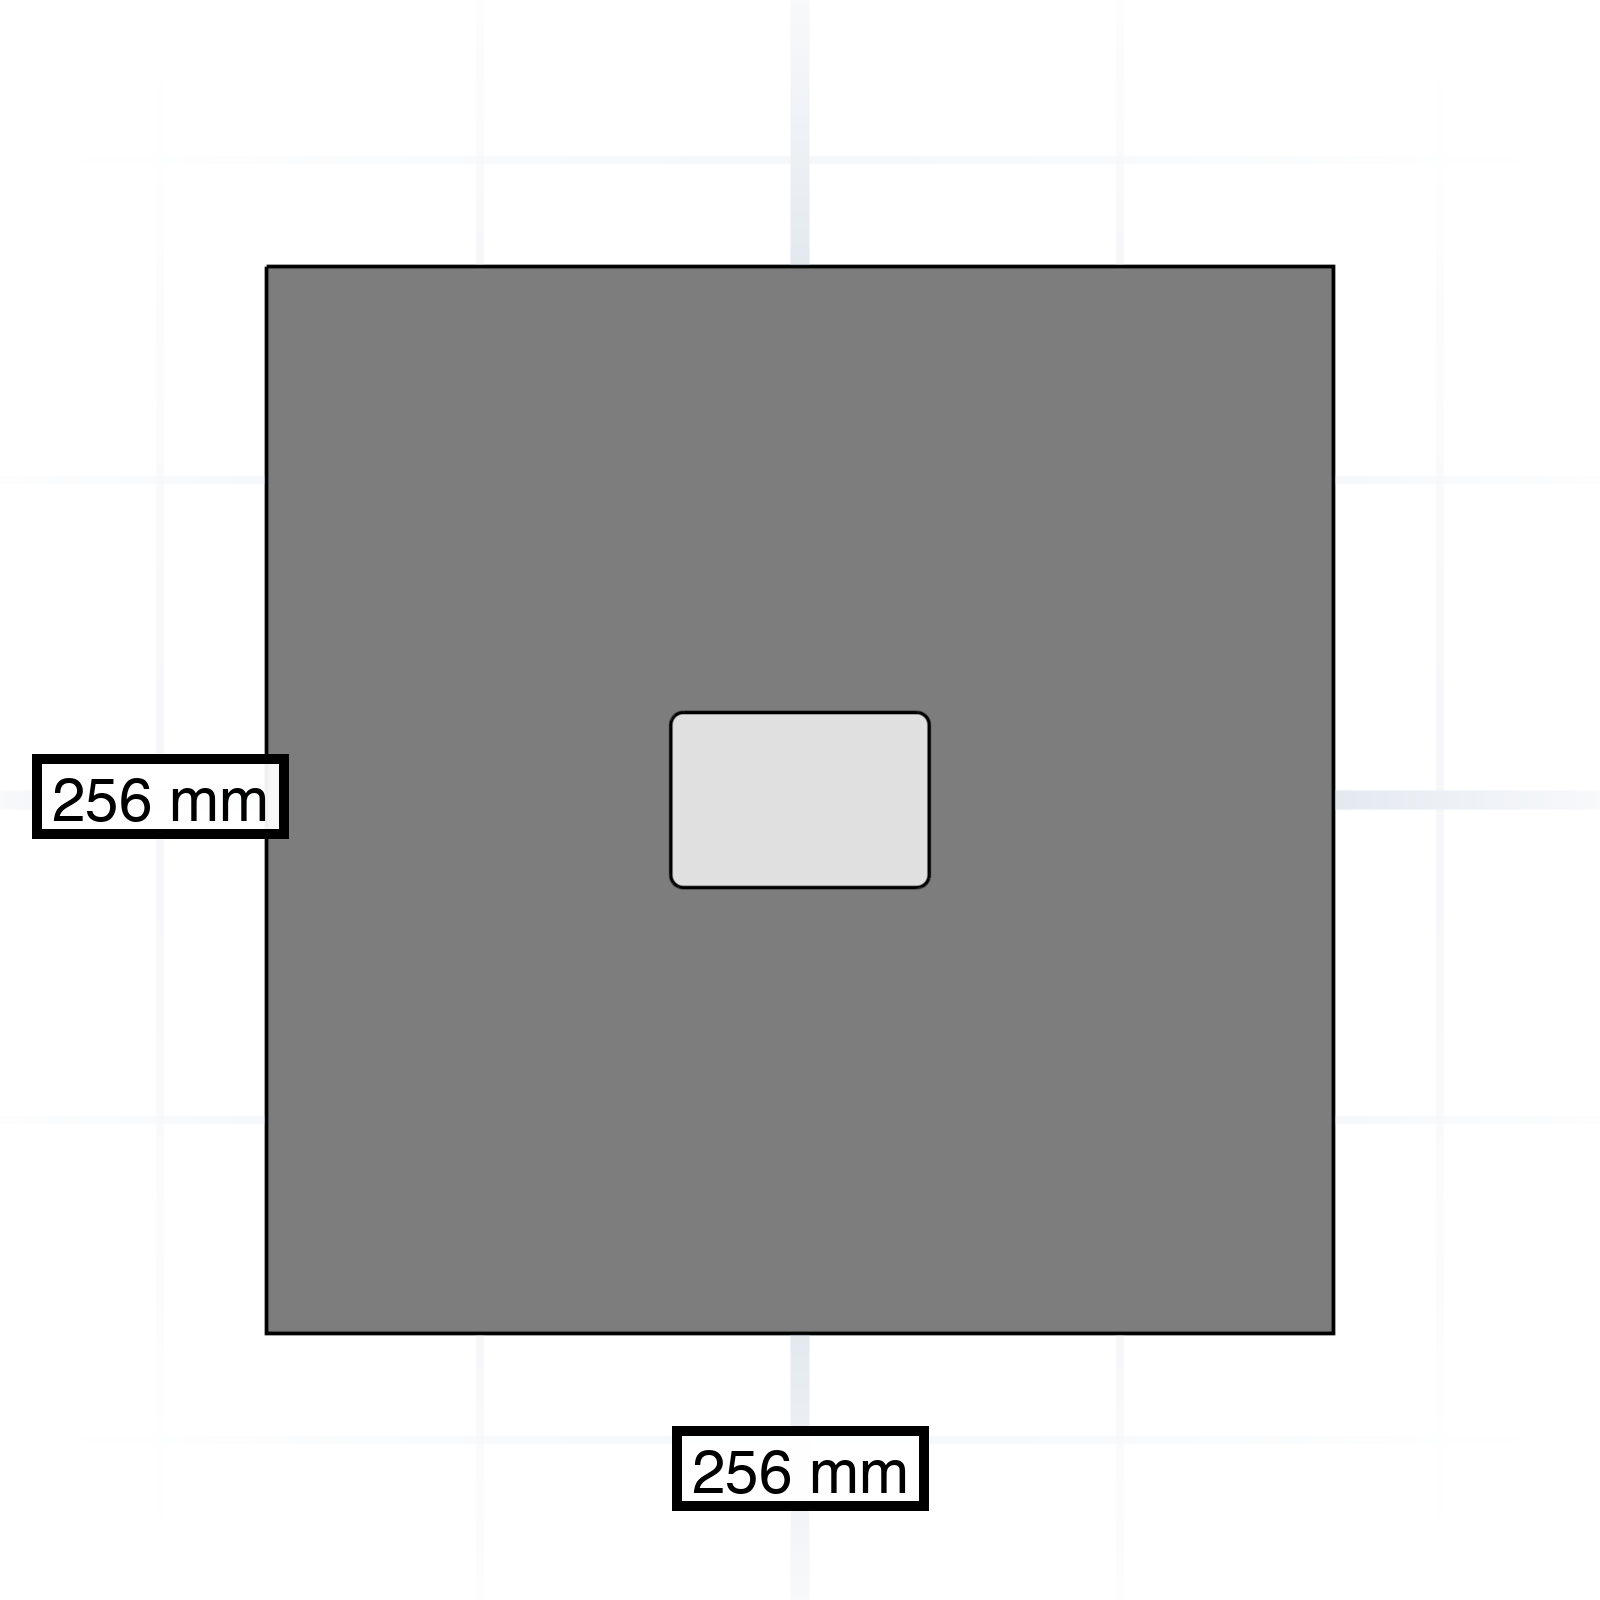
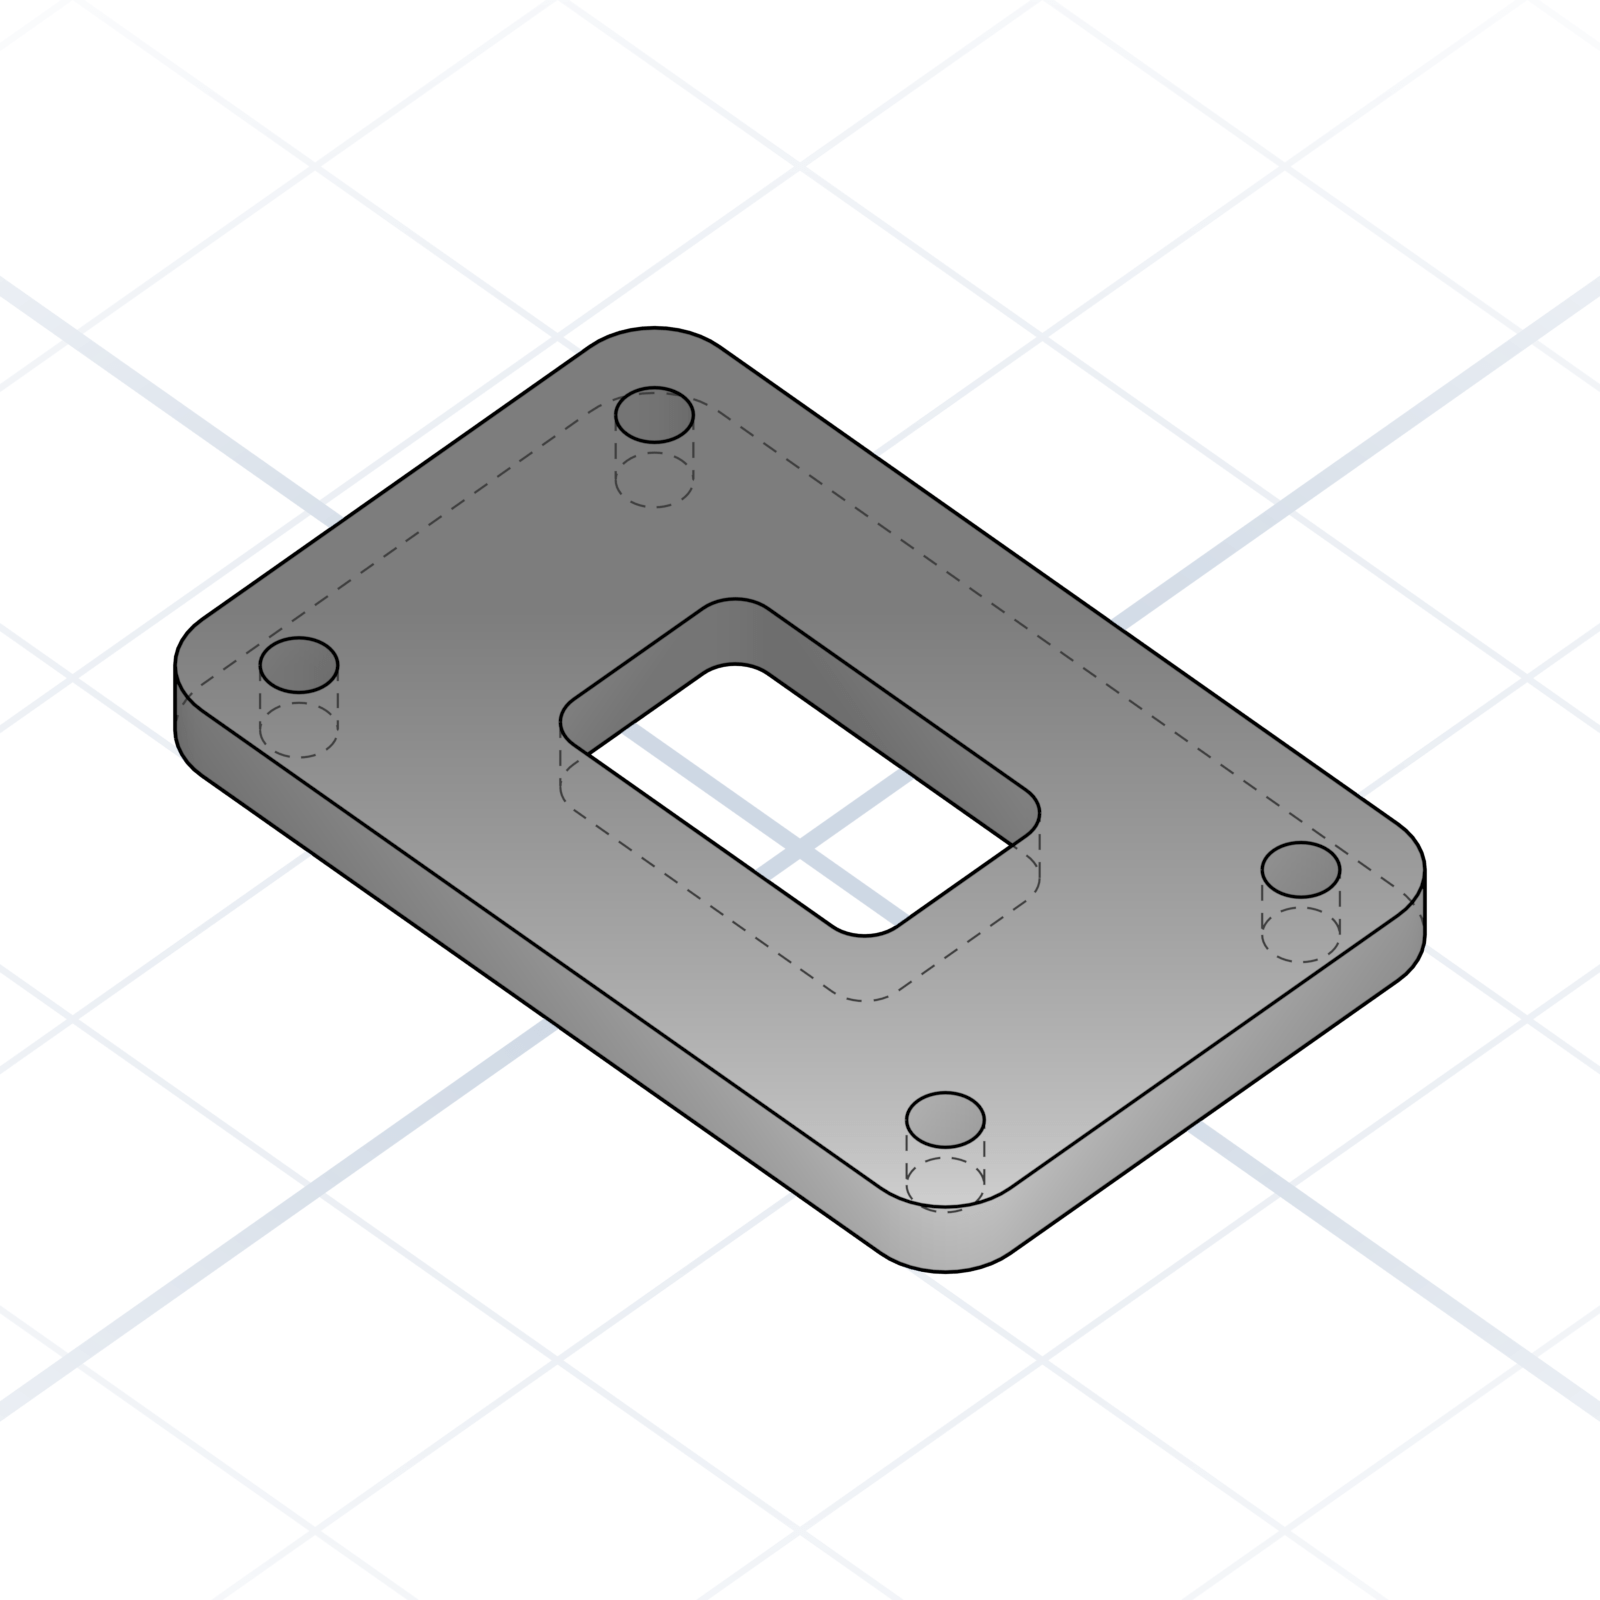
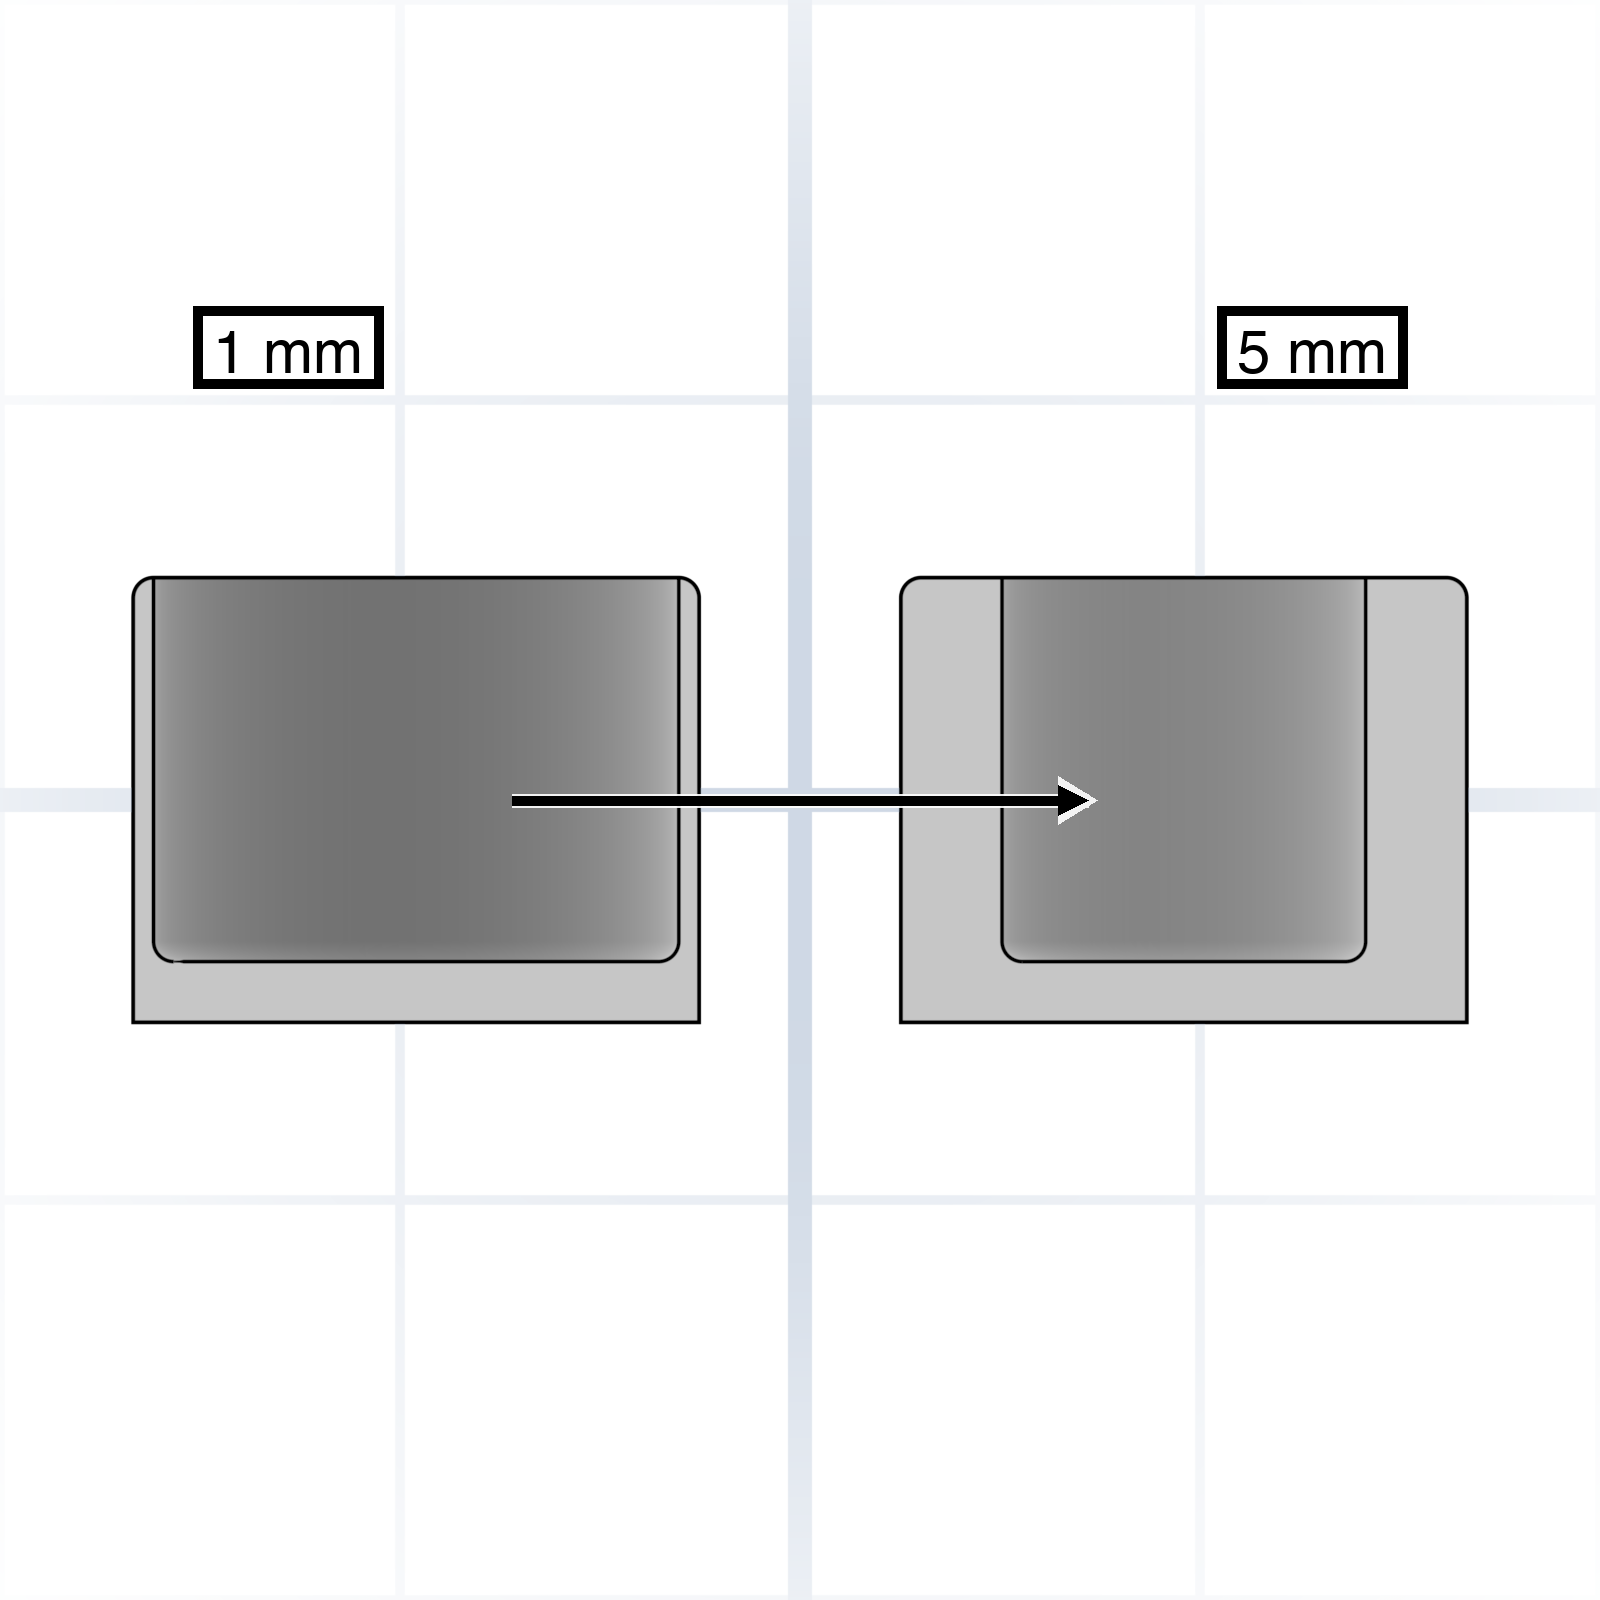
Rectangular cavity in a solid. Cable channels, captive nuts, lightening holes.
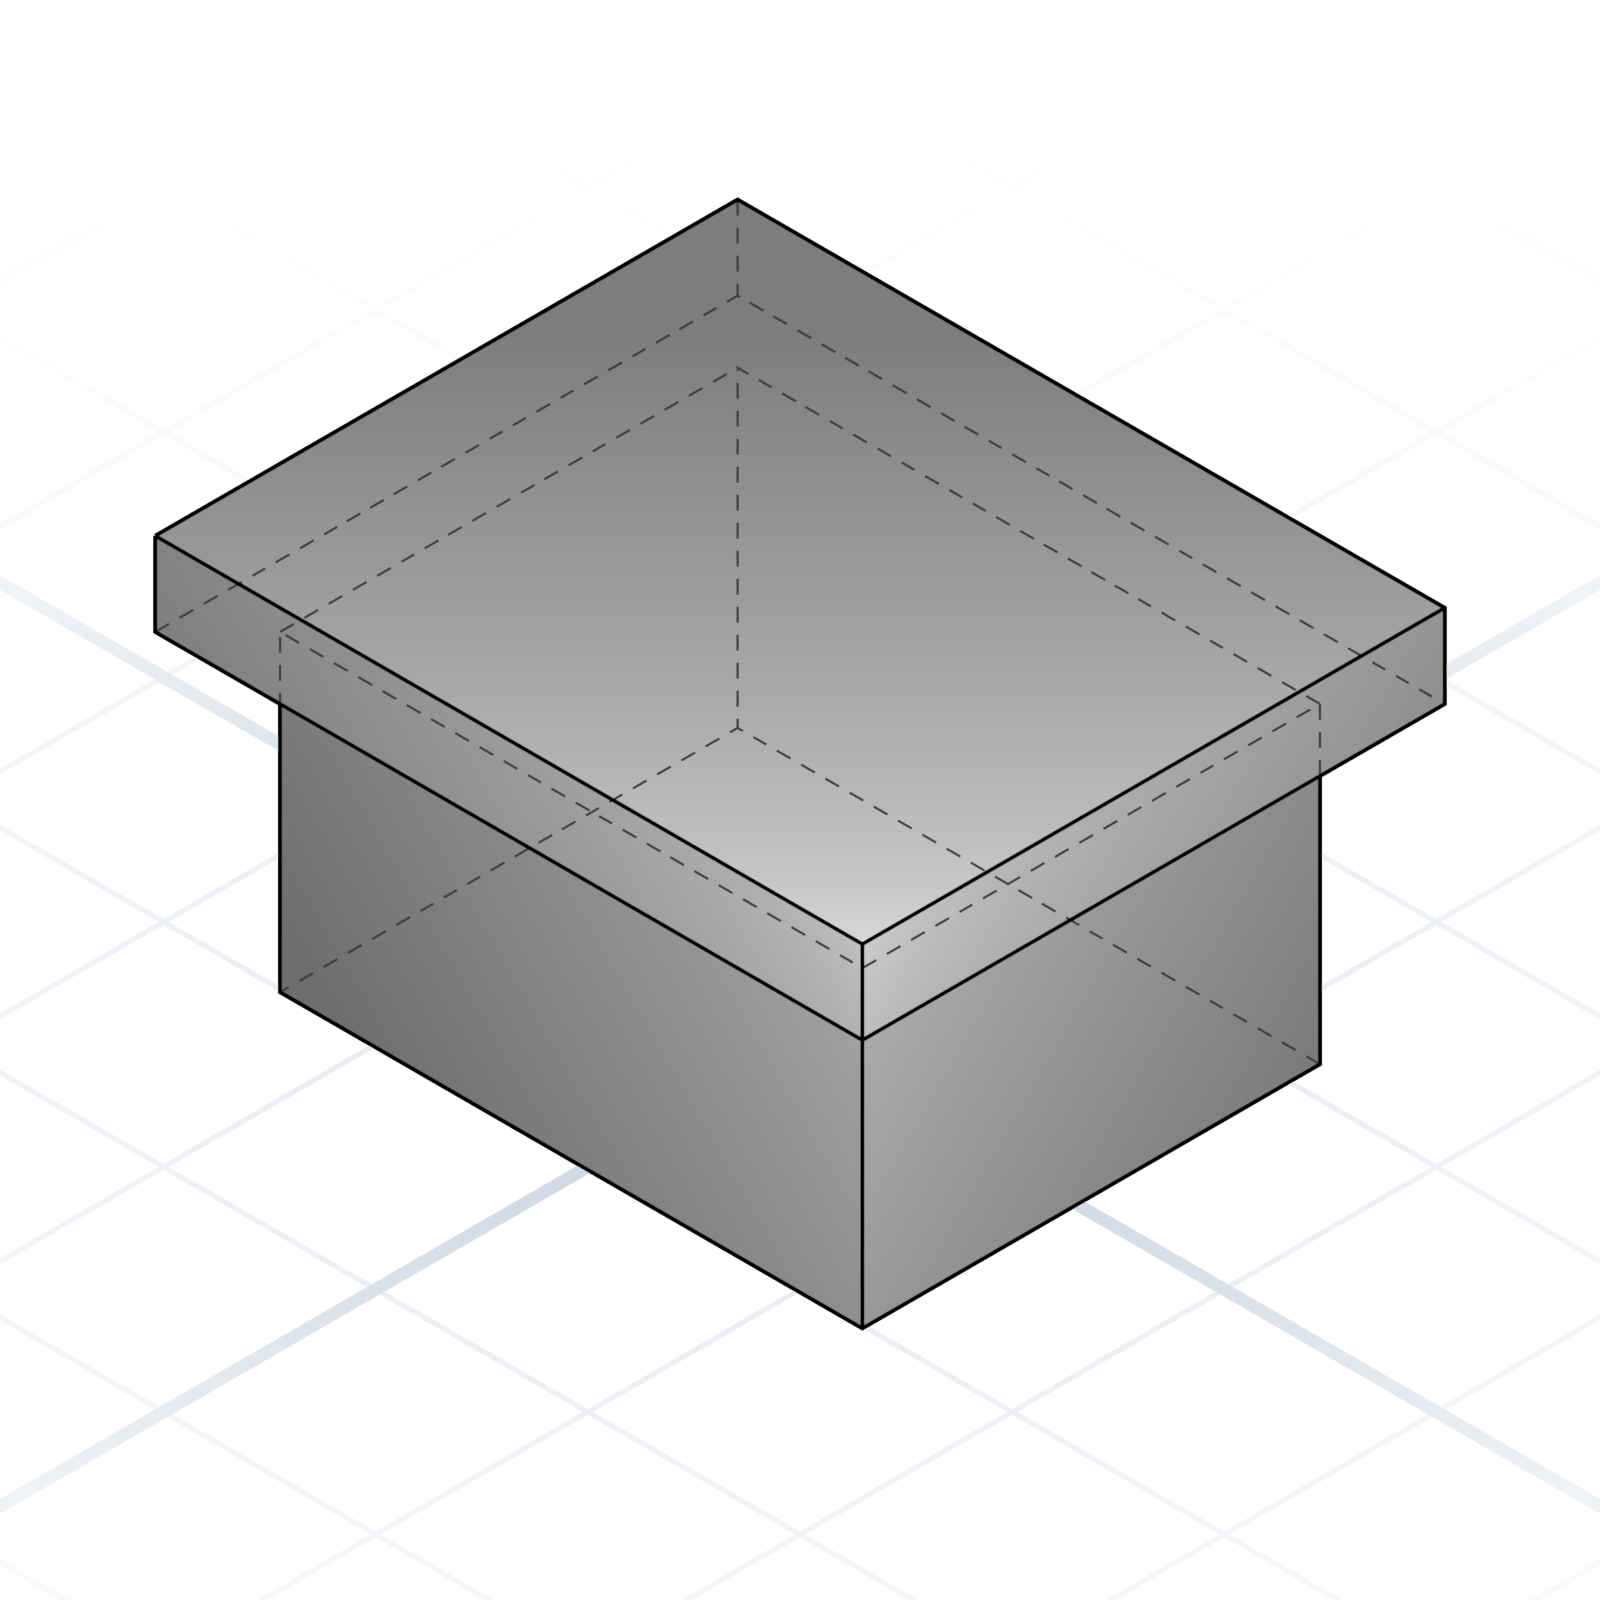
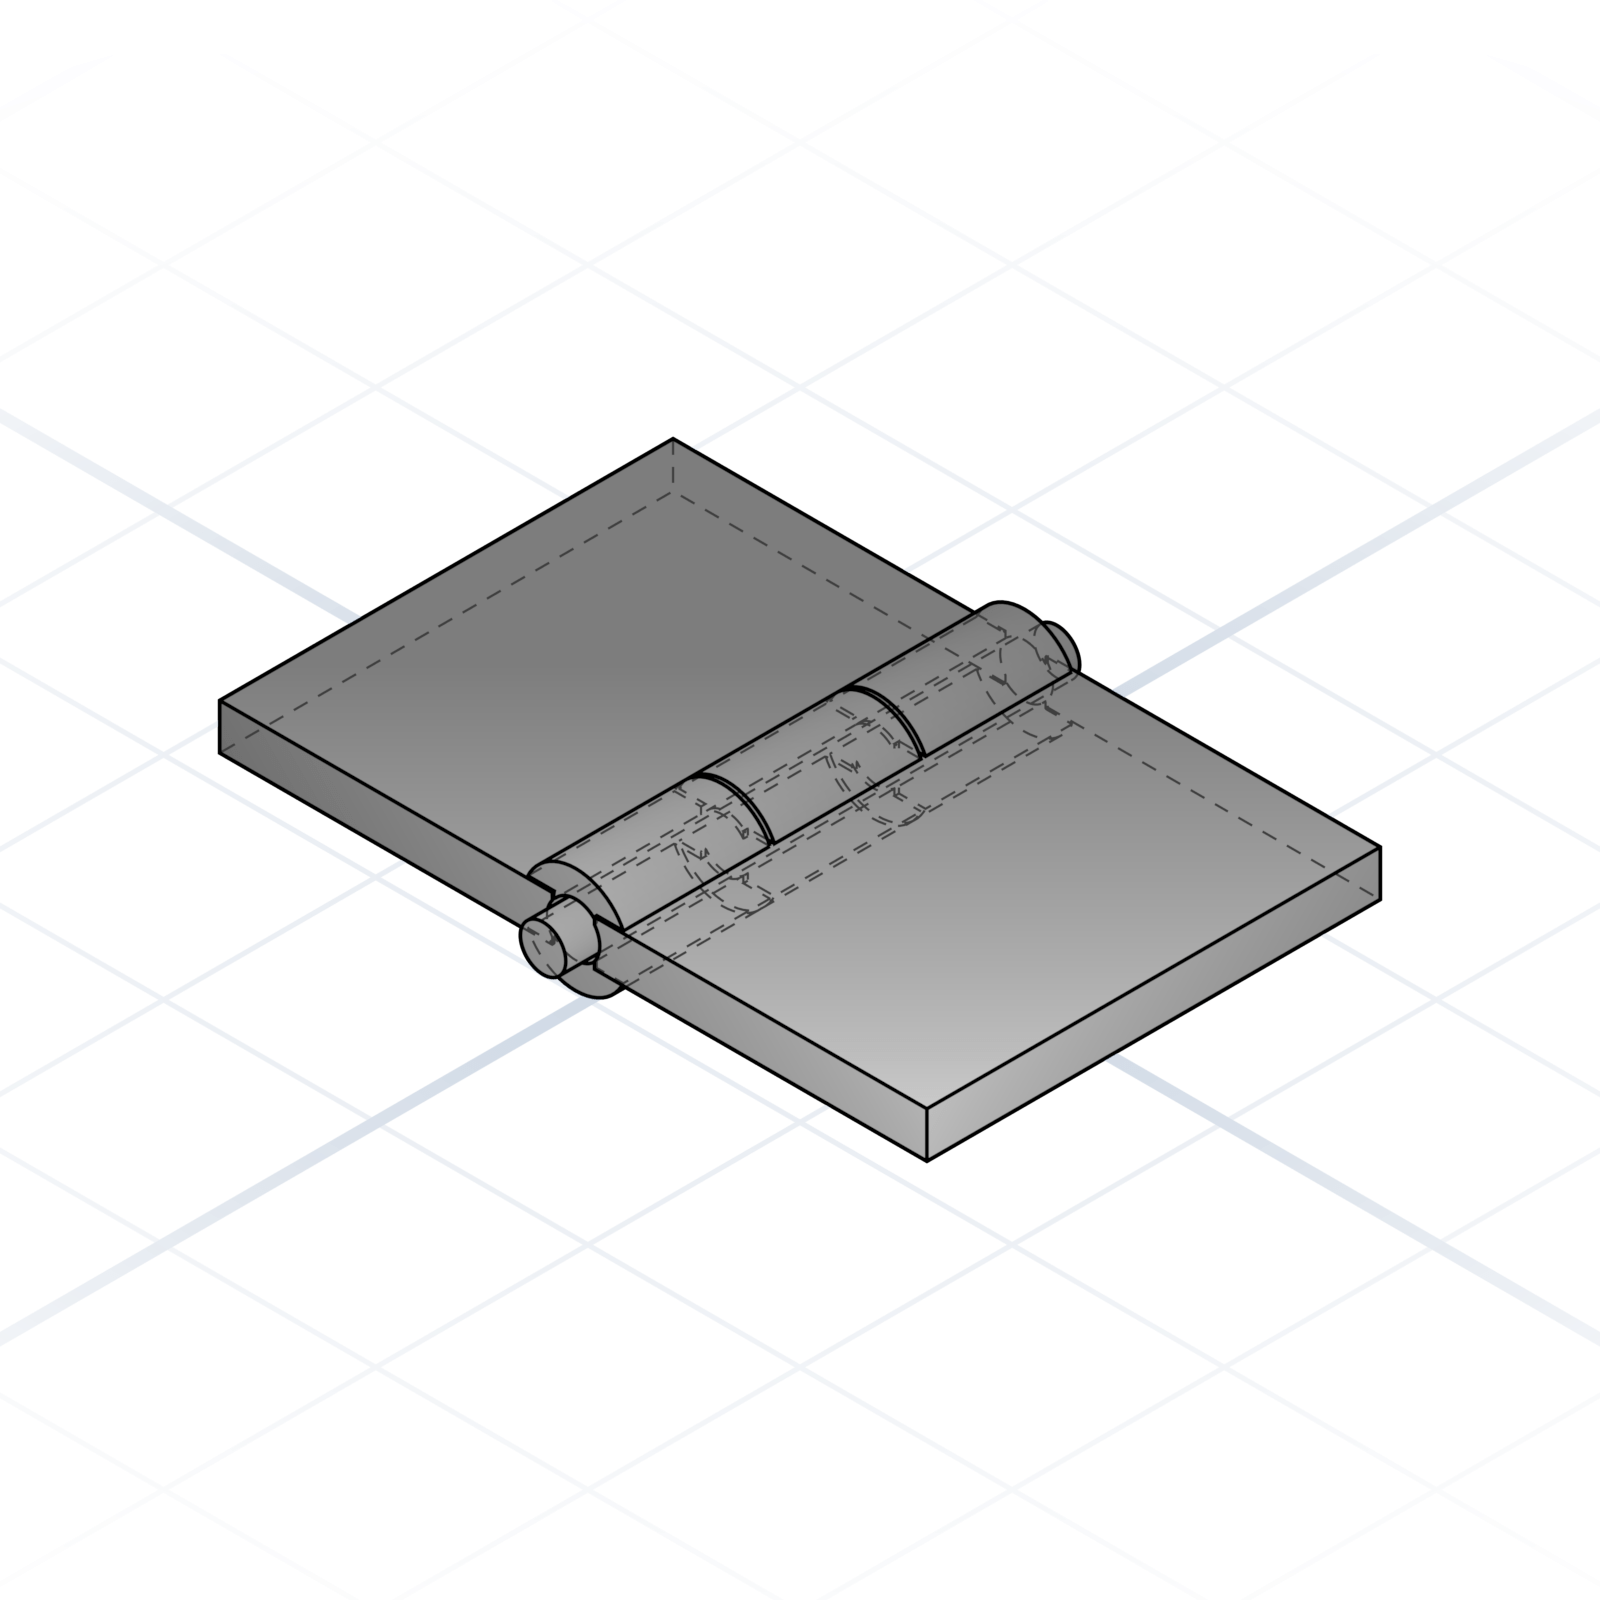
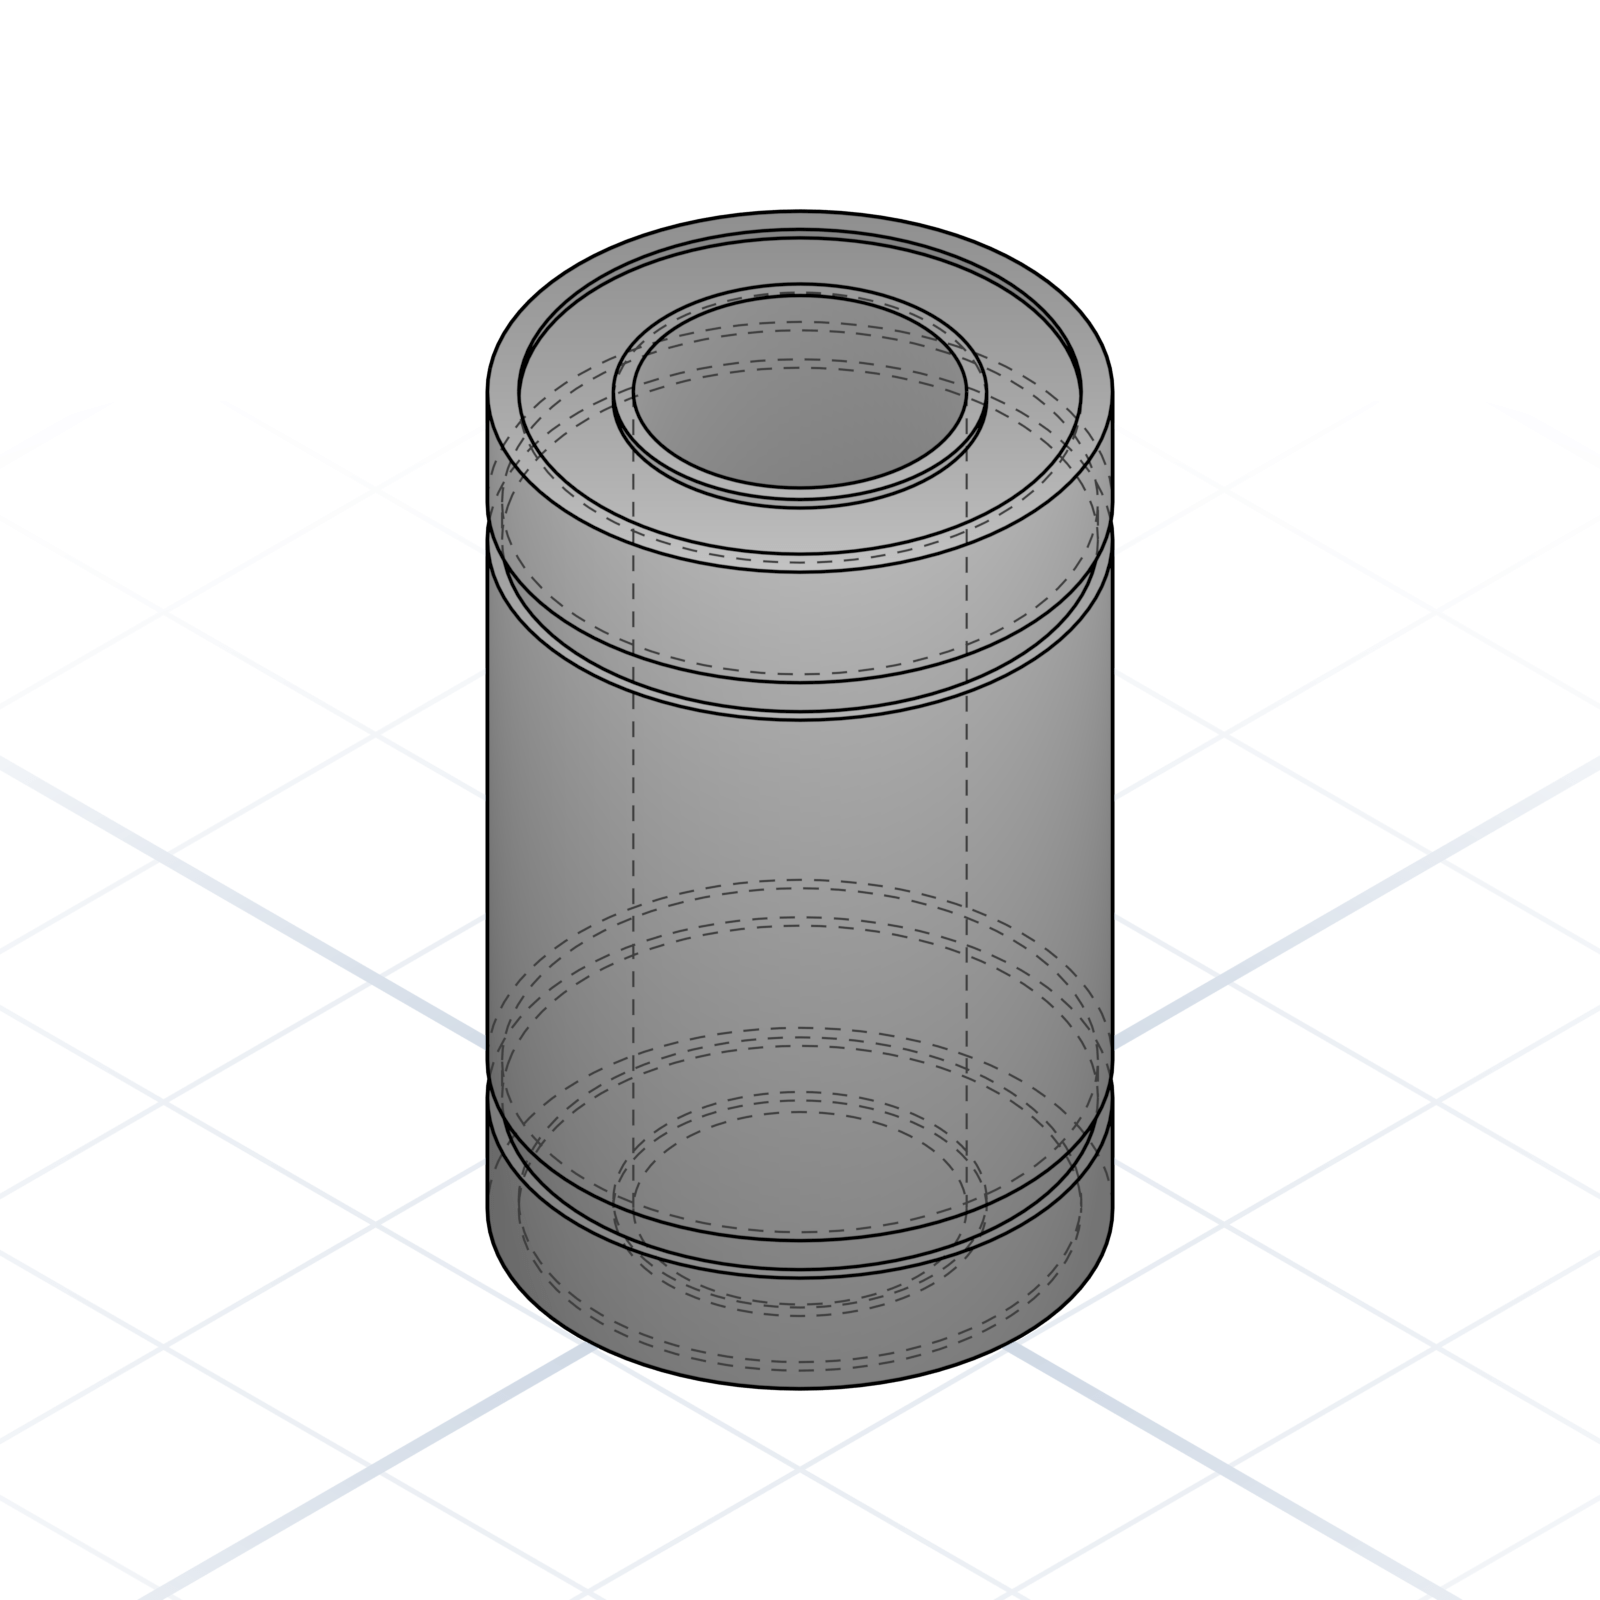
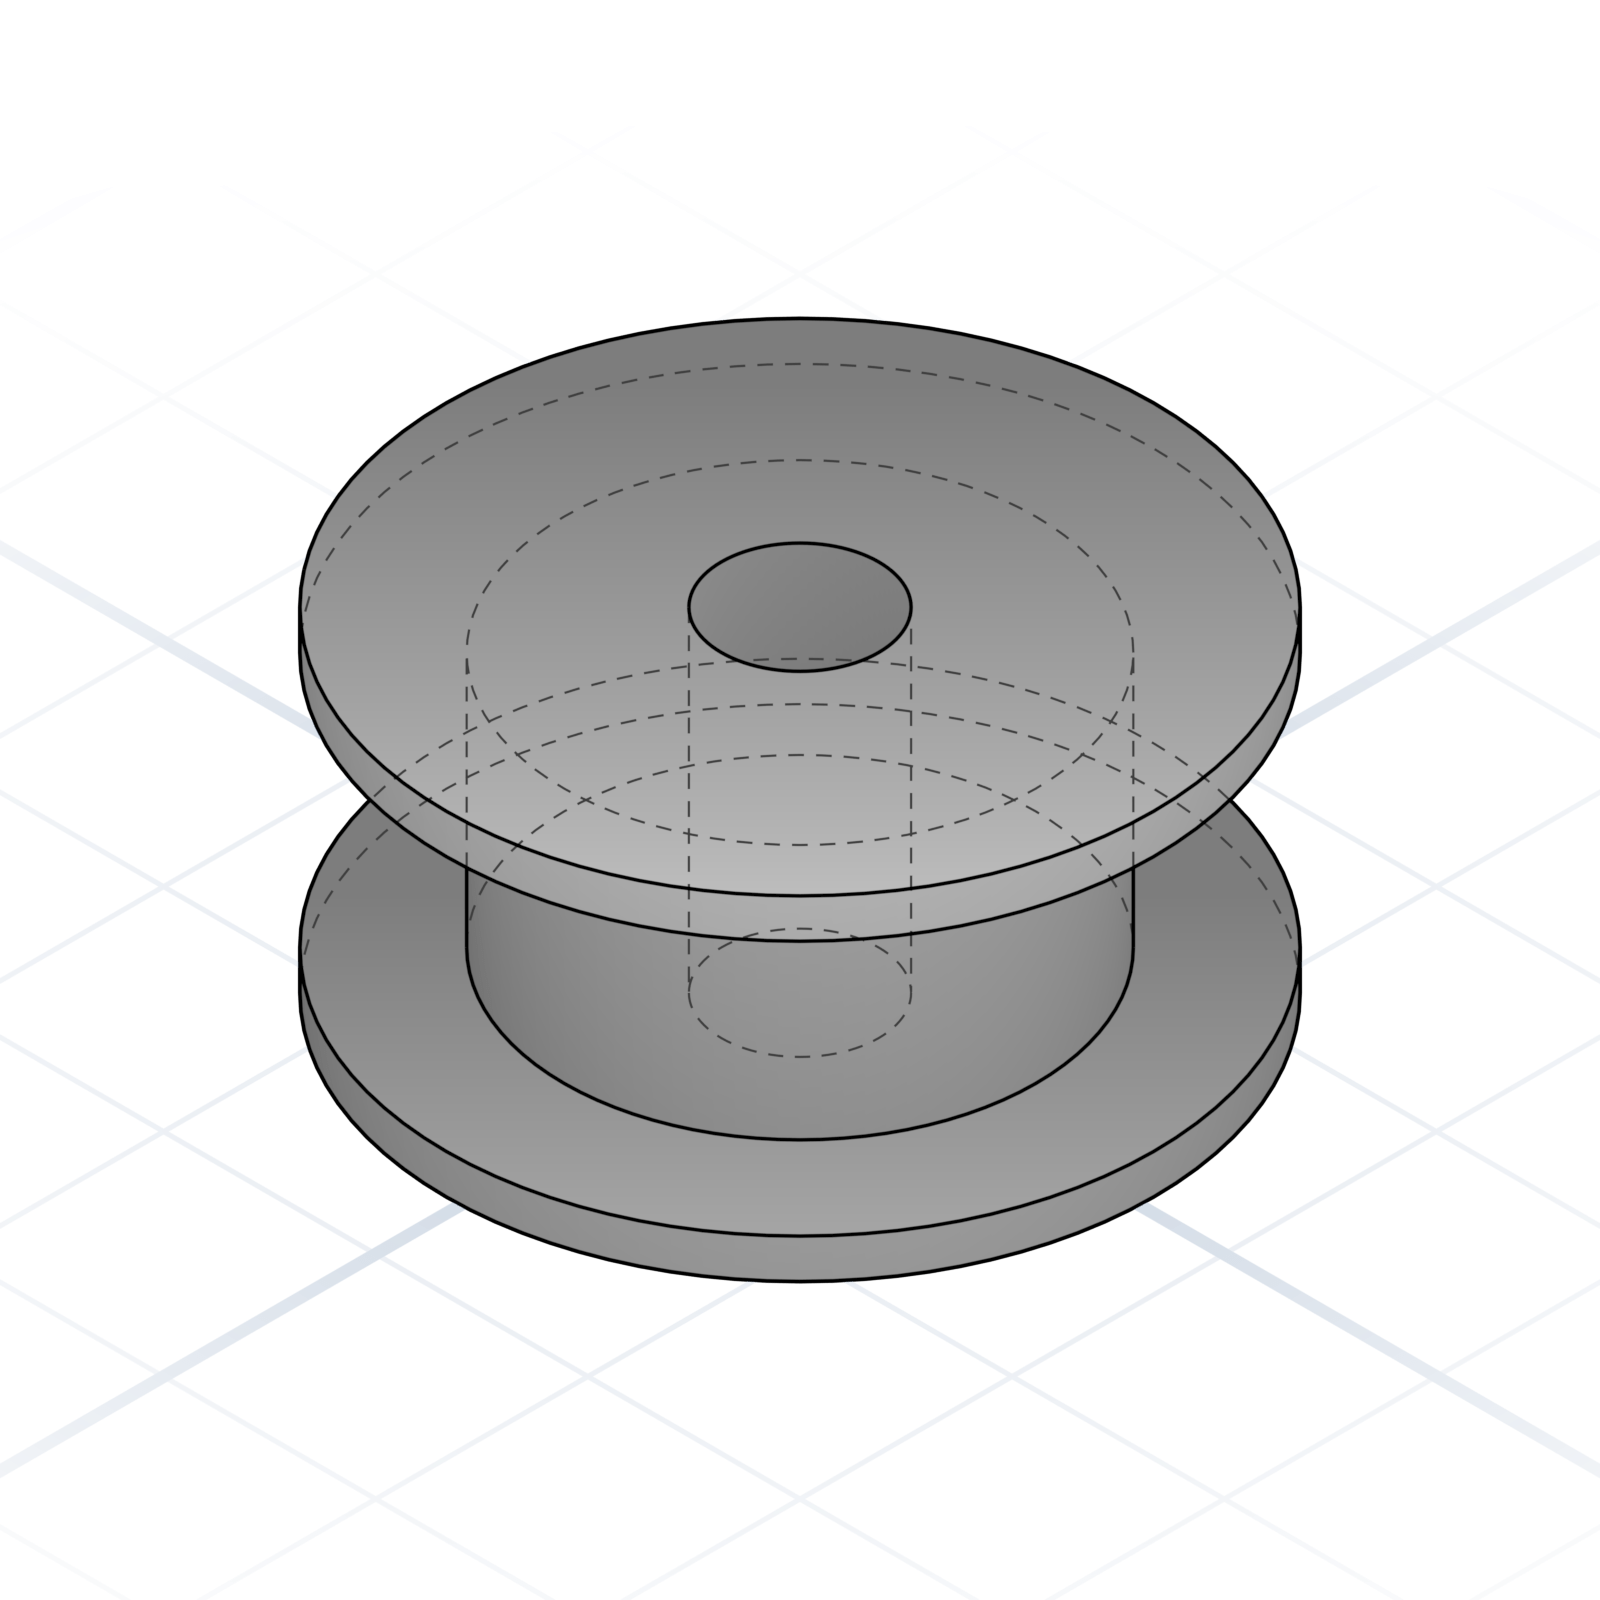
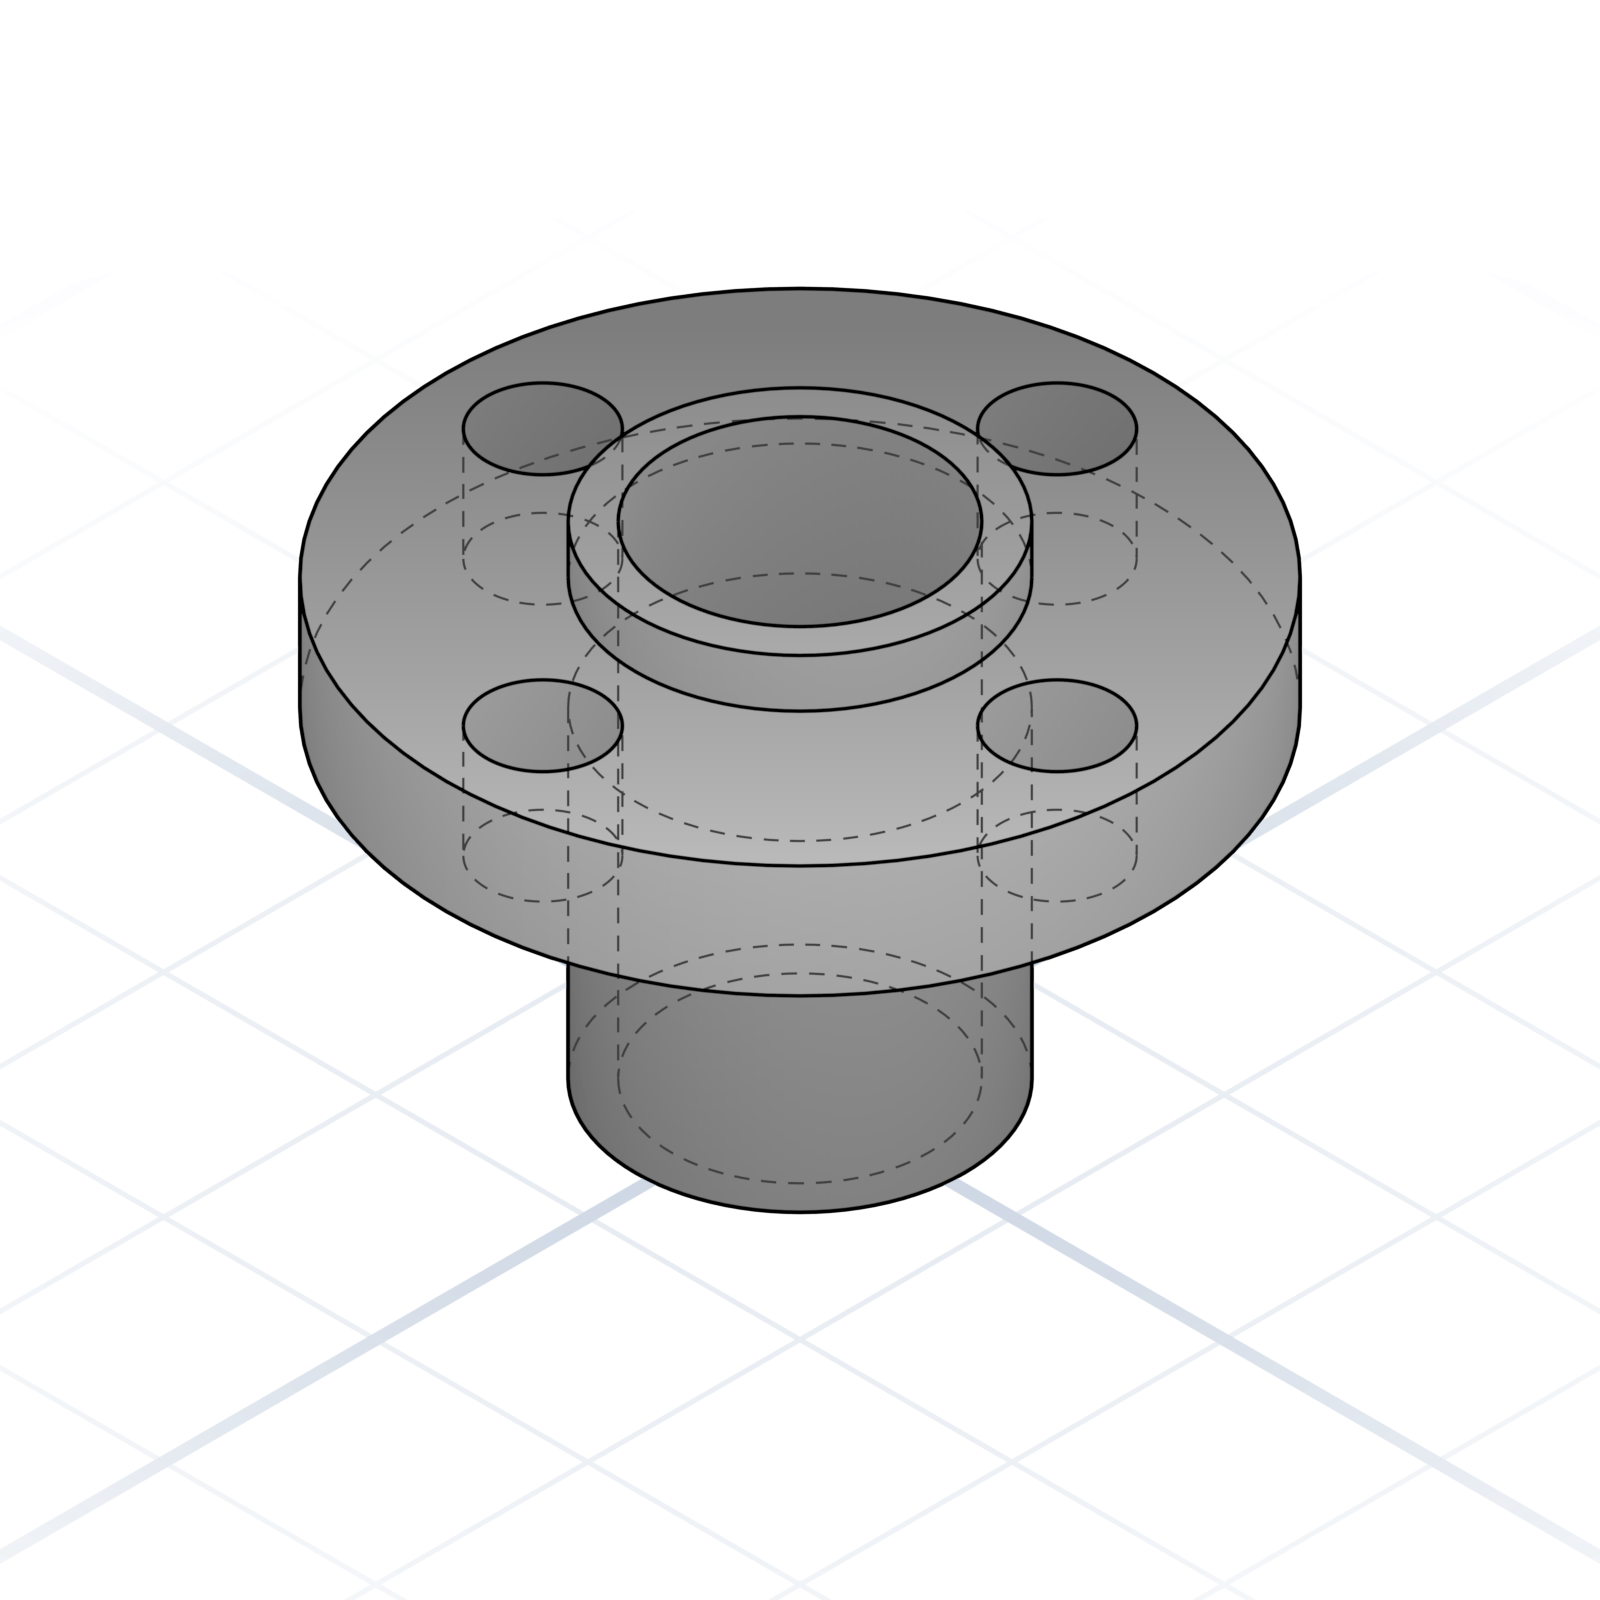
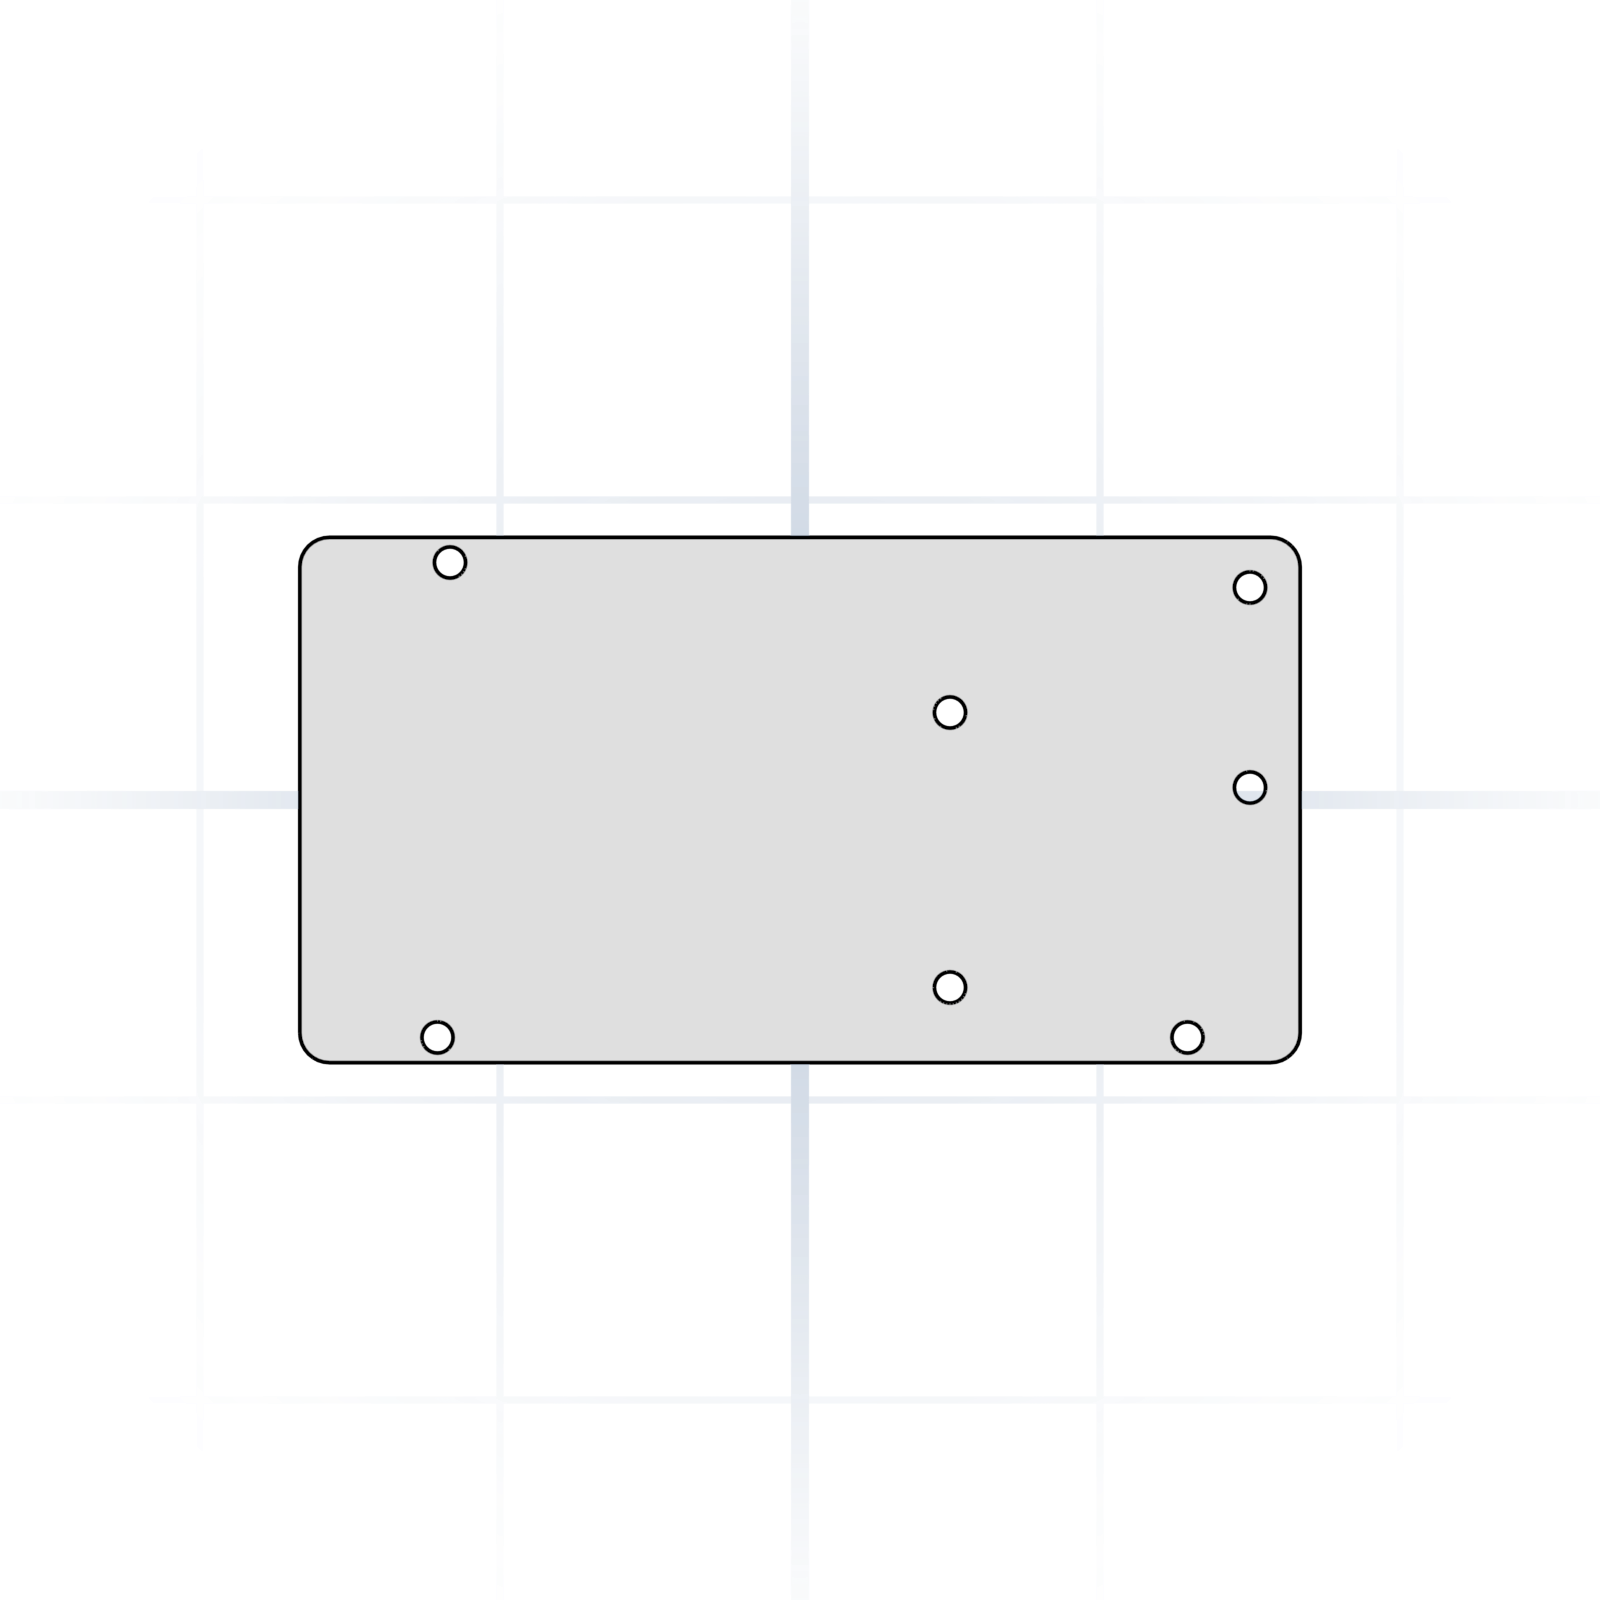
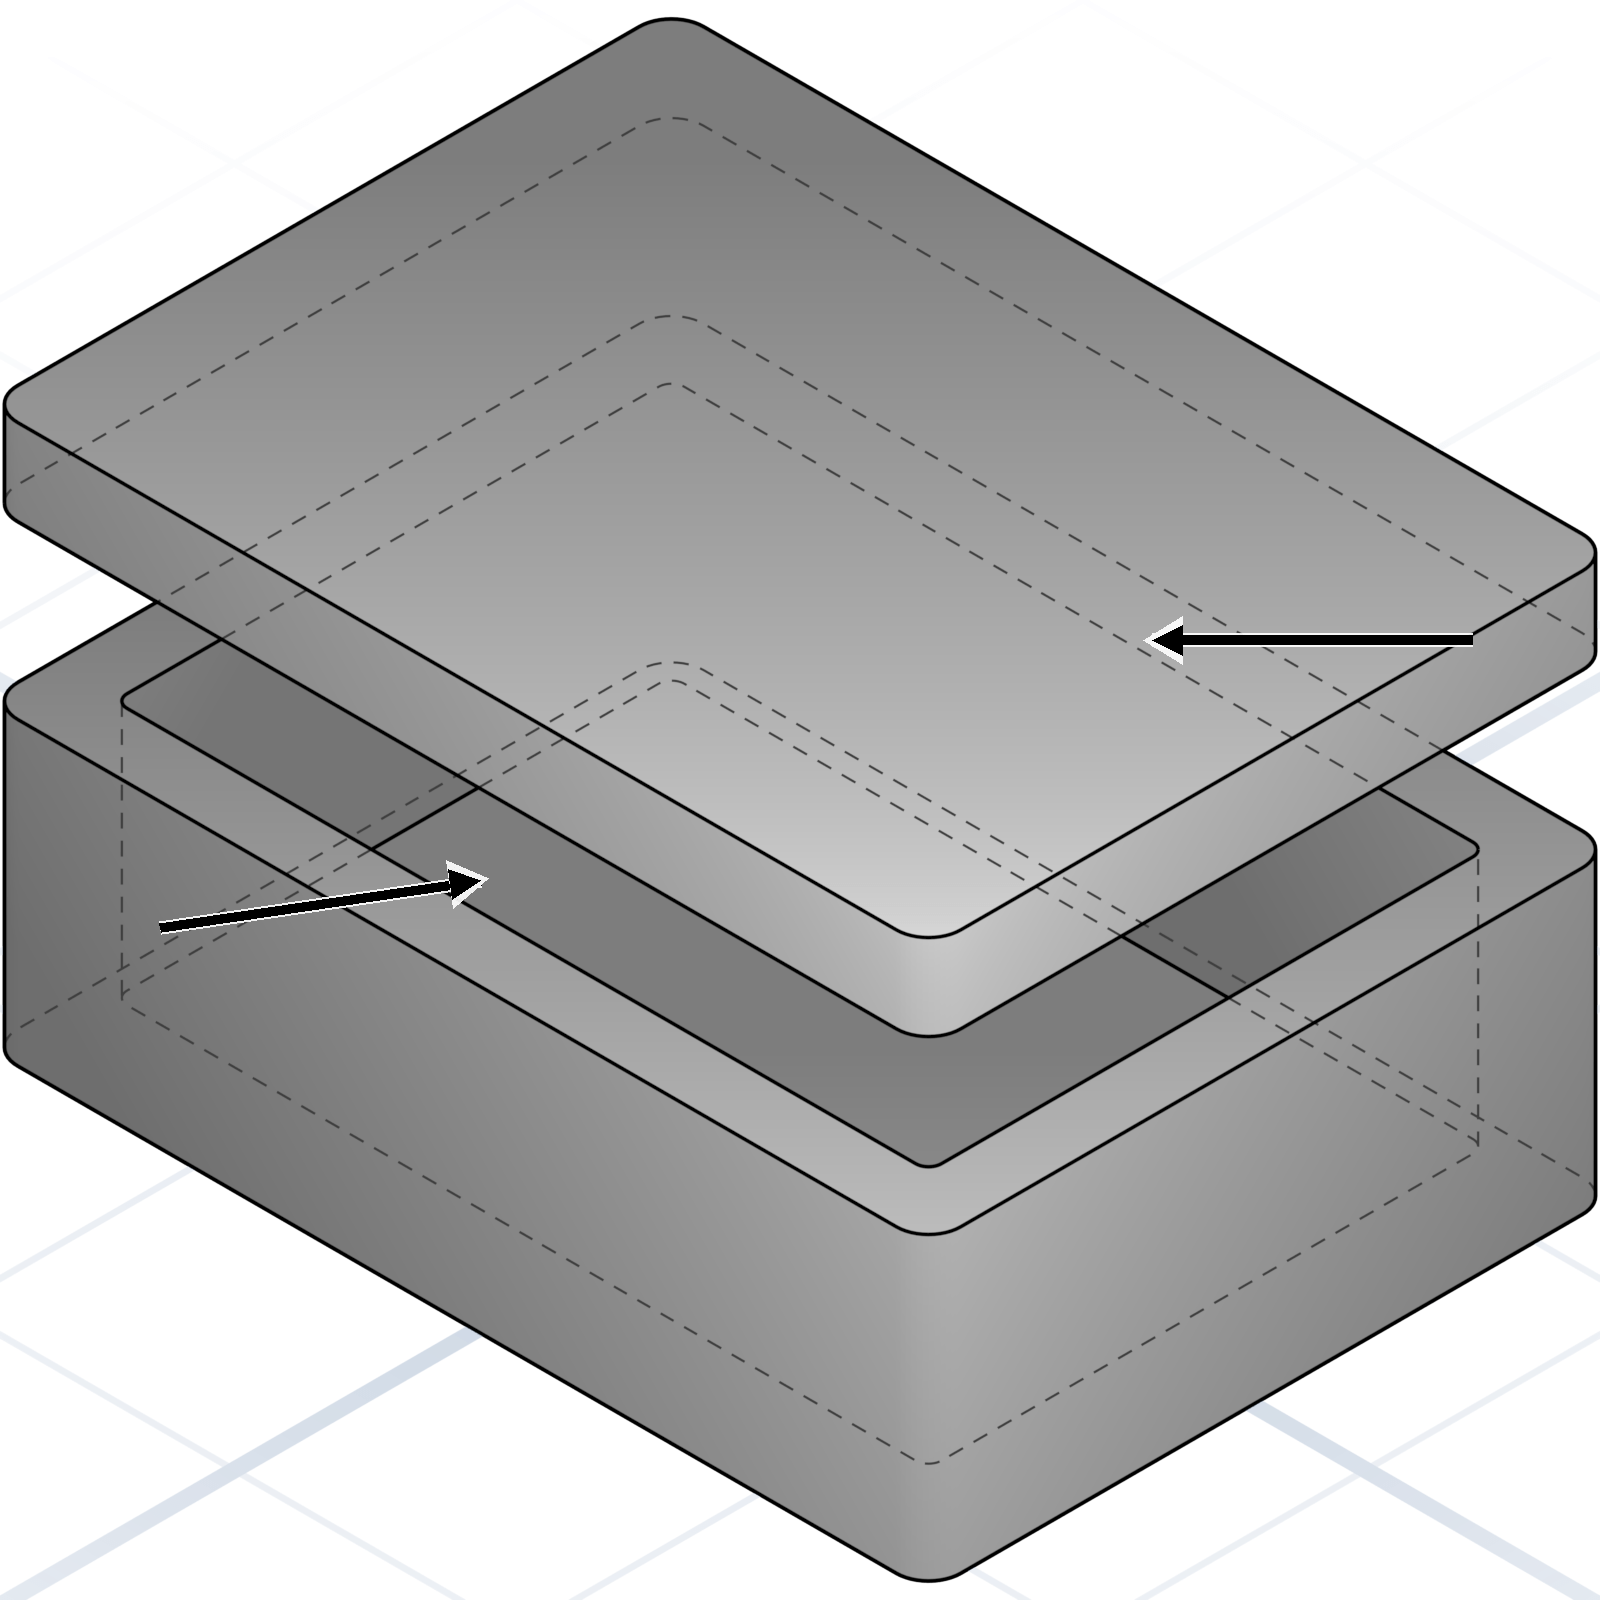
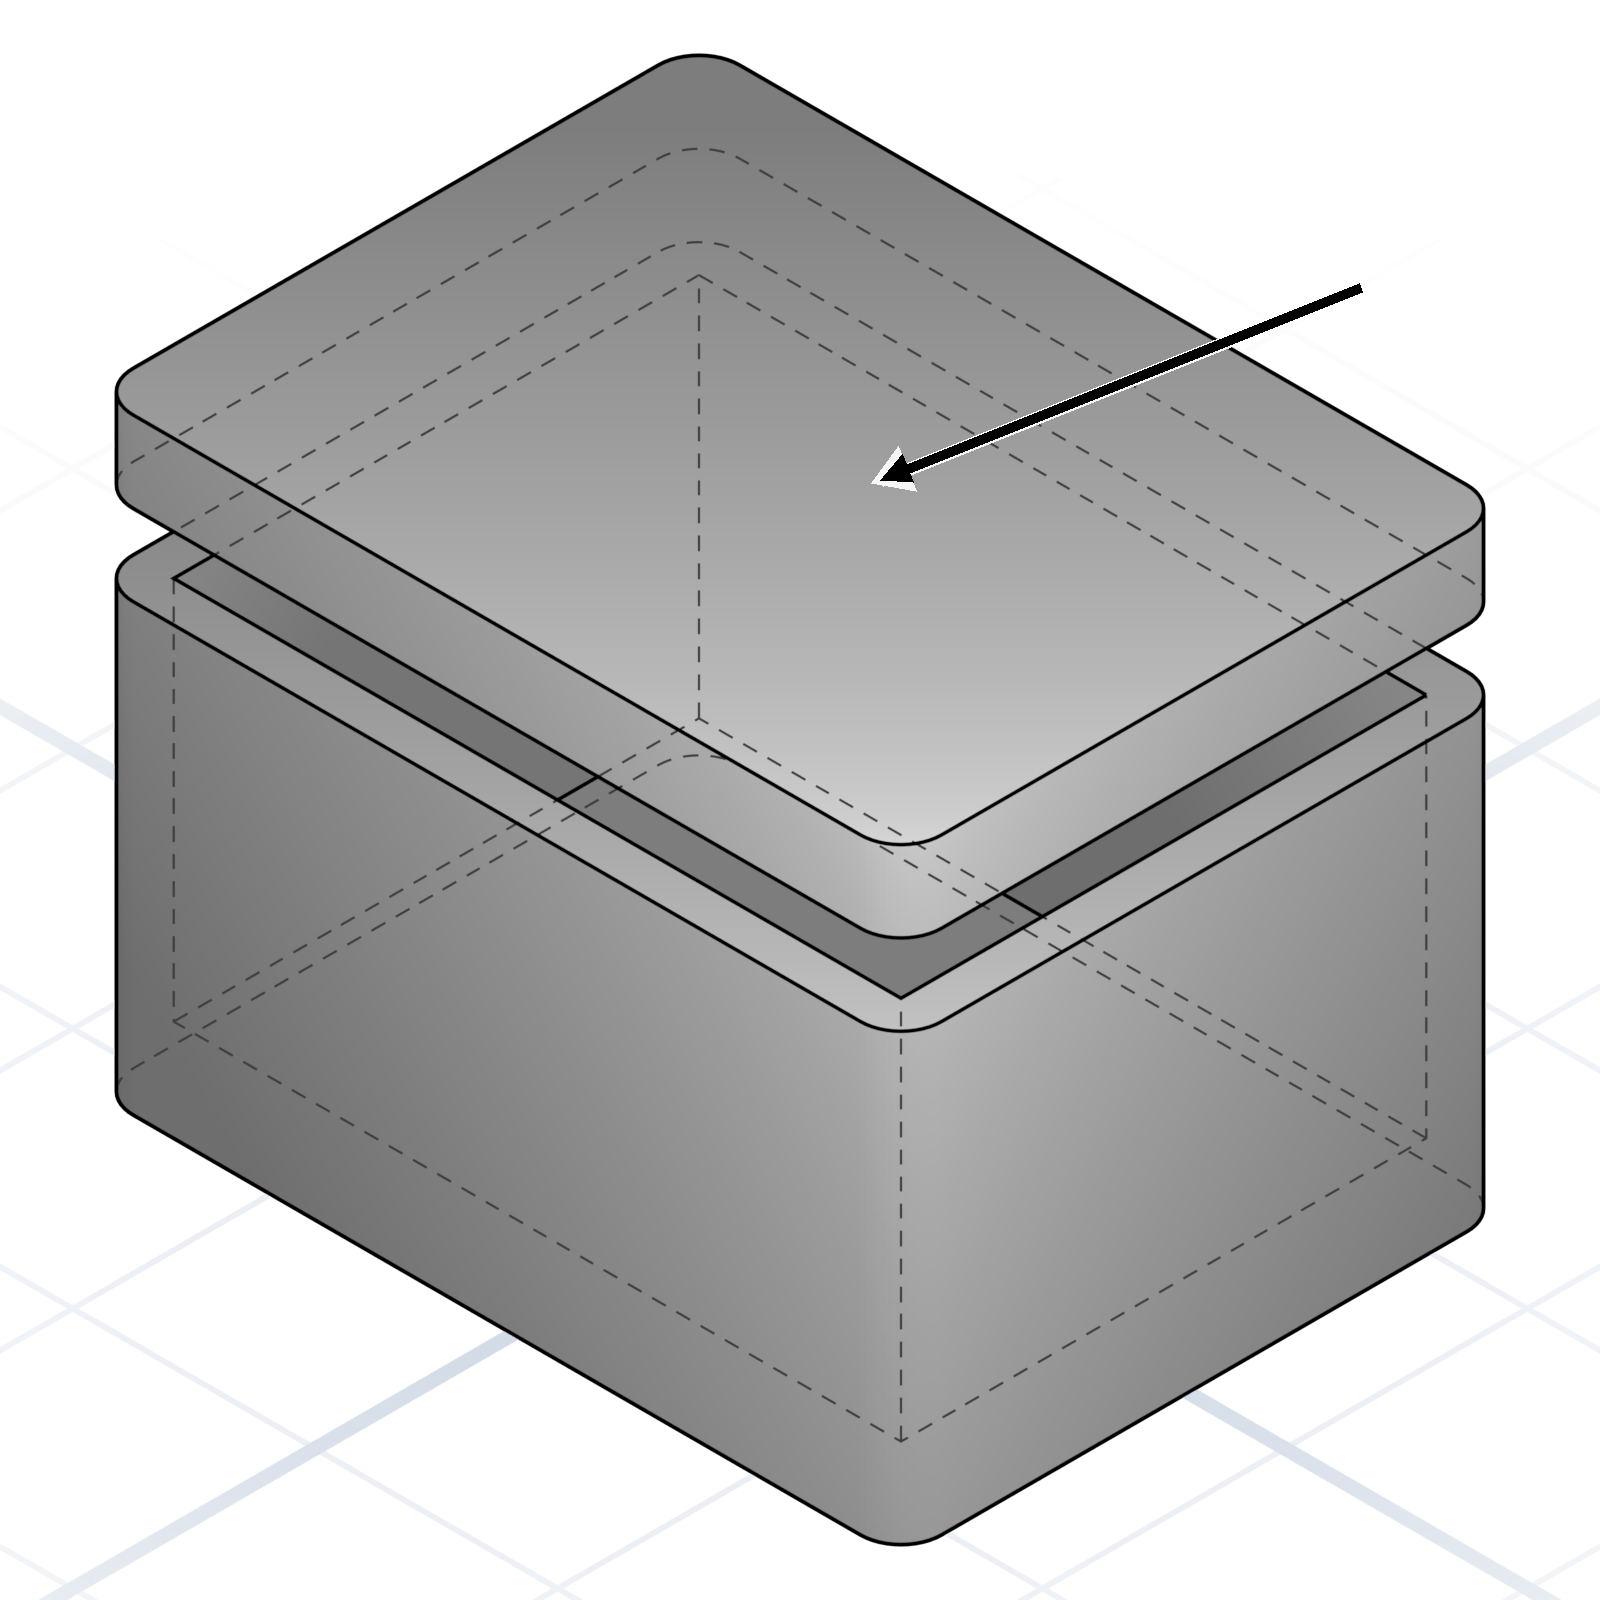
Lip / Flange
An edge that overhangs the wall below. The rim on a container, the mounting plate on a motor.

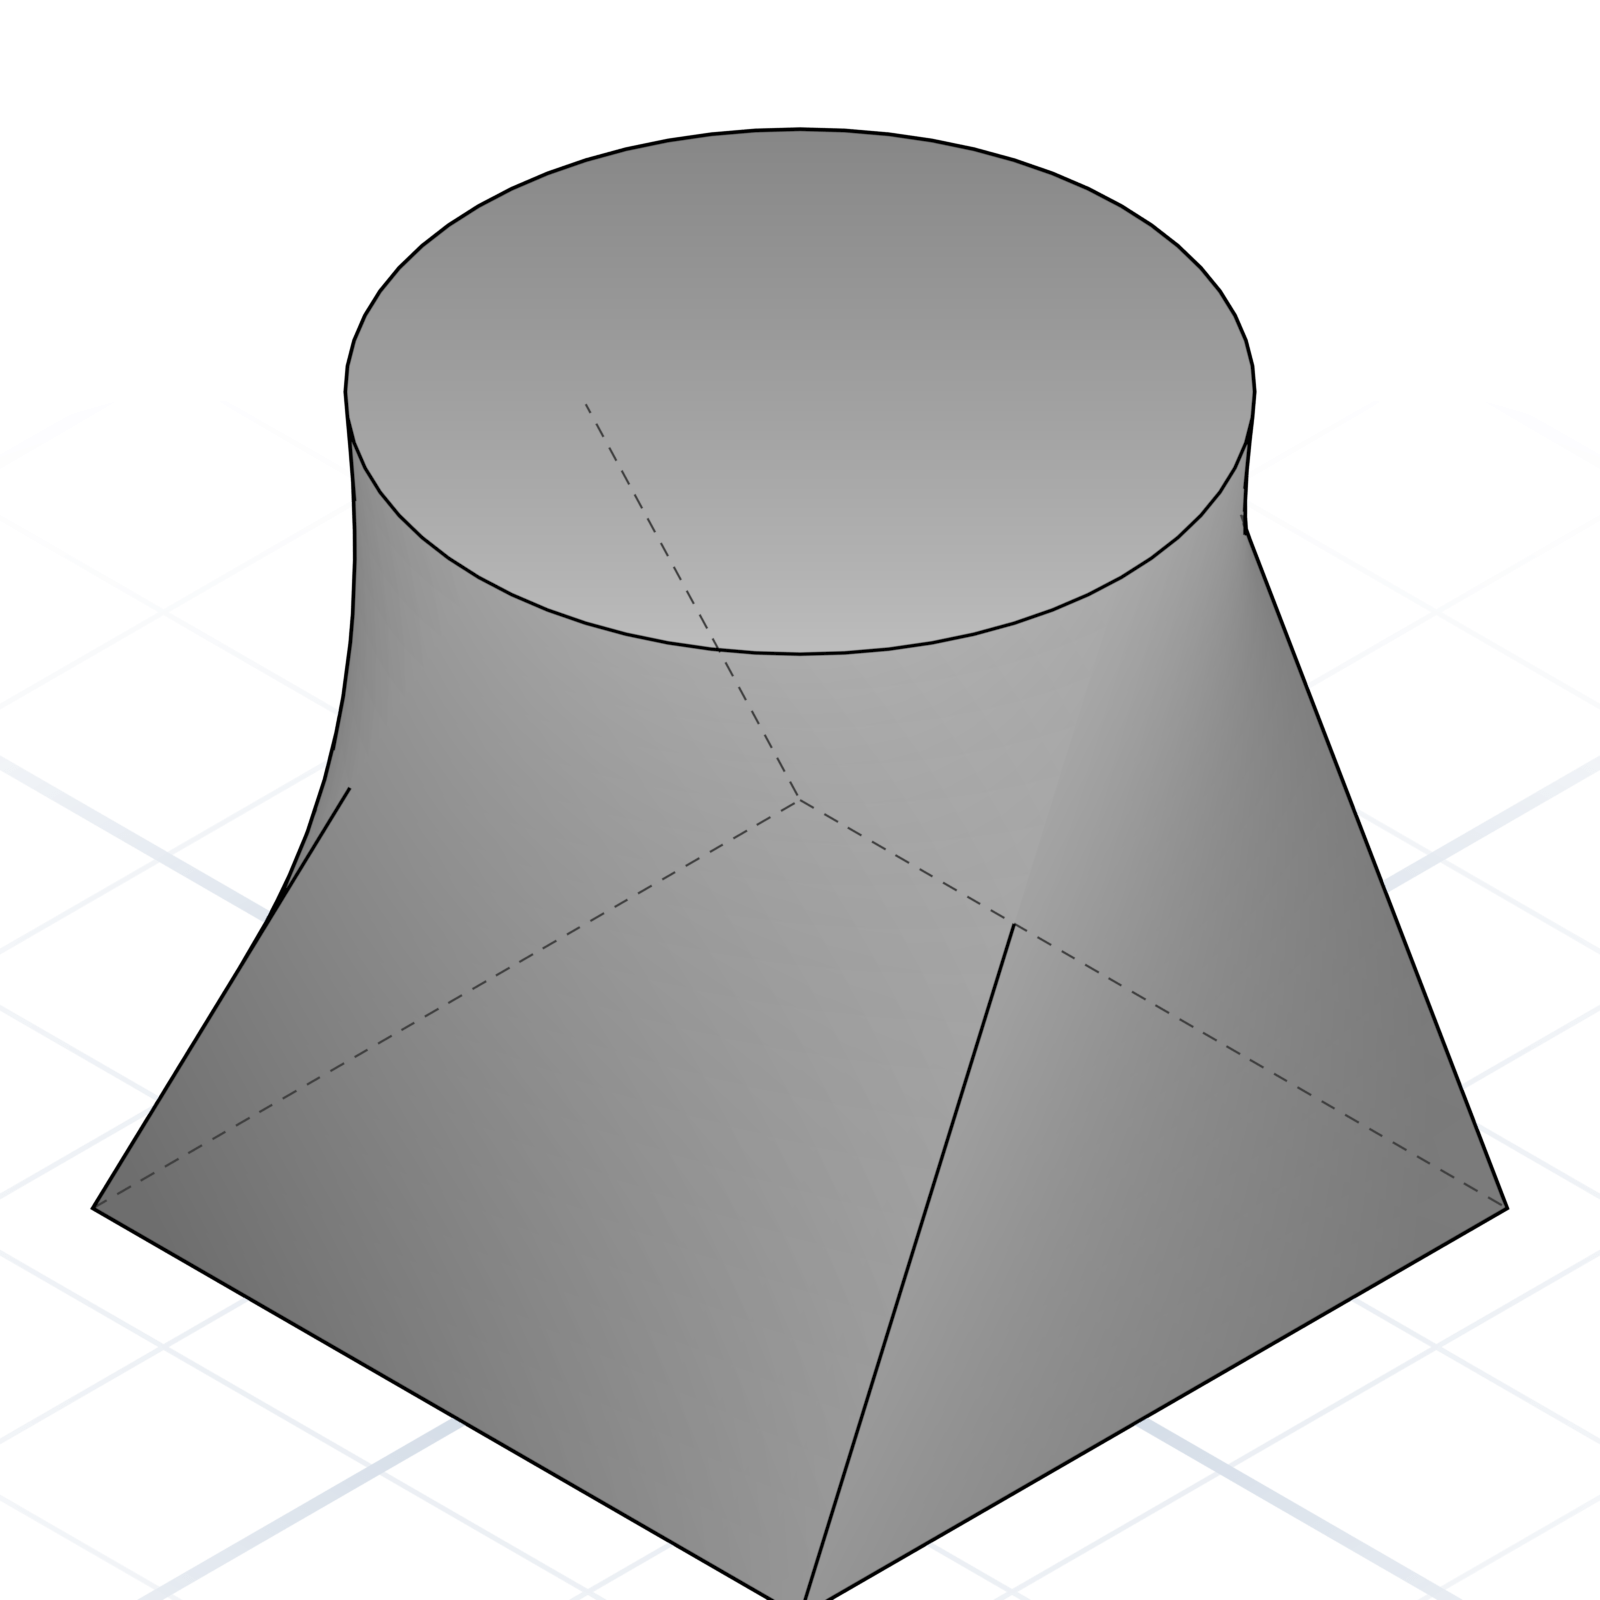
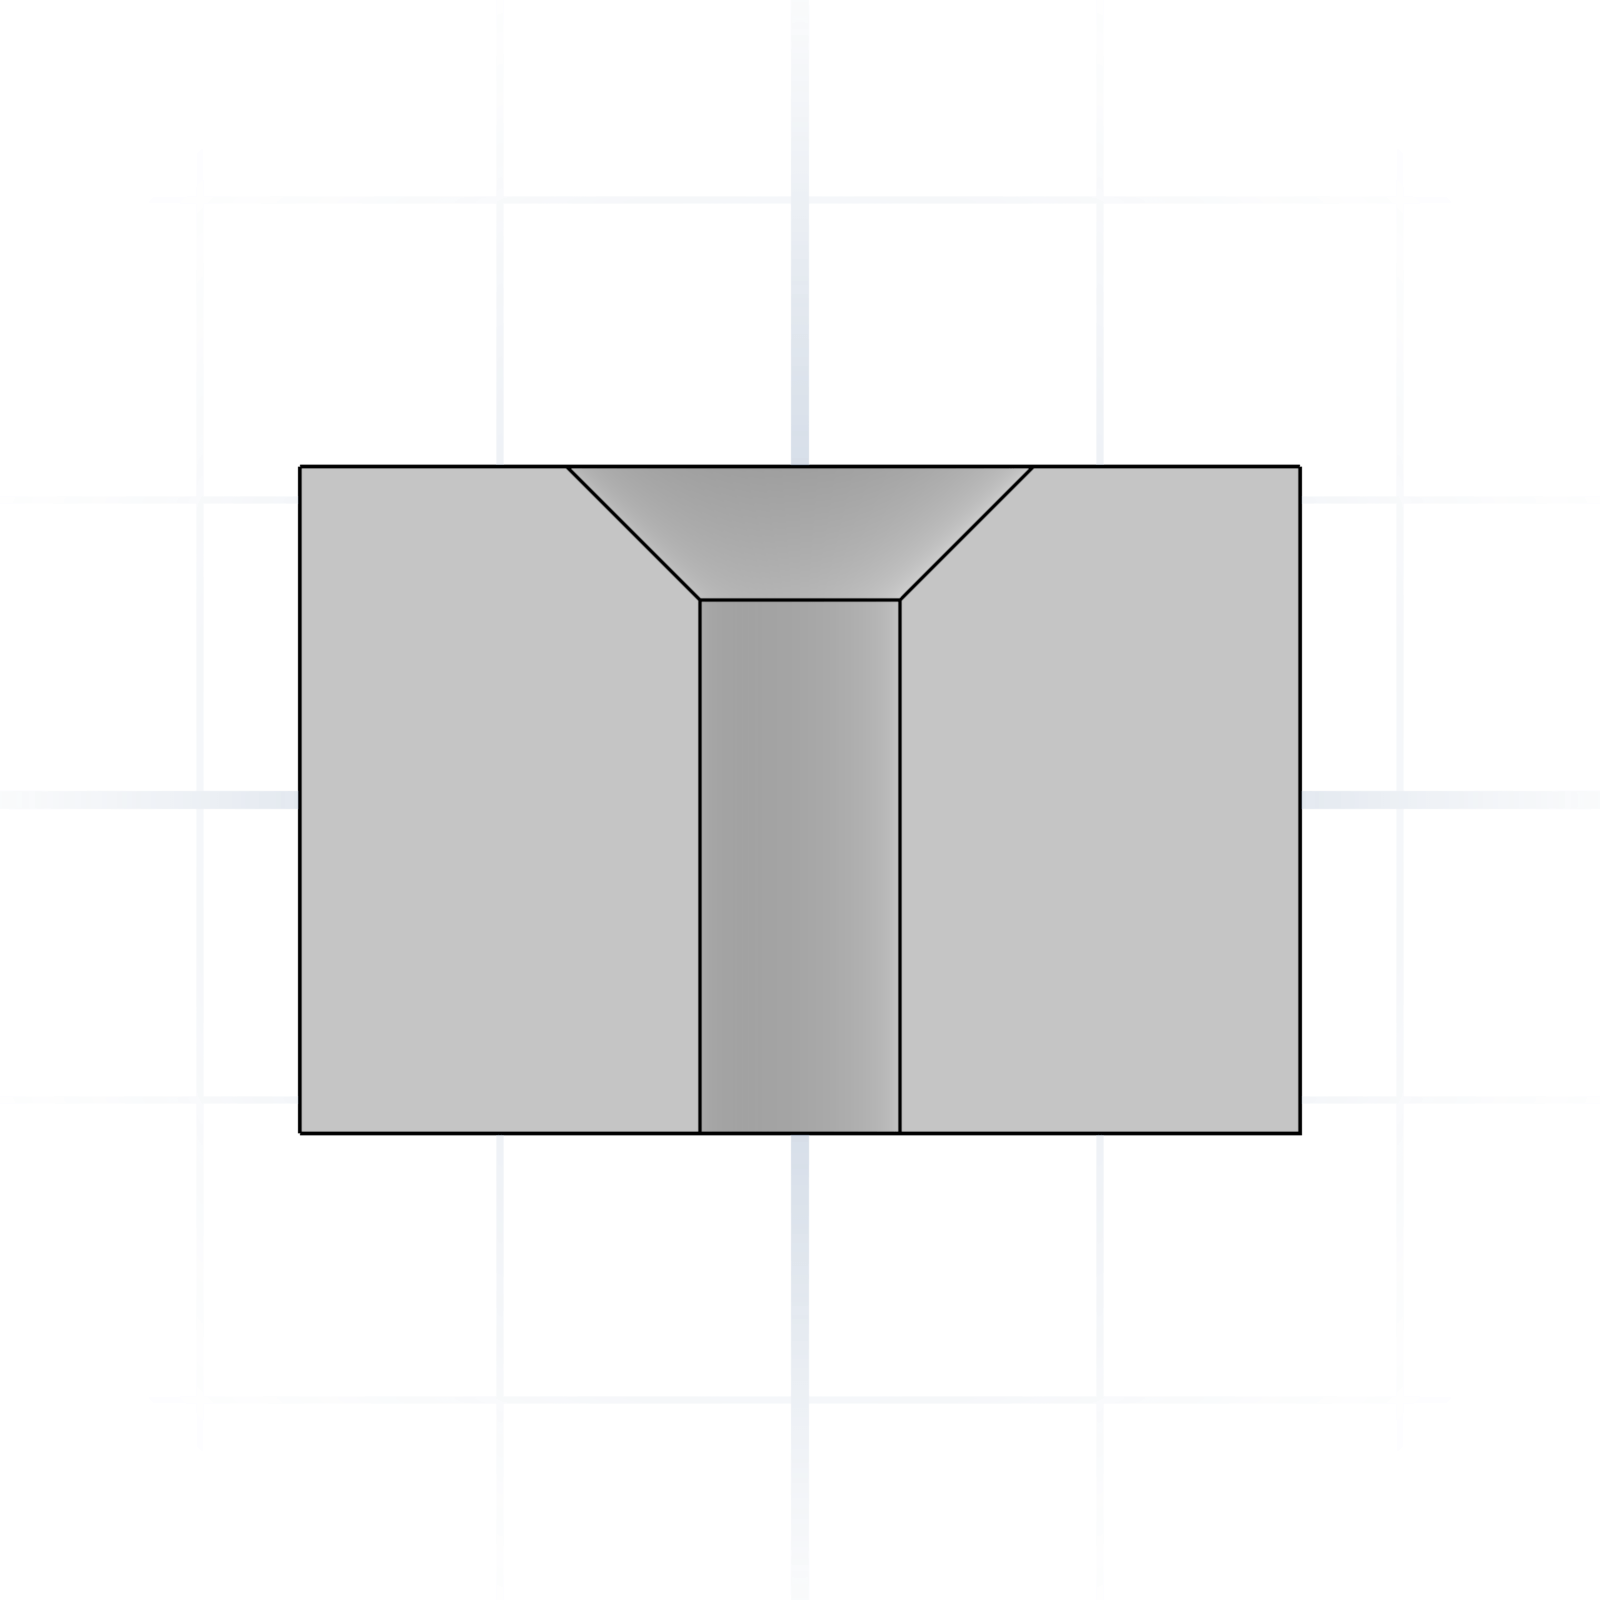
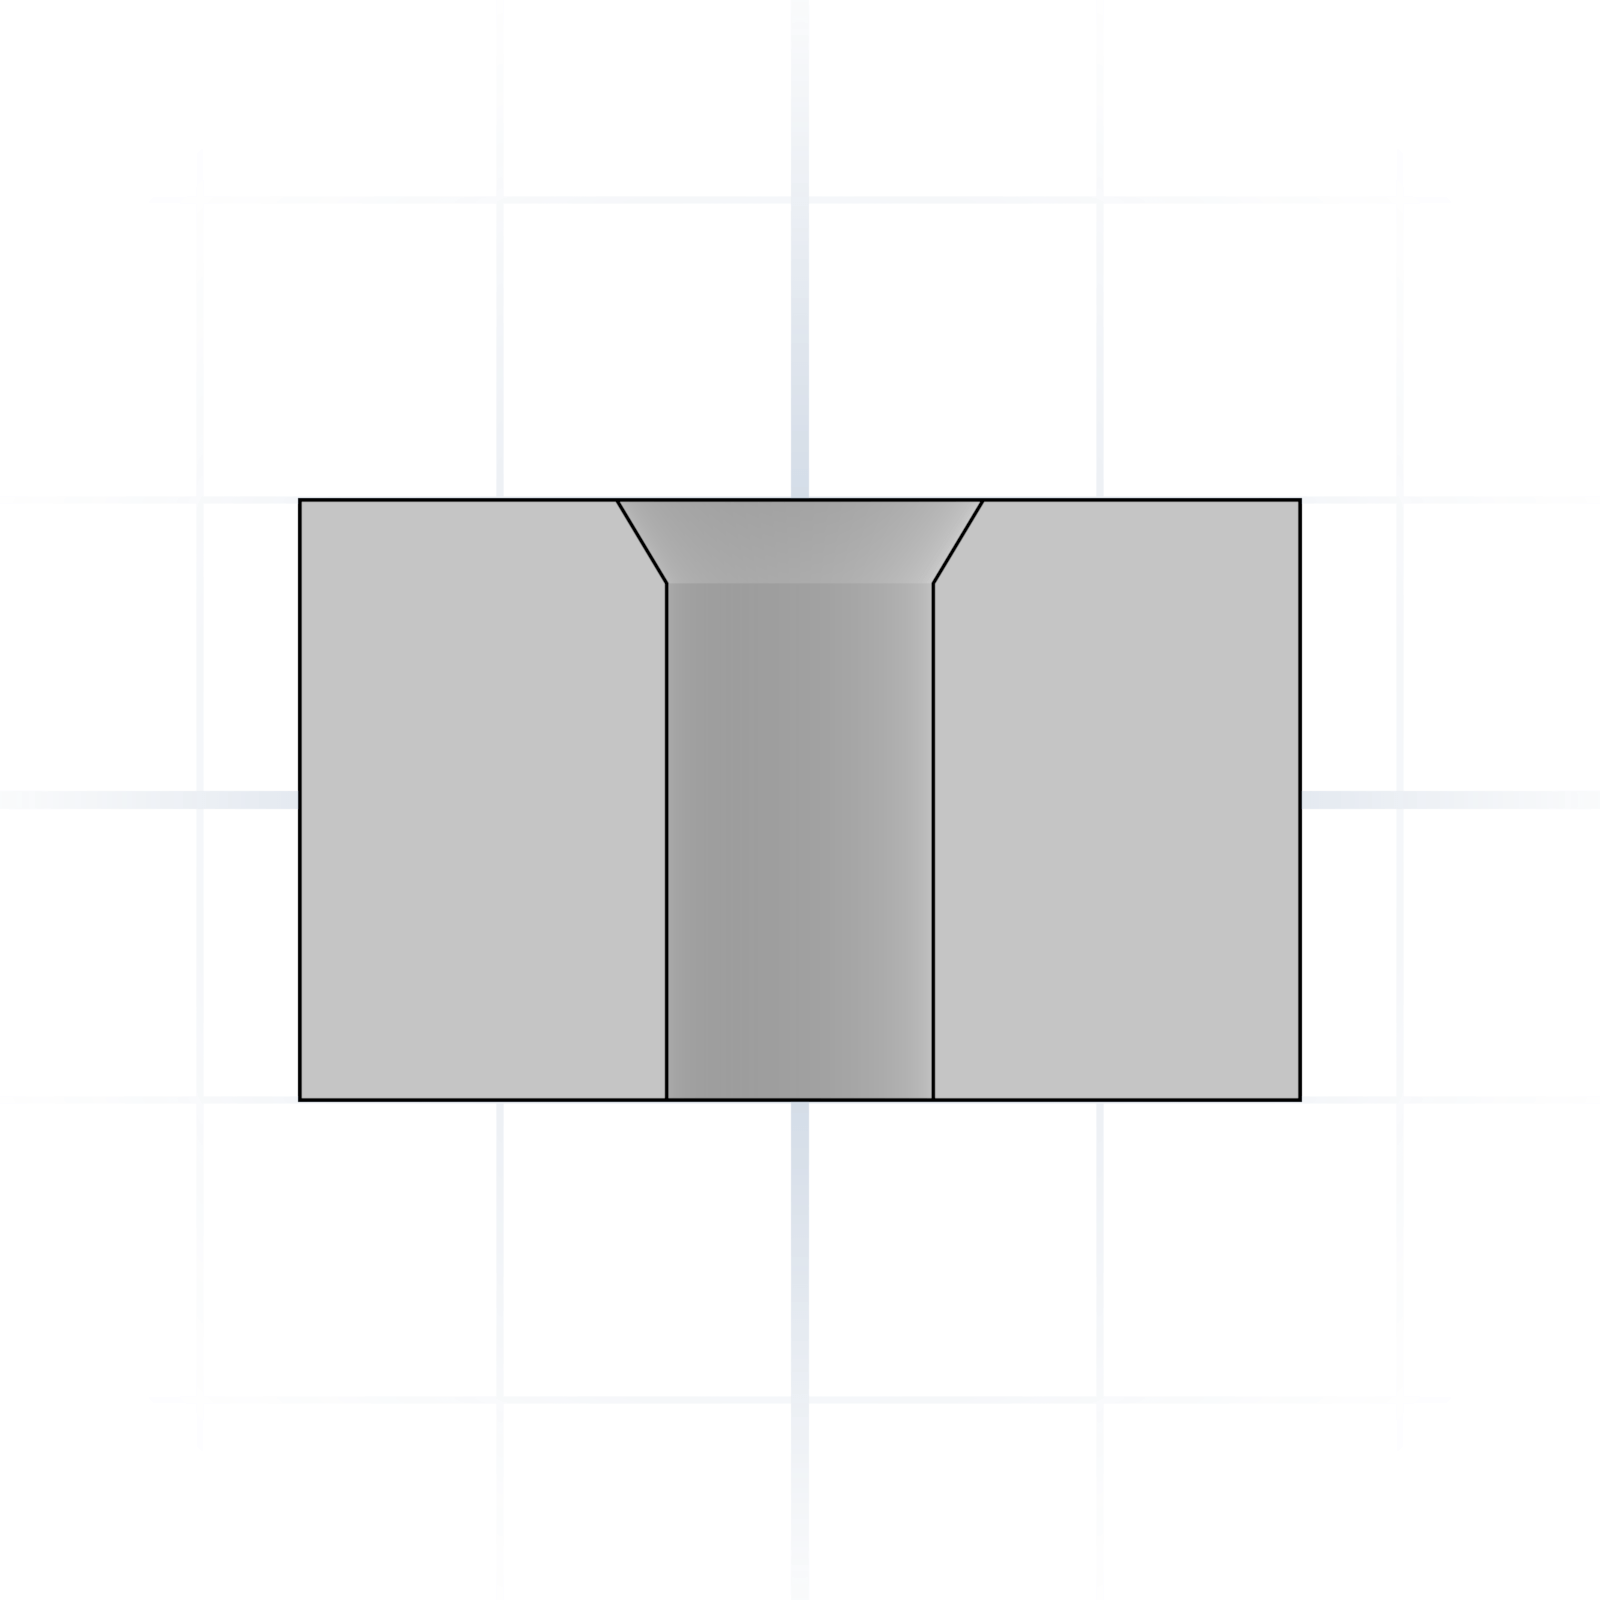
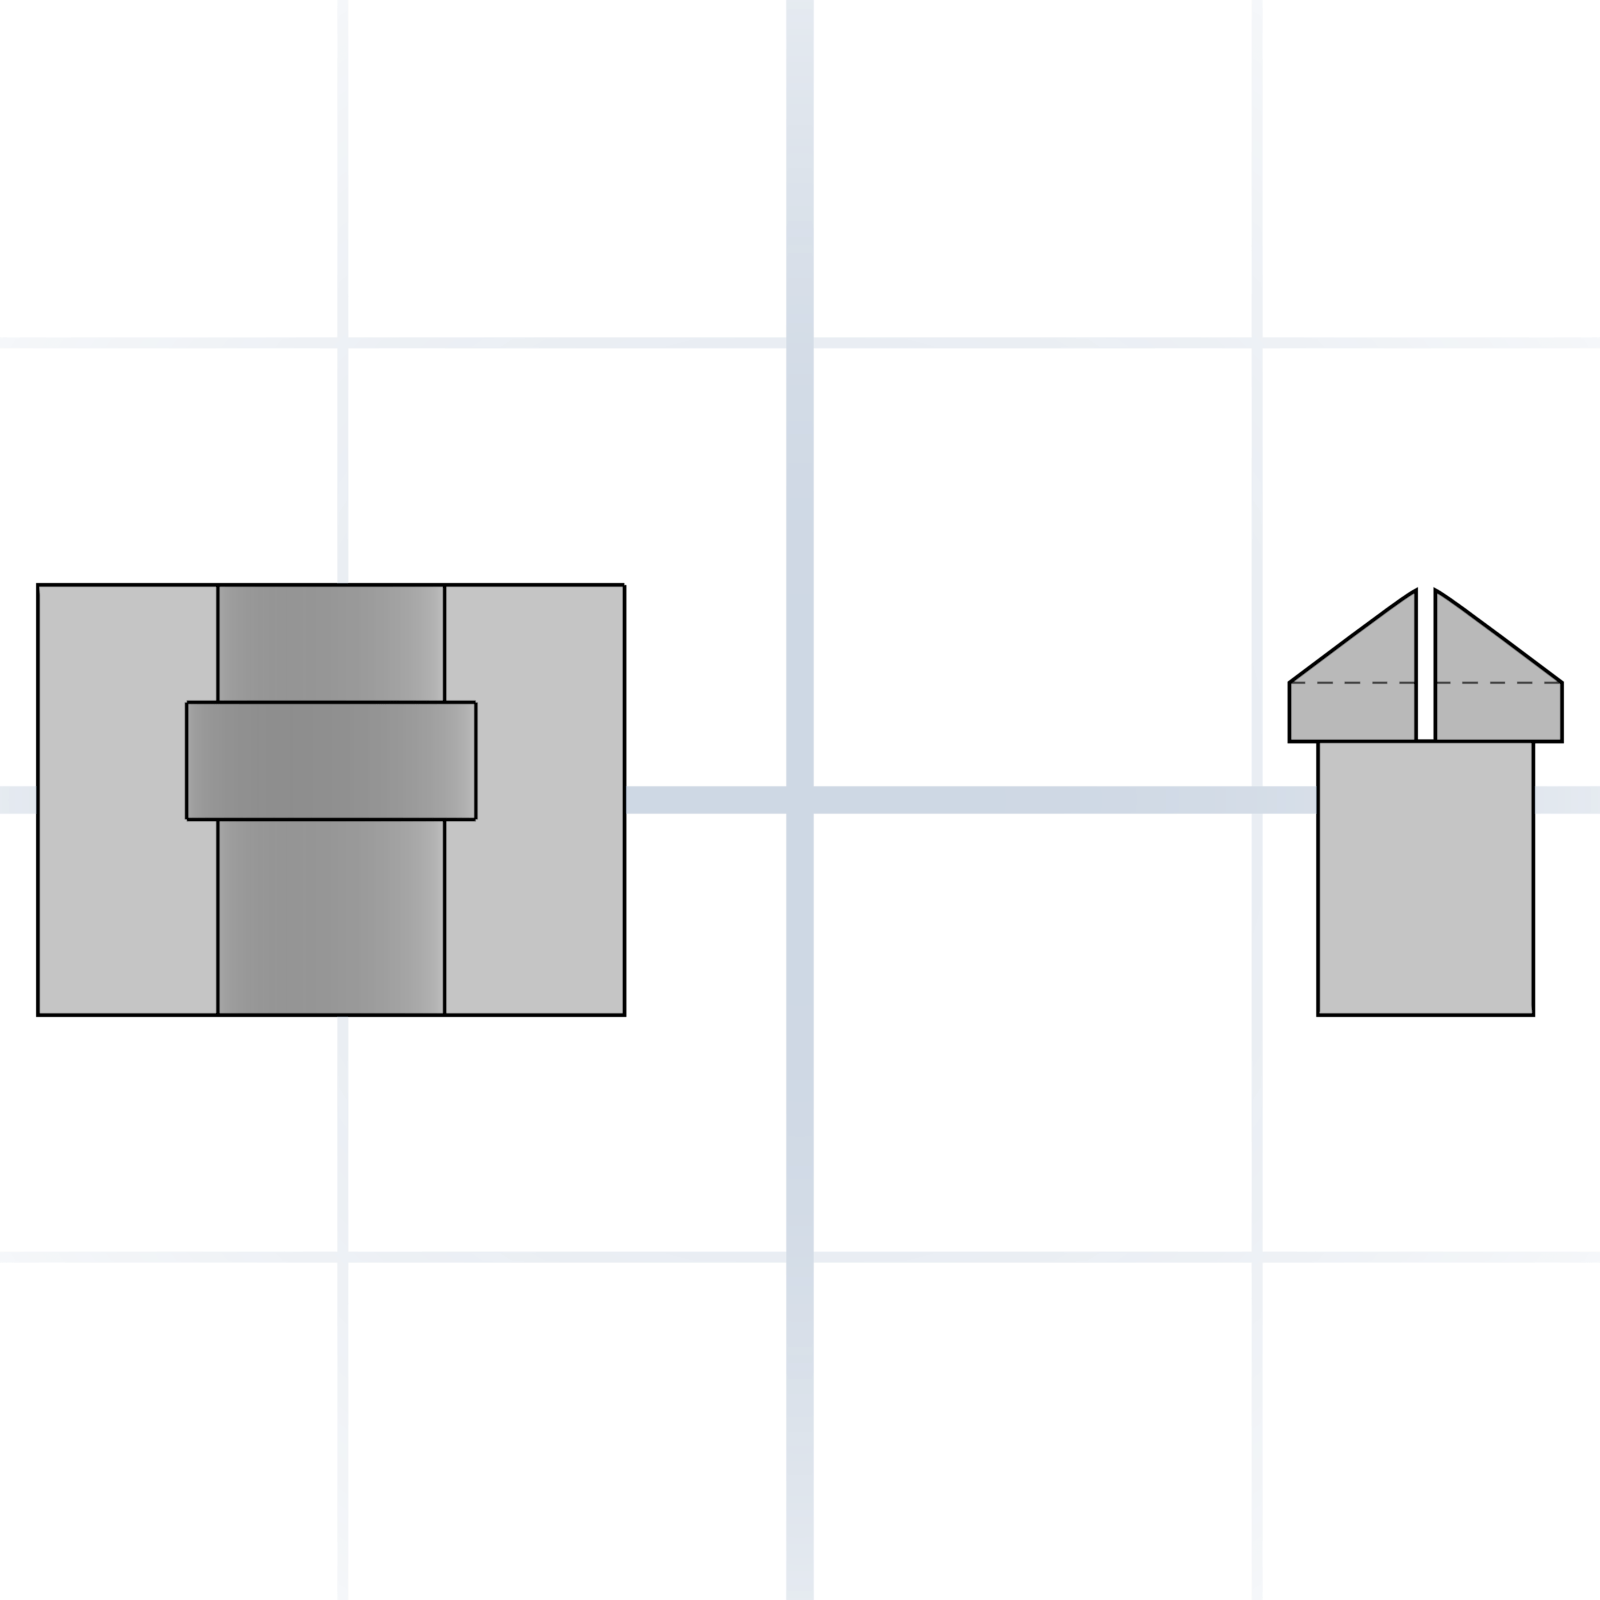
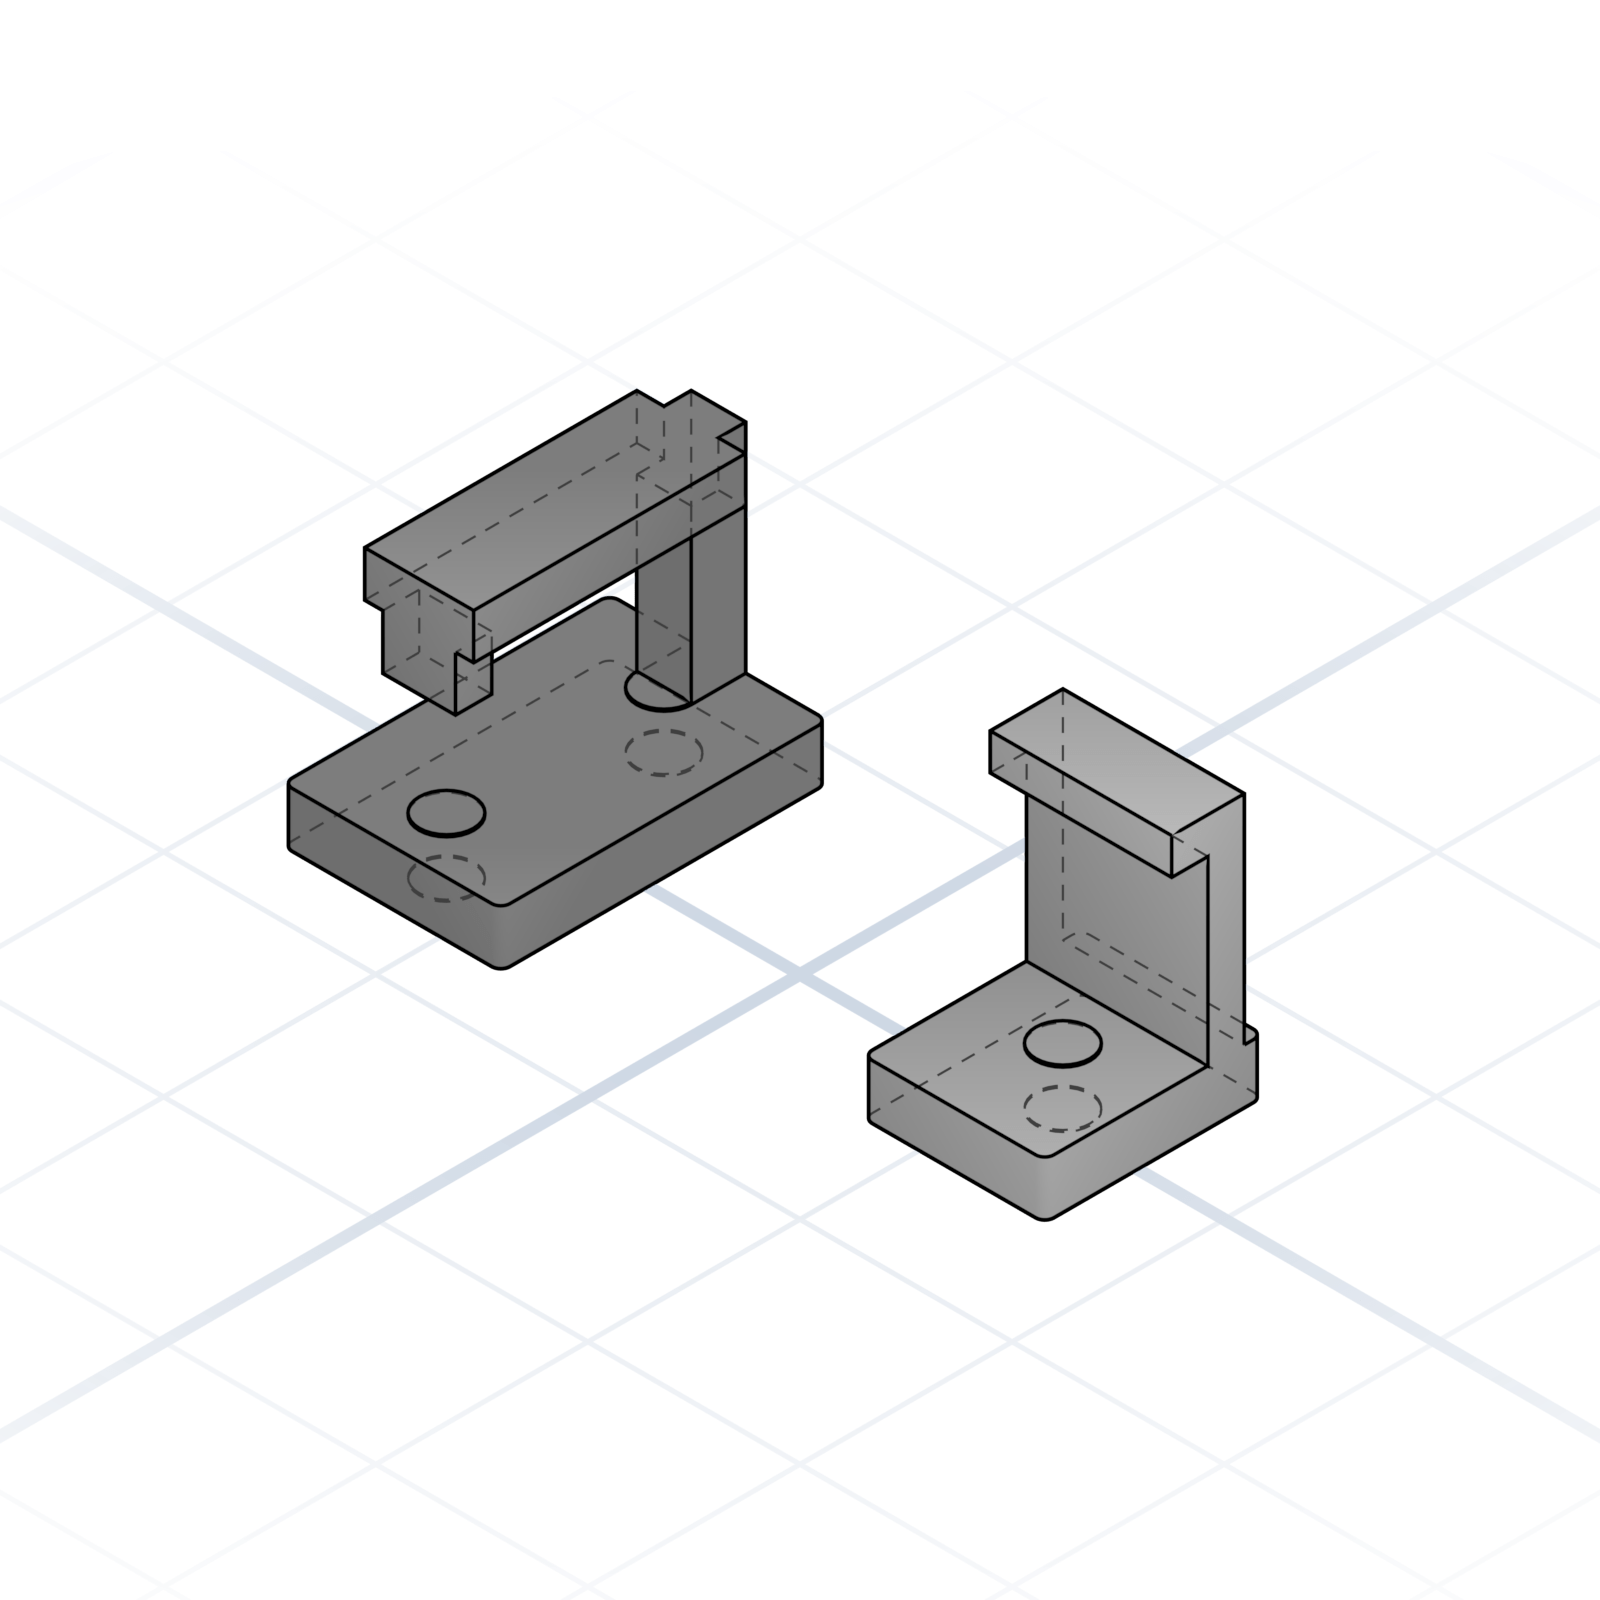
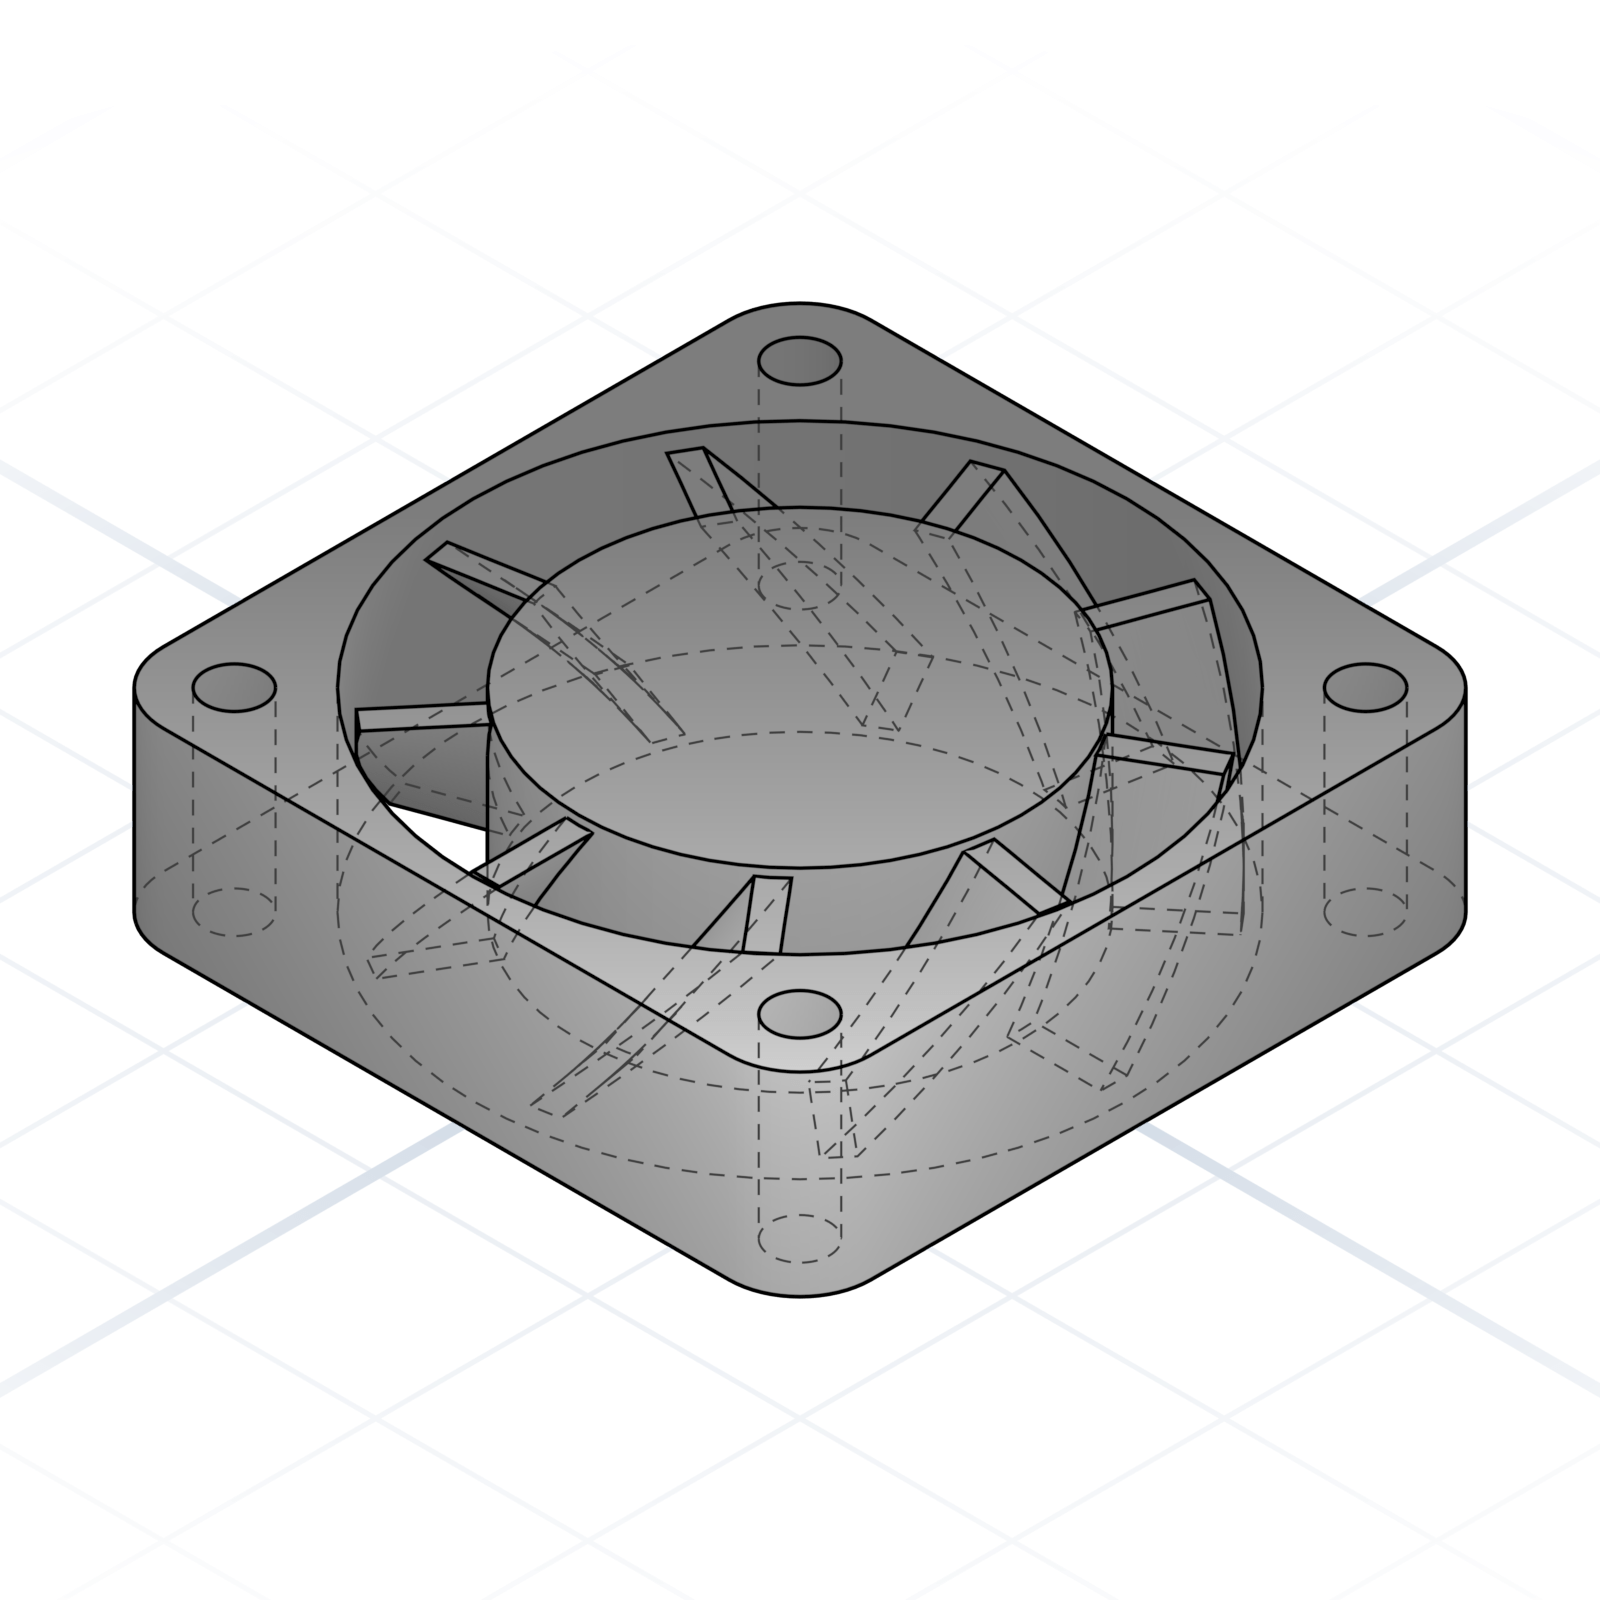
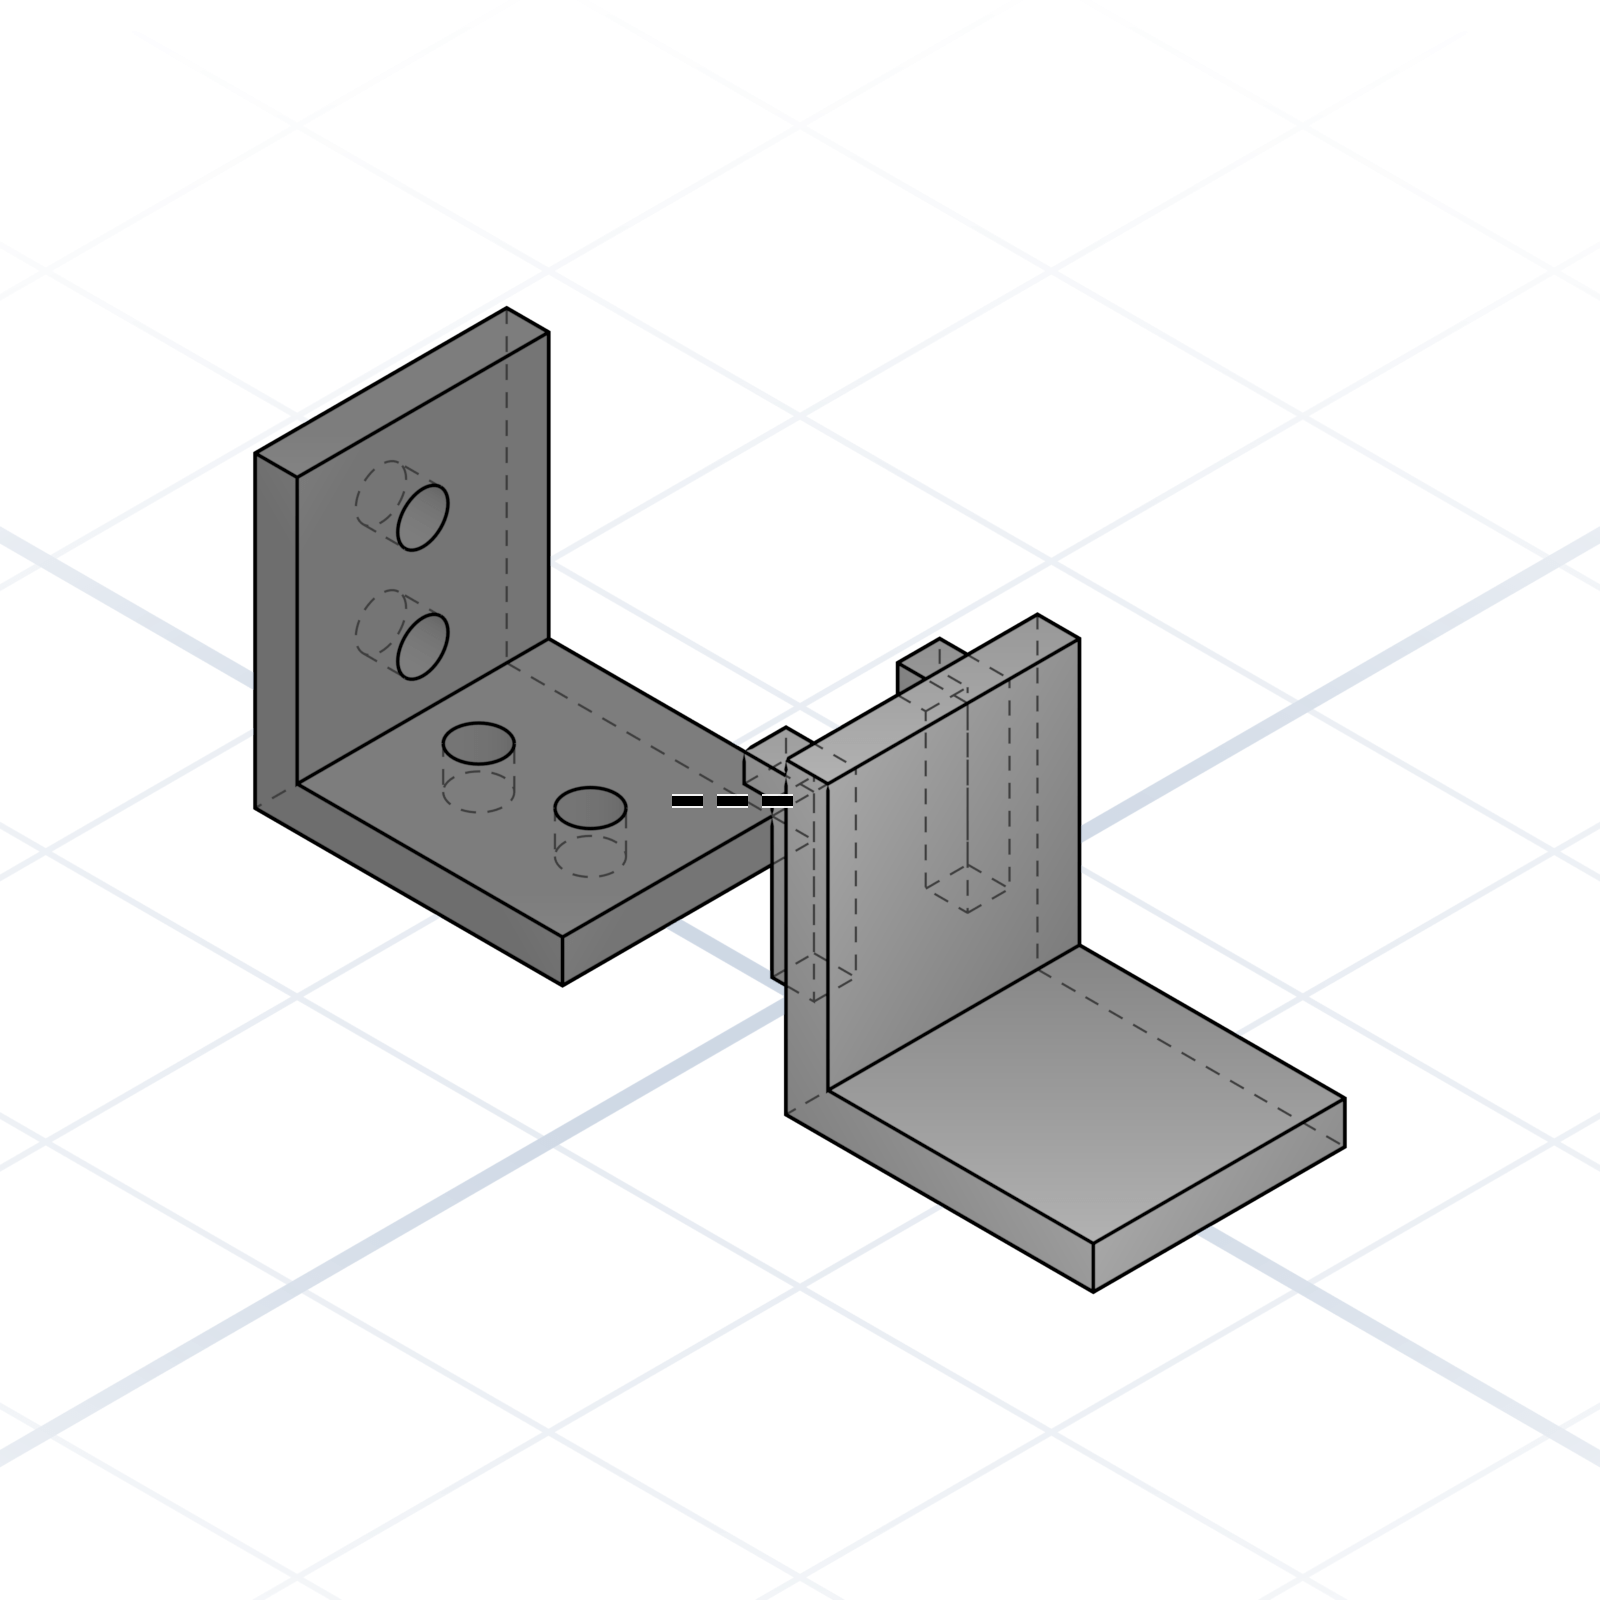
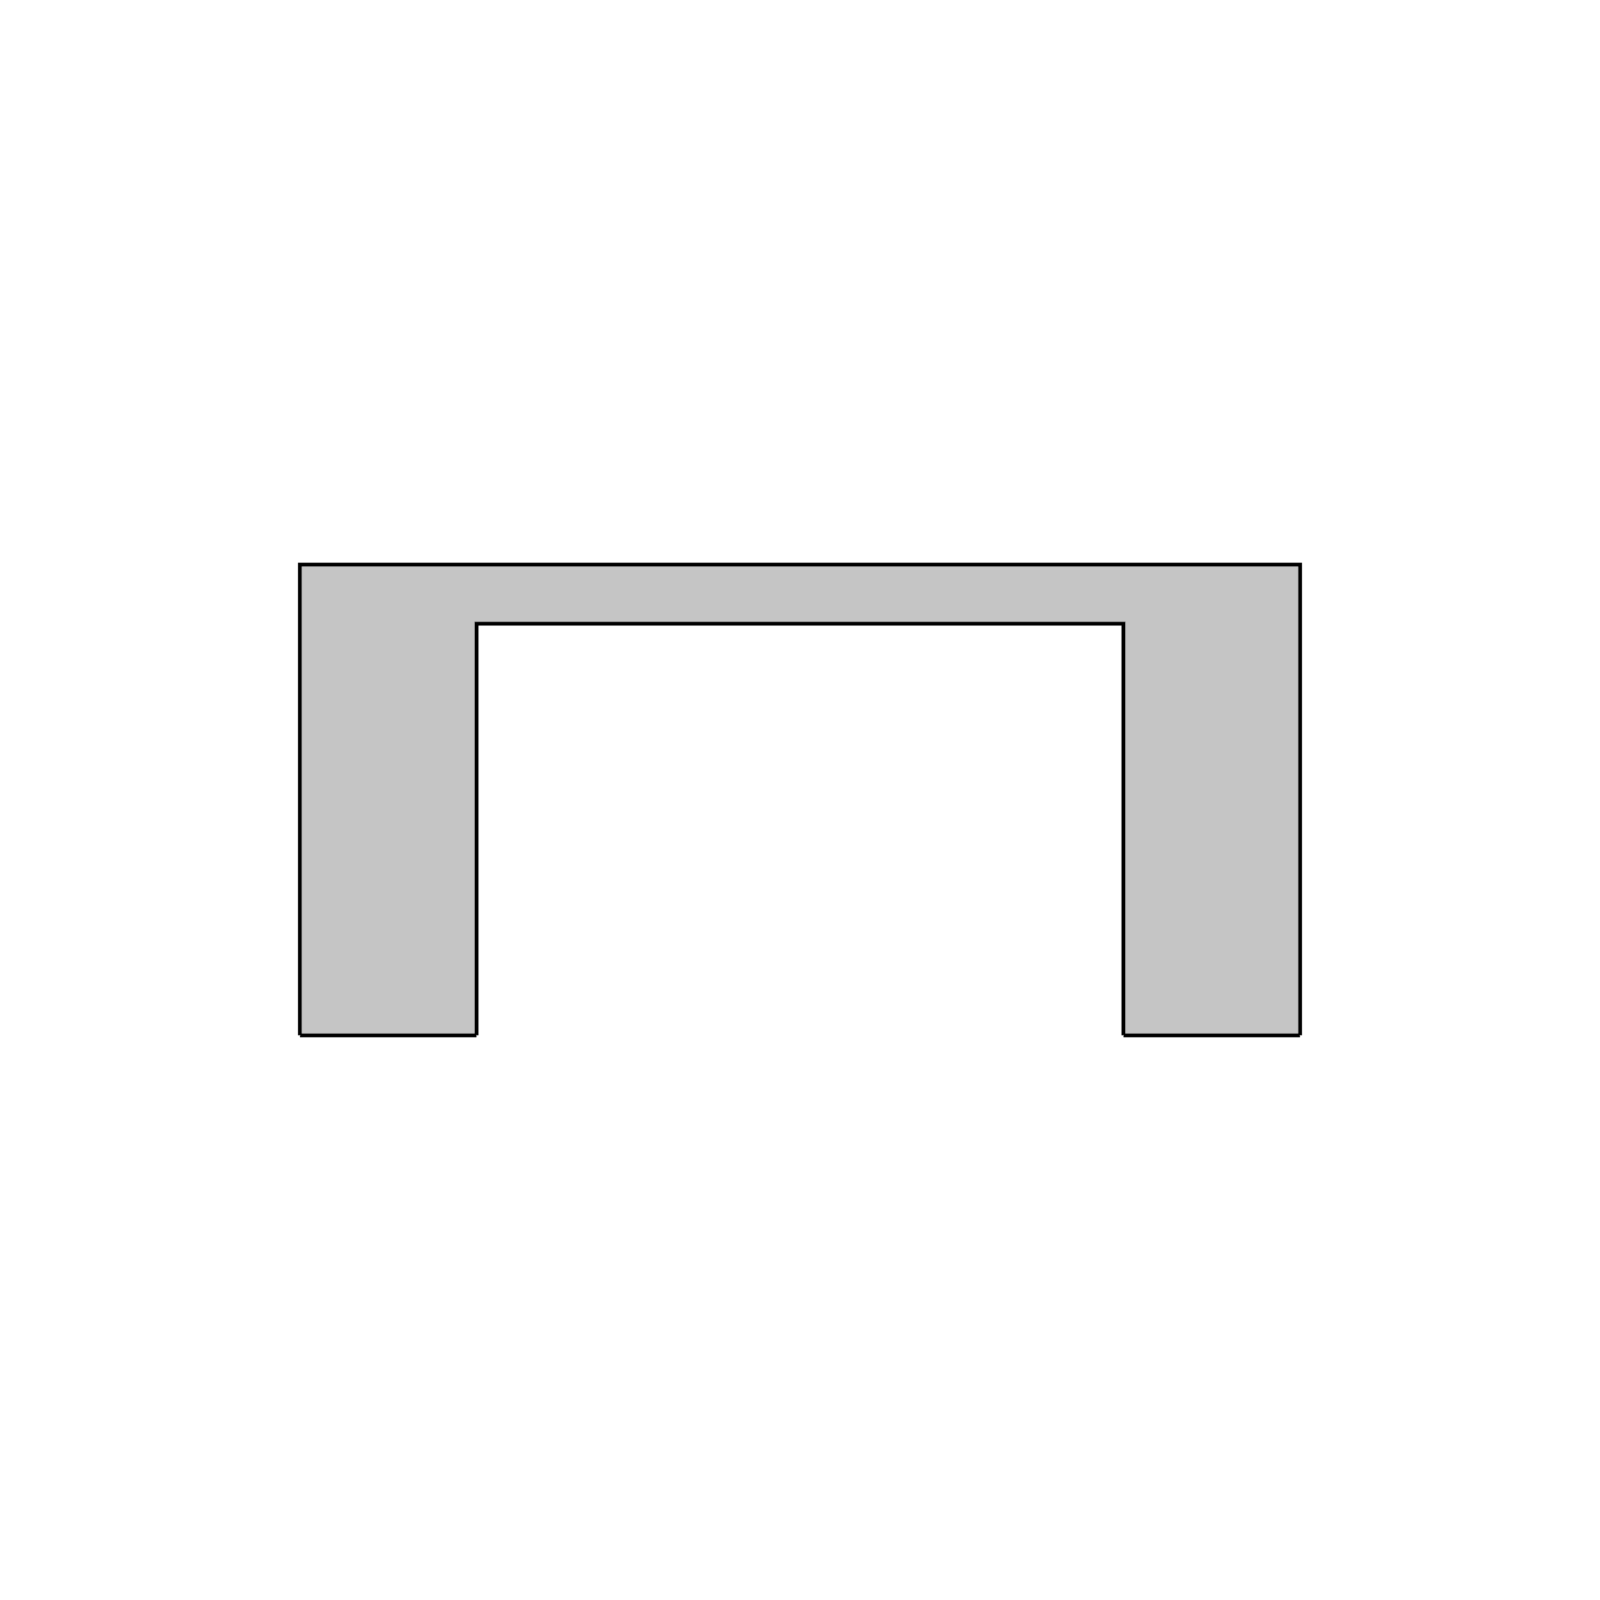
Gusset
Triangular brace between two perpendicular surfaces. Stiffens a wall without much material.
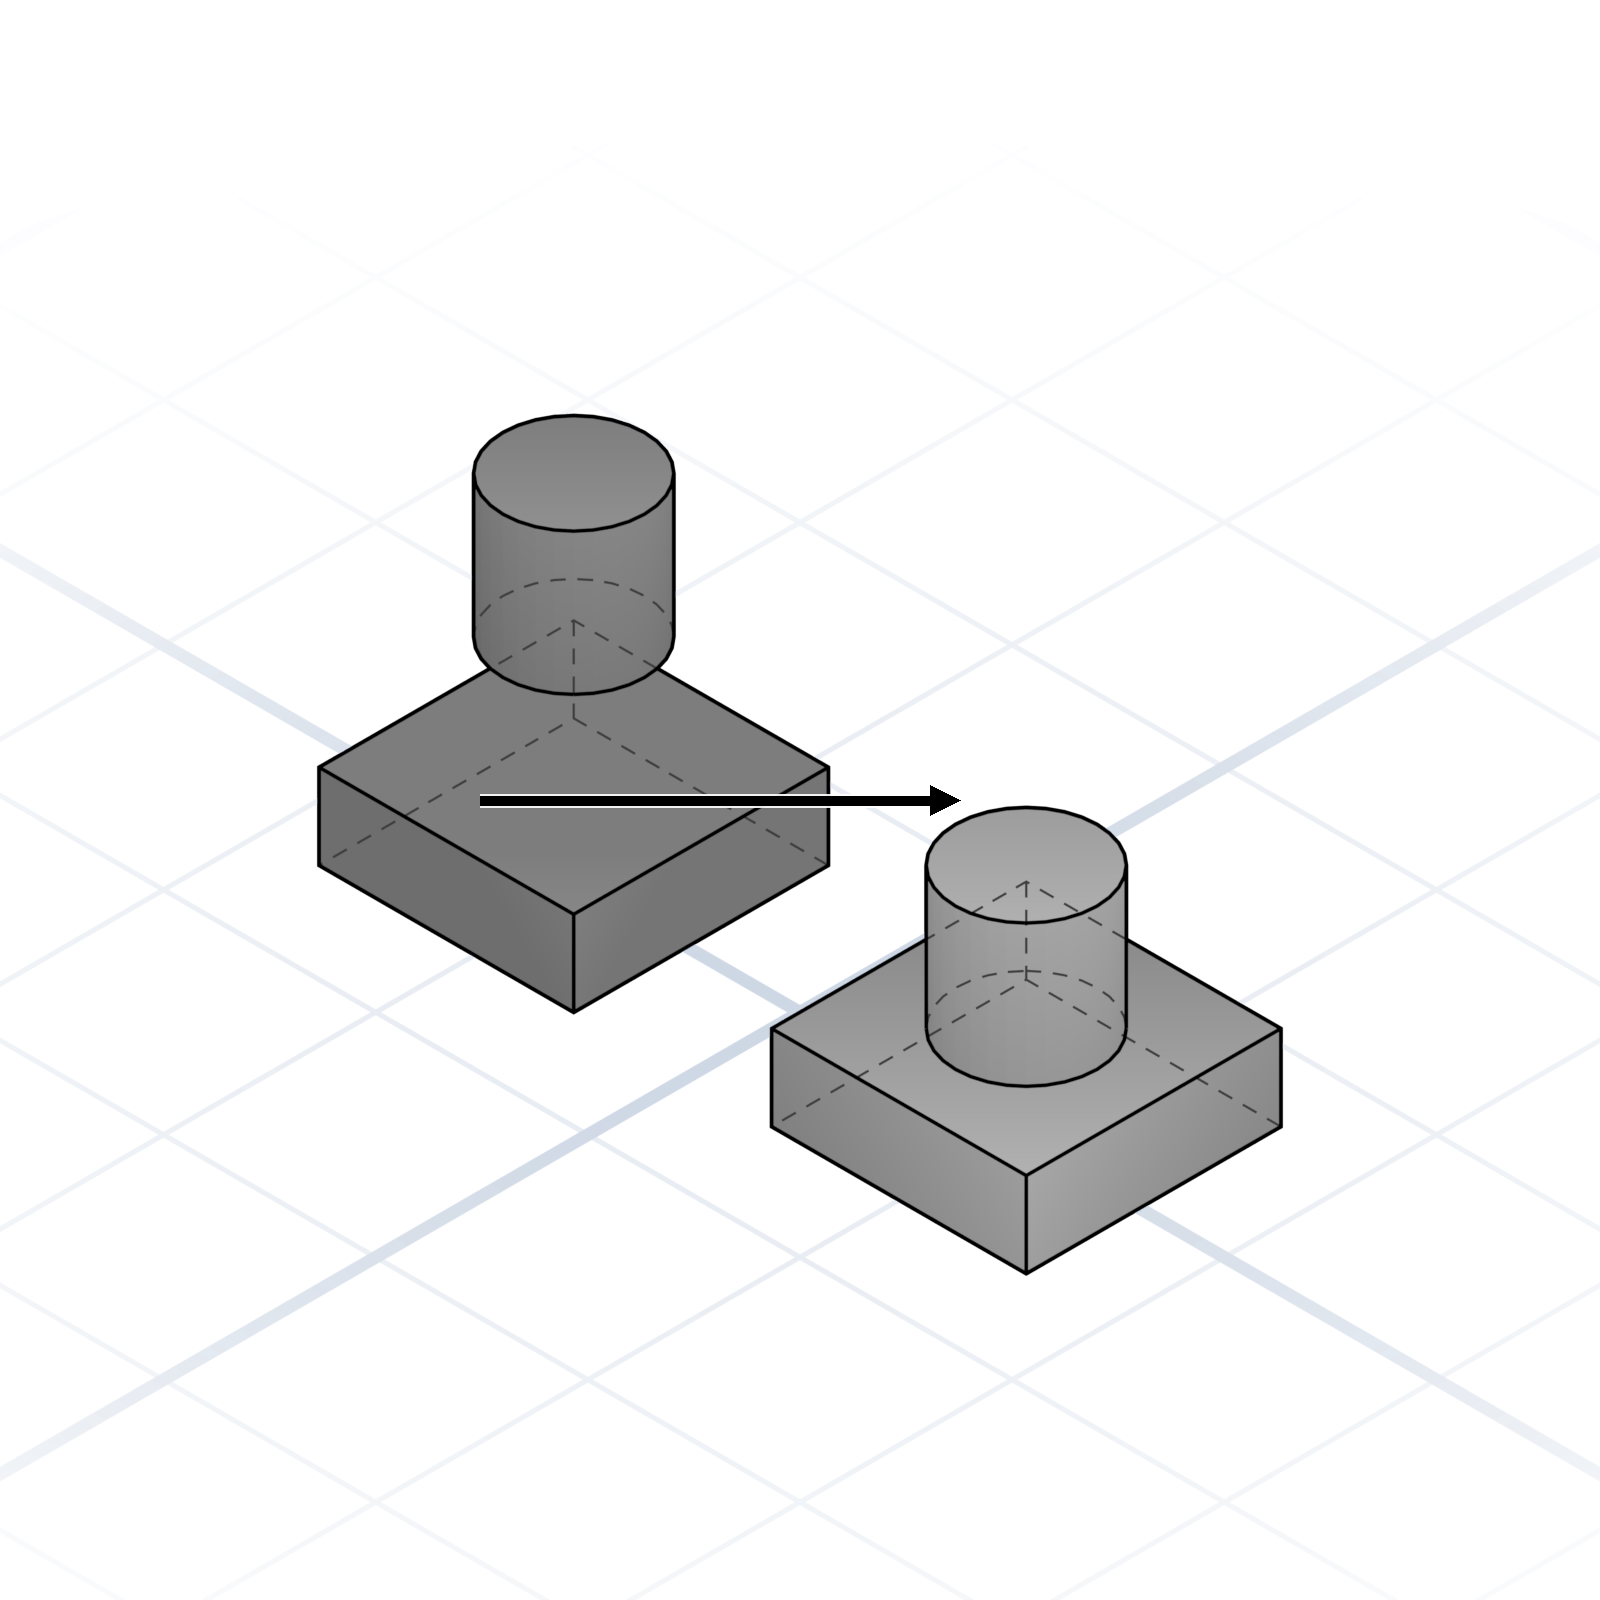
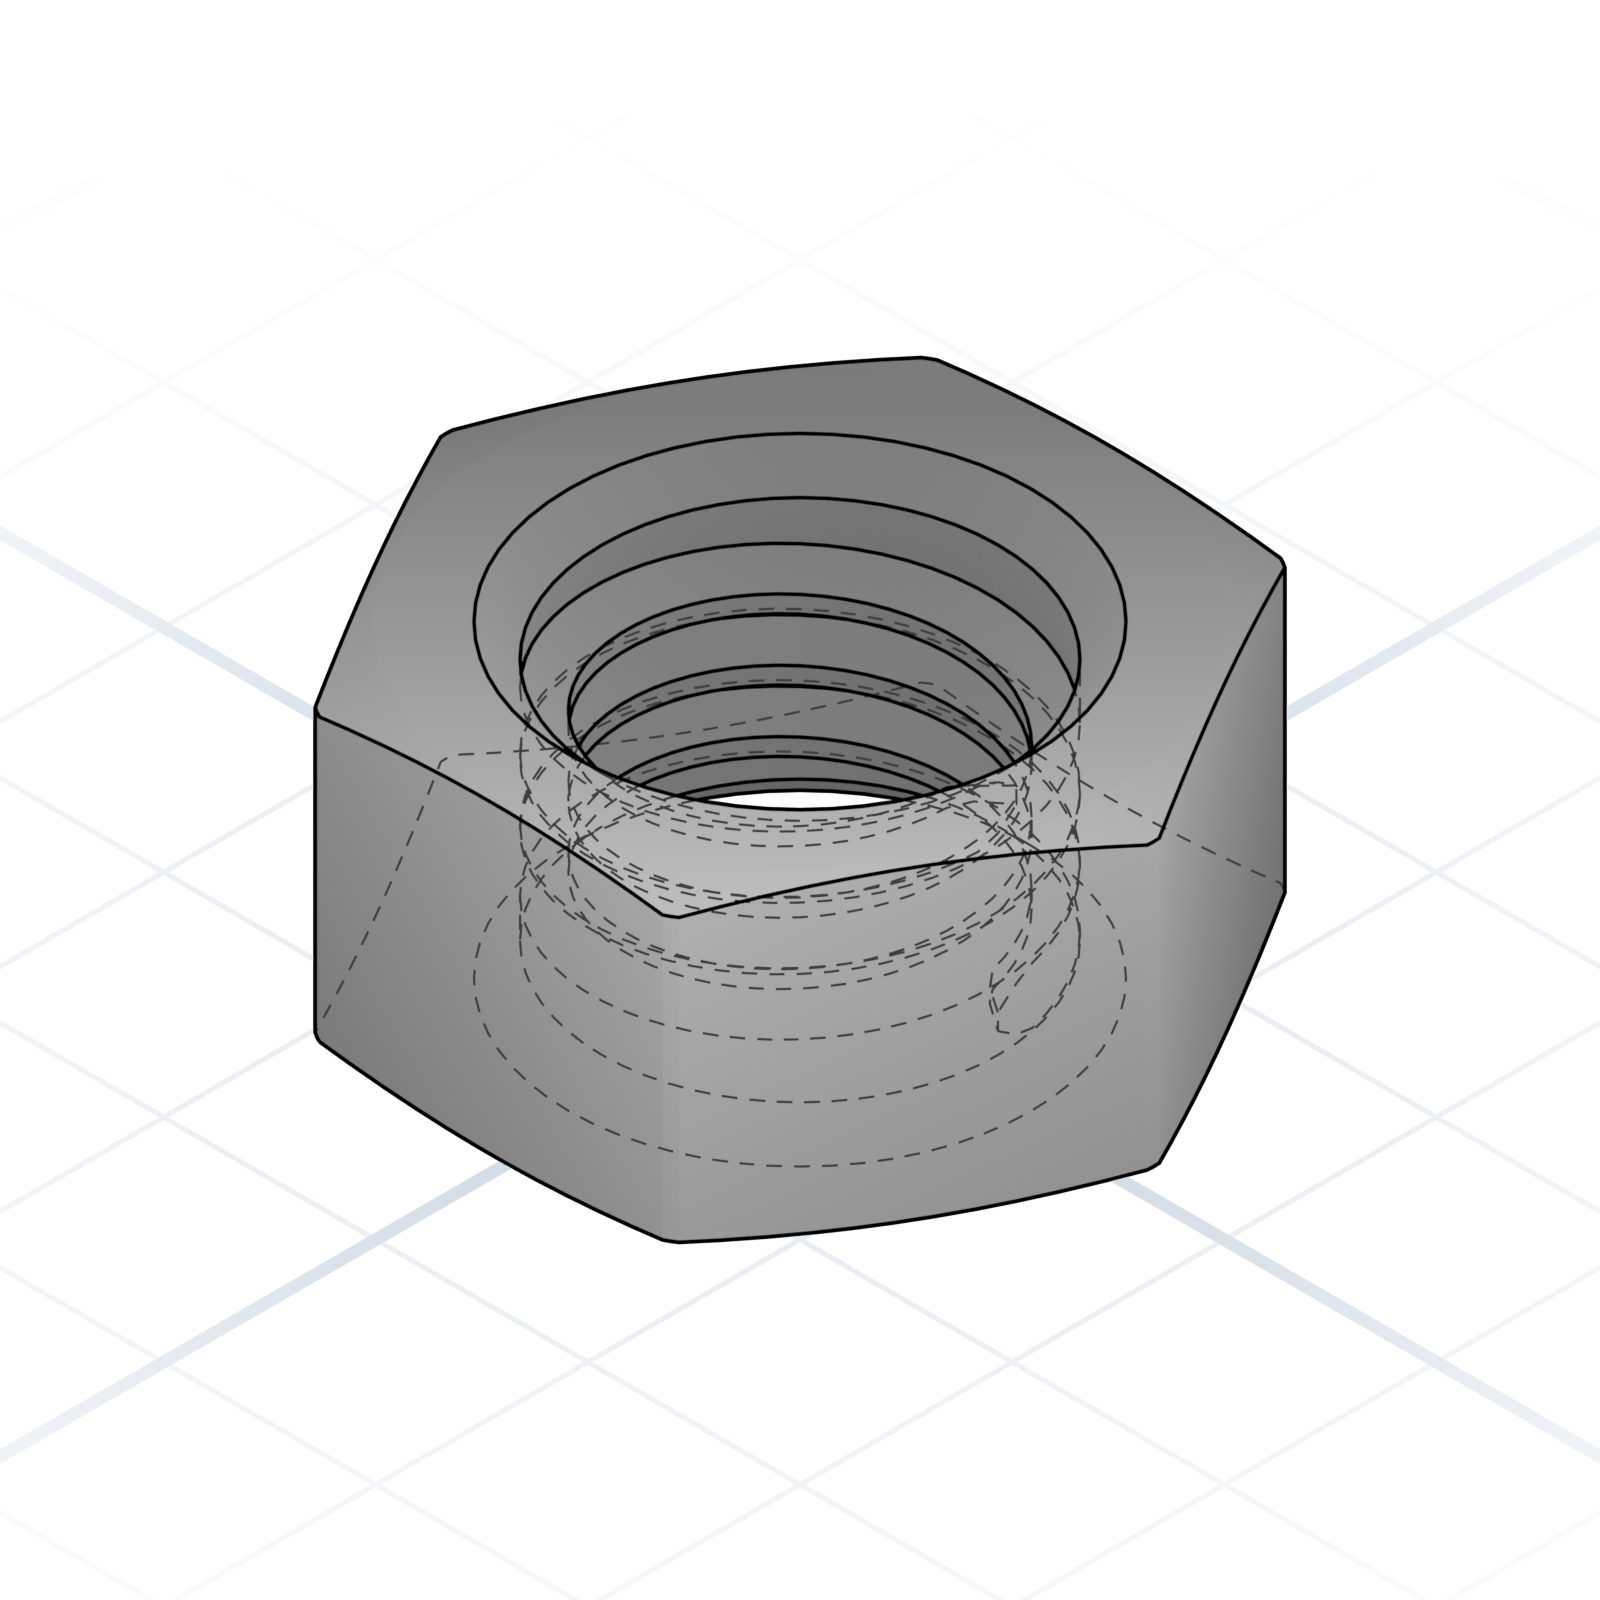
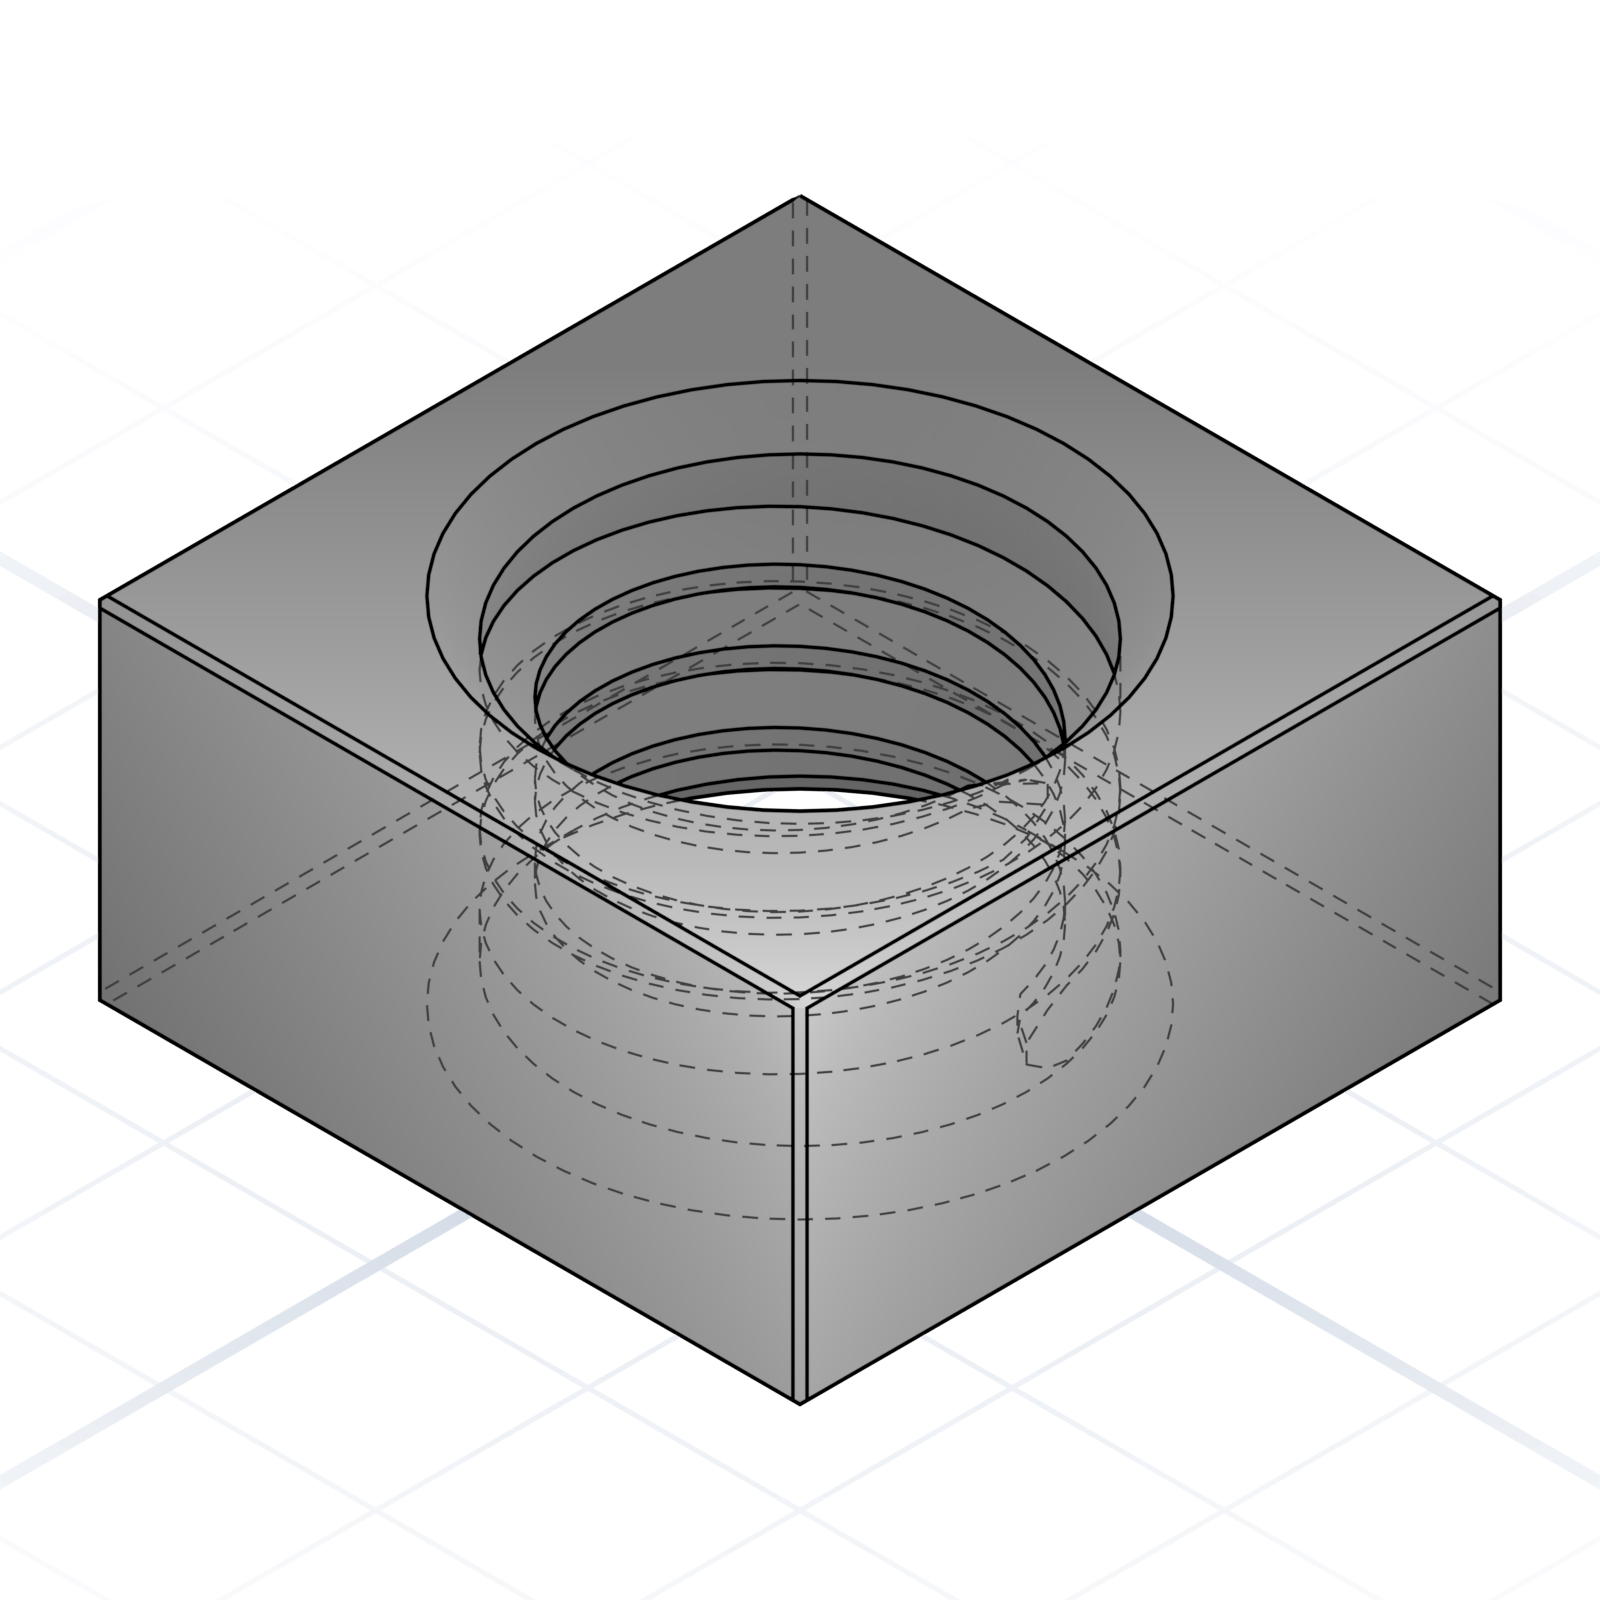
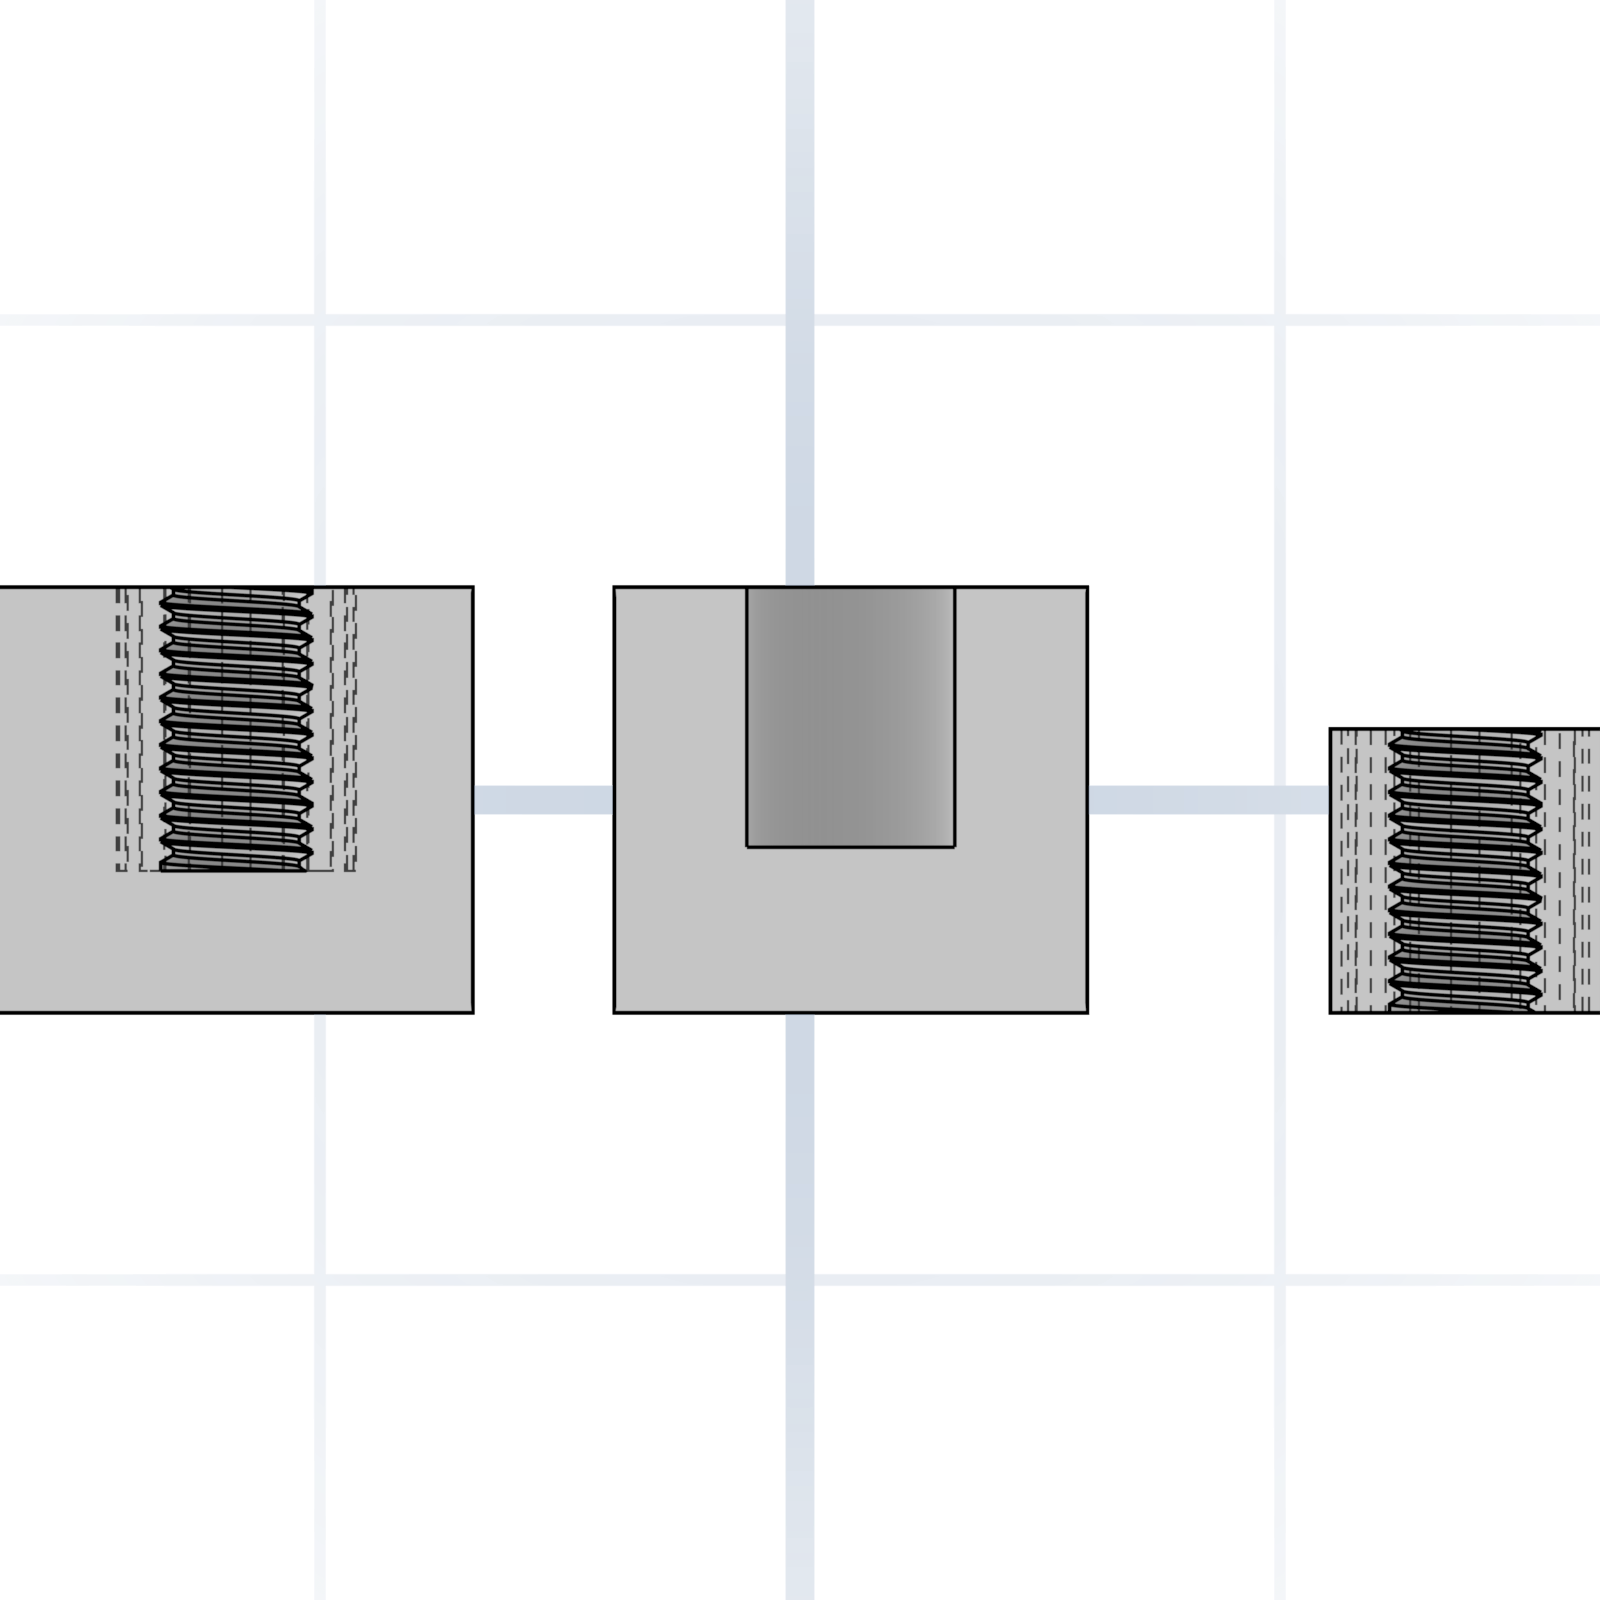
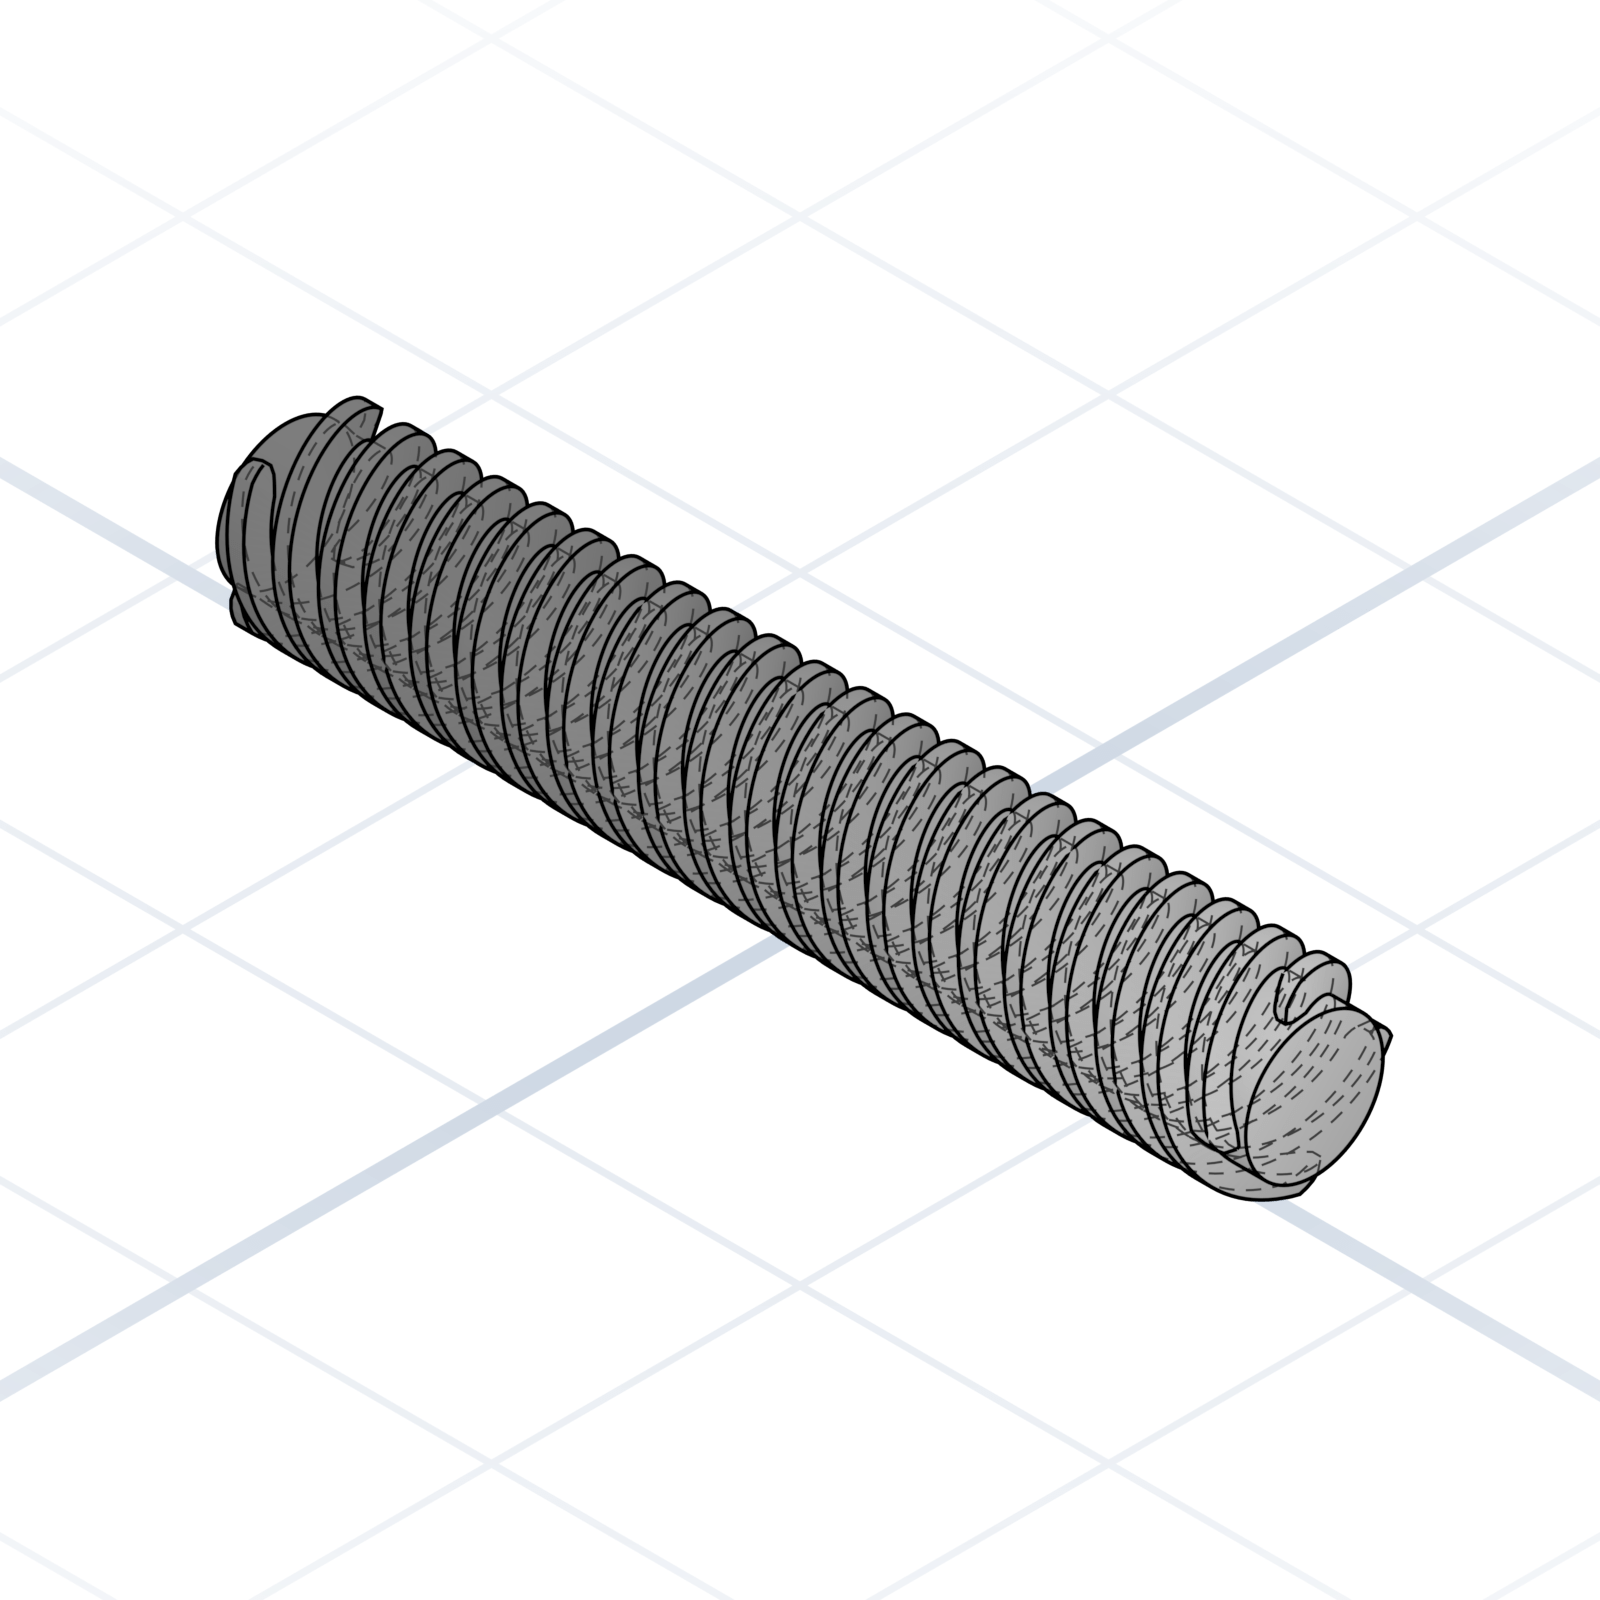
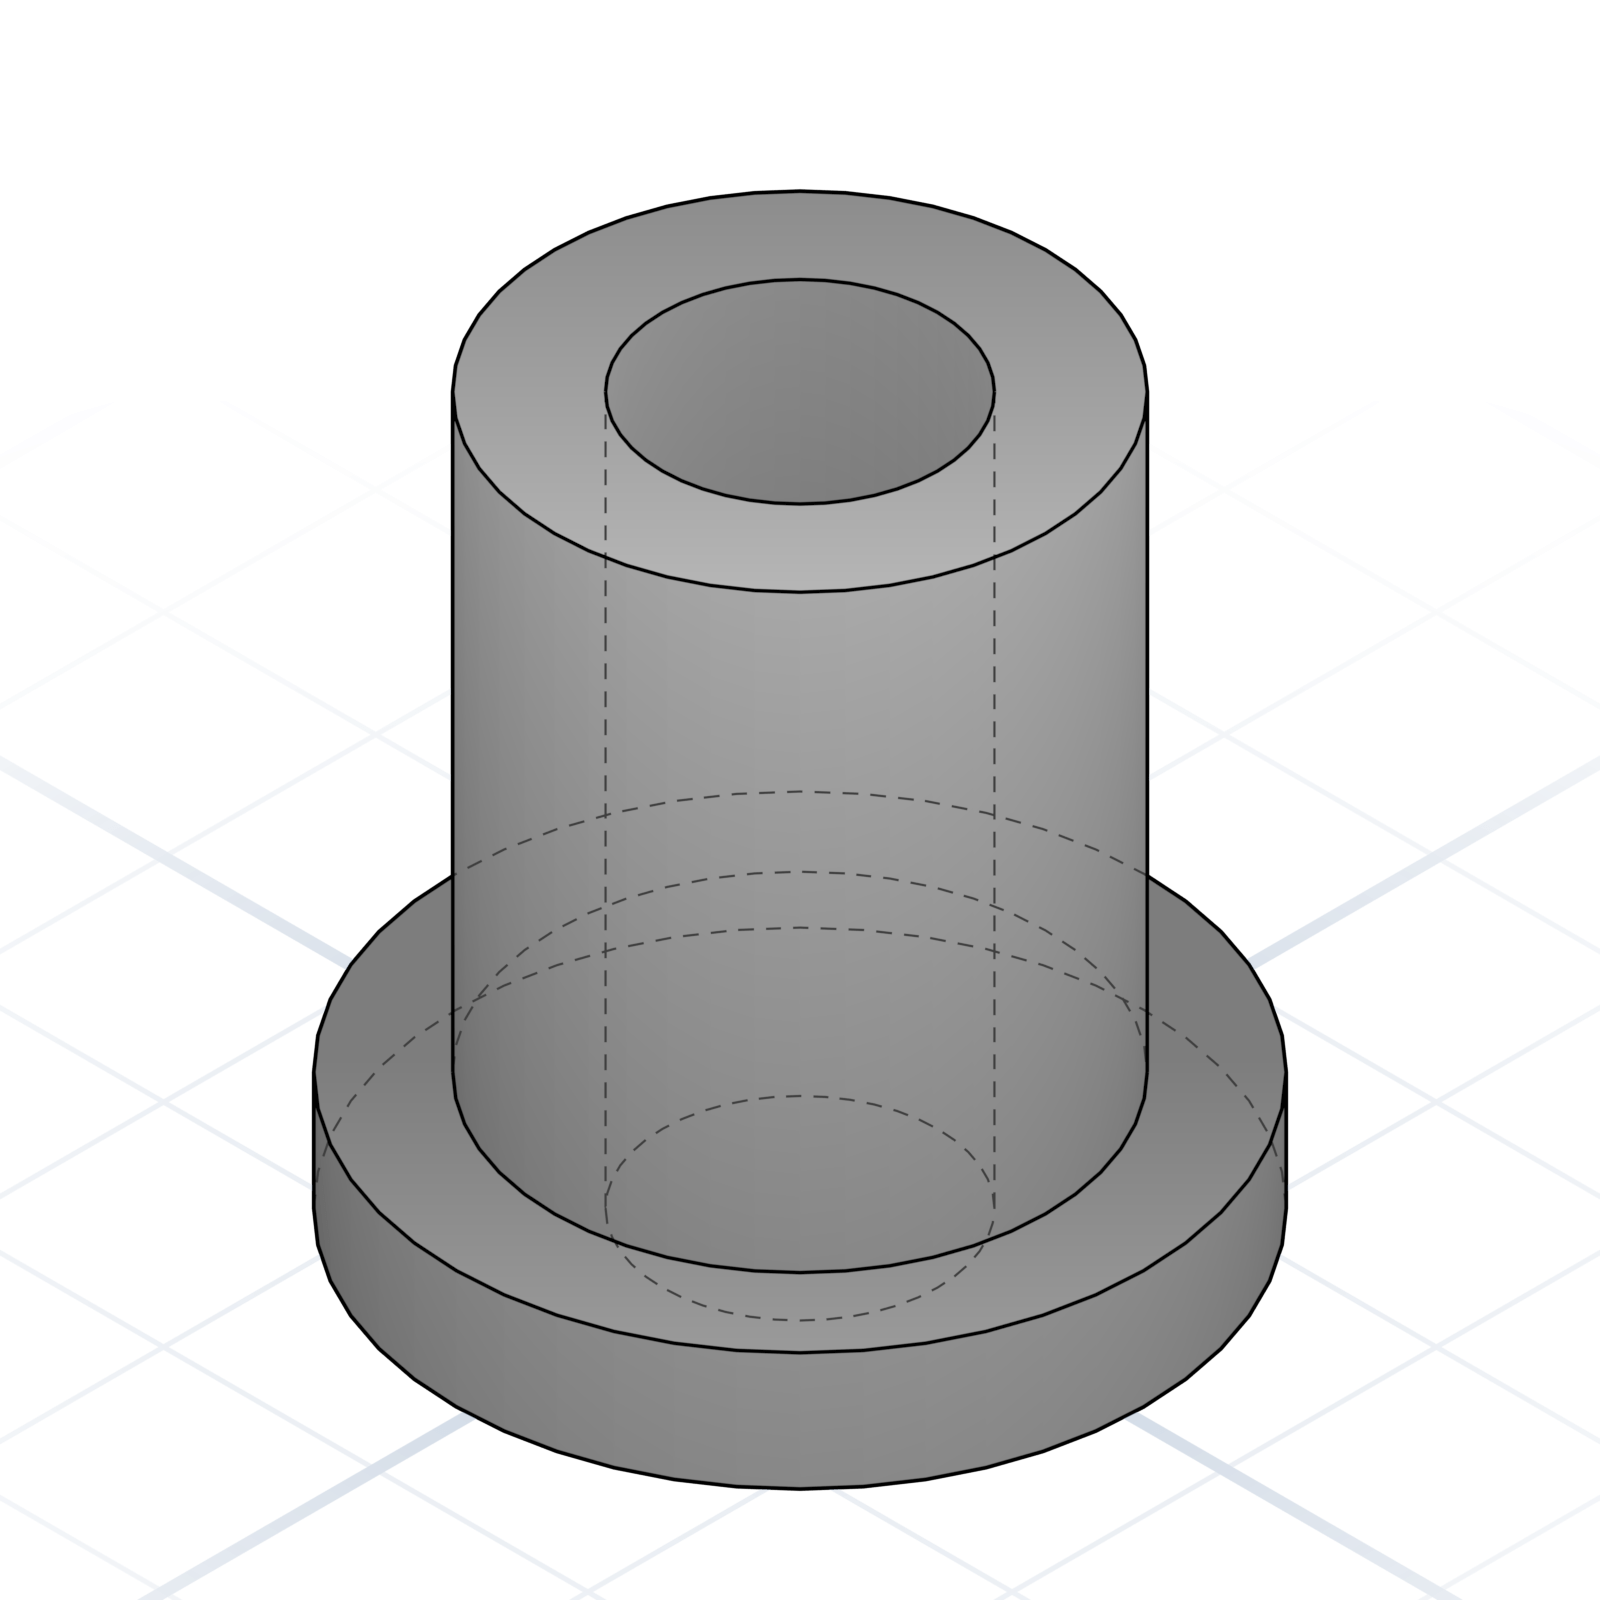
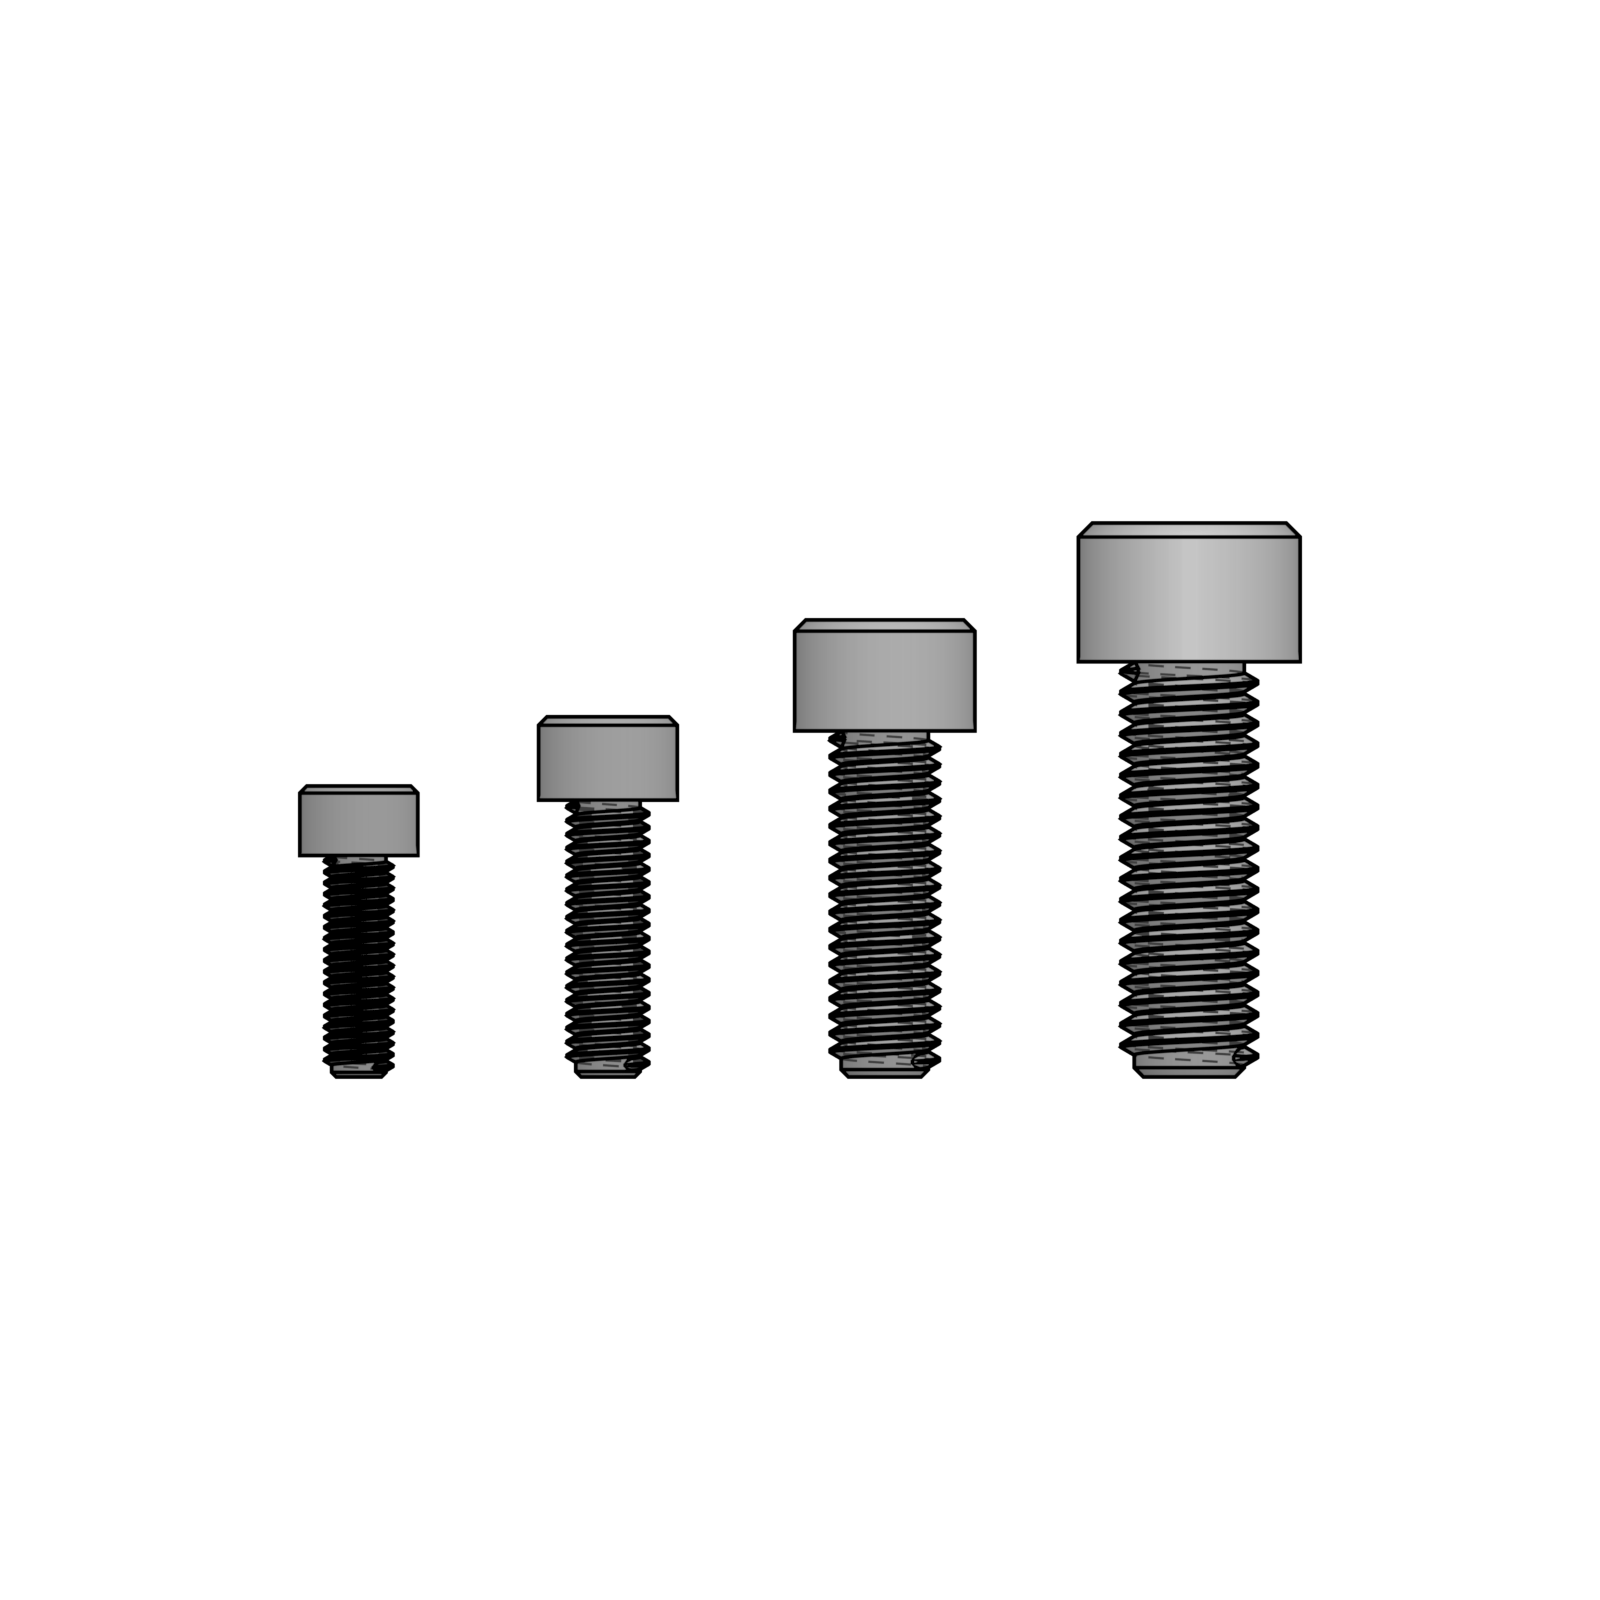
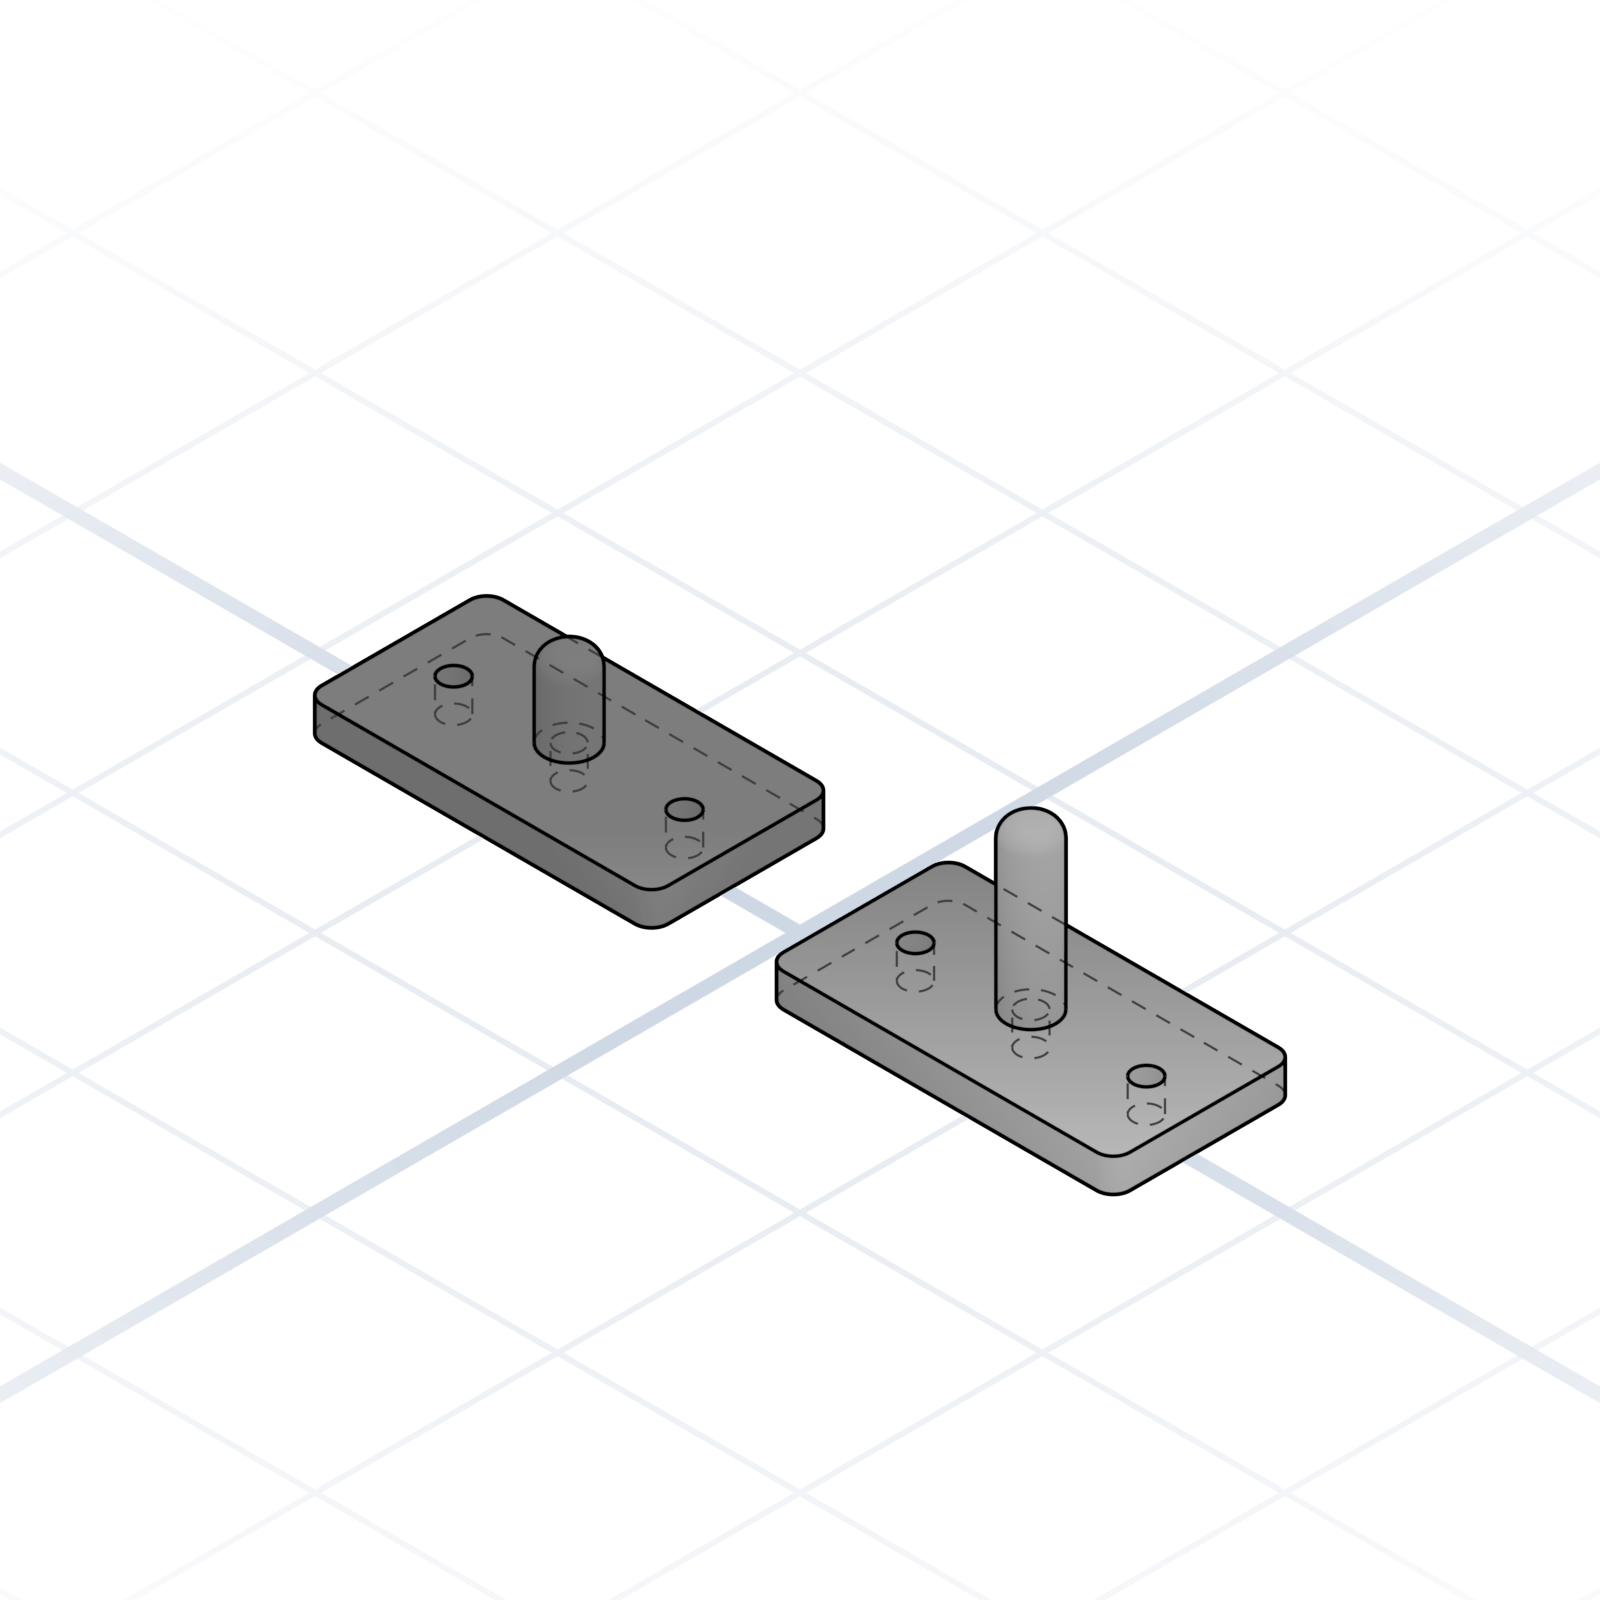
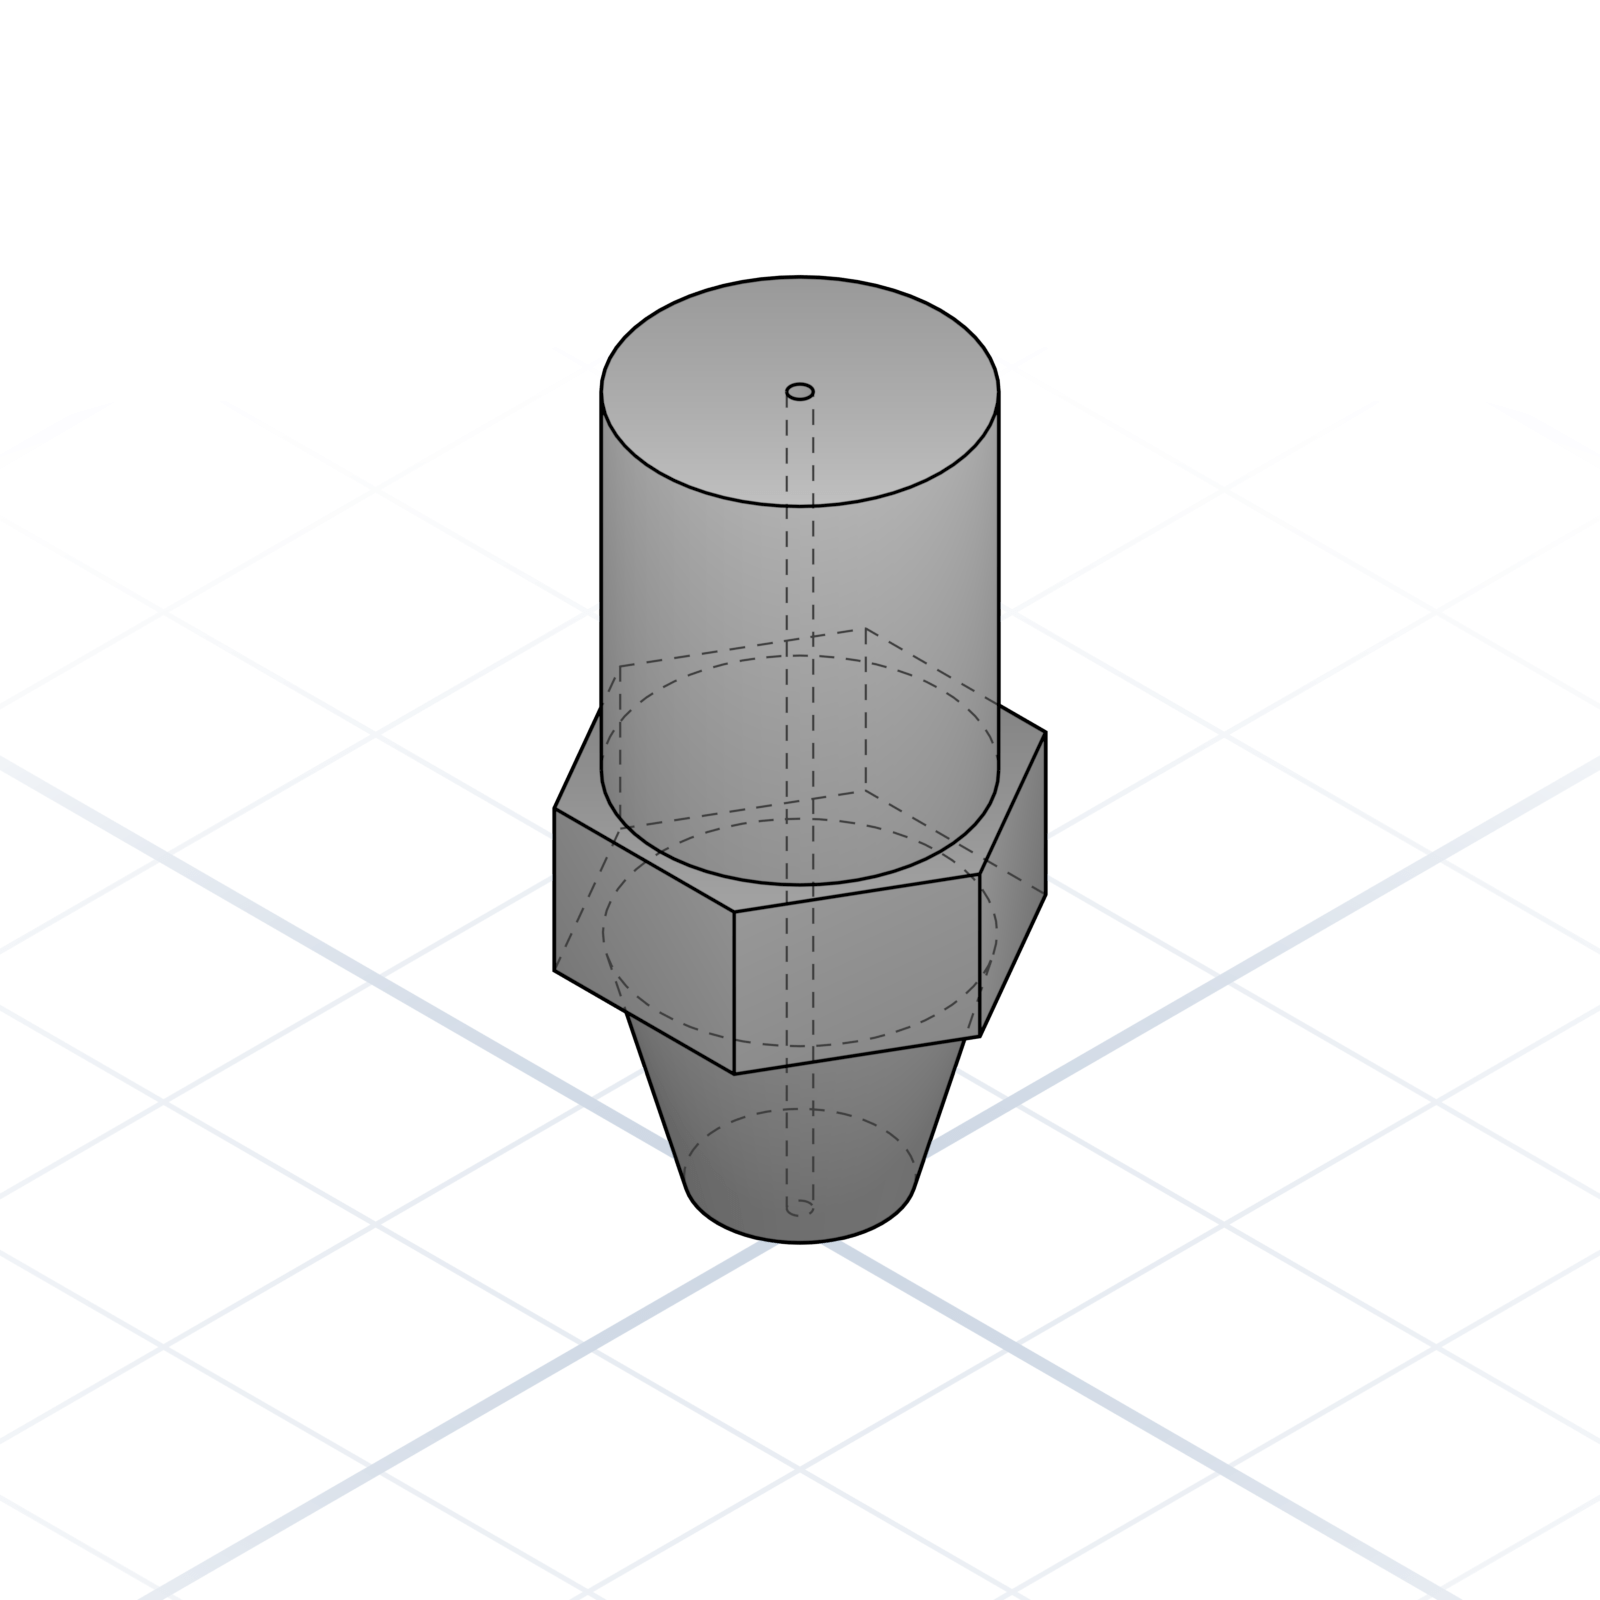
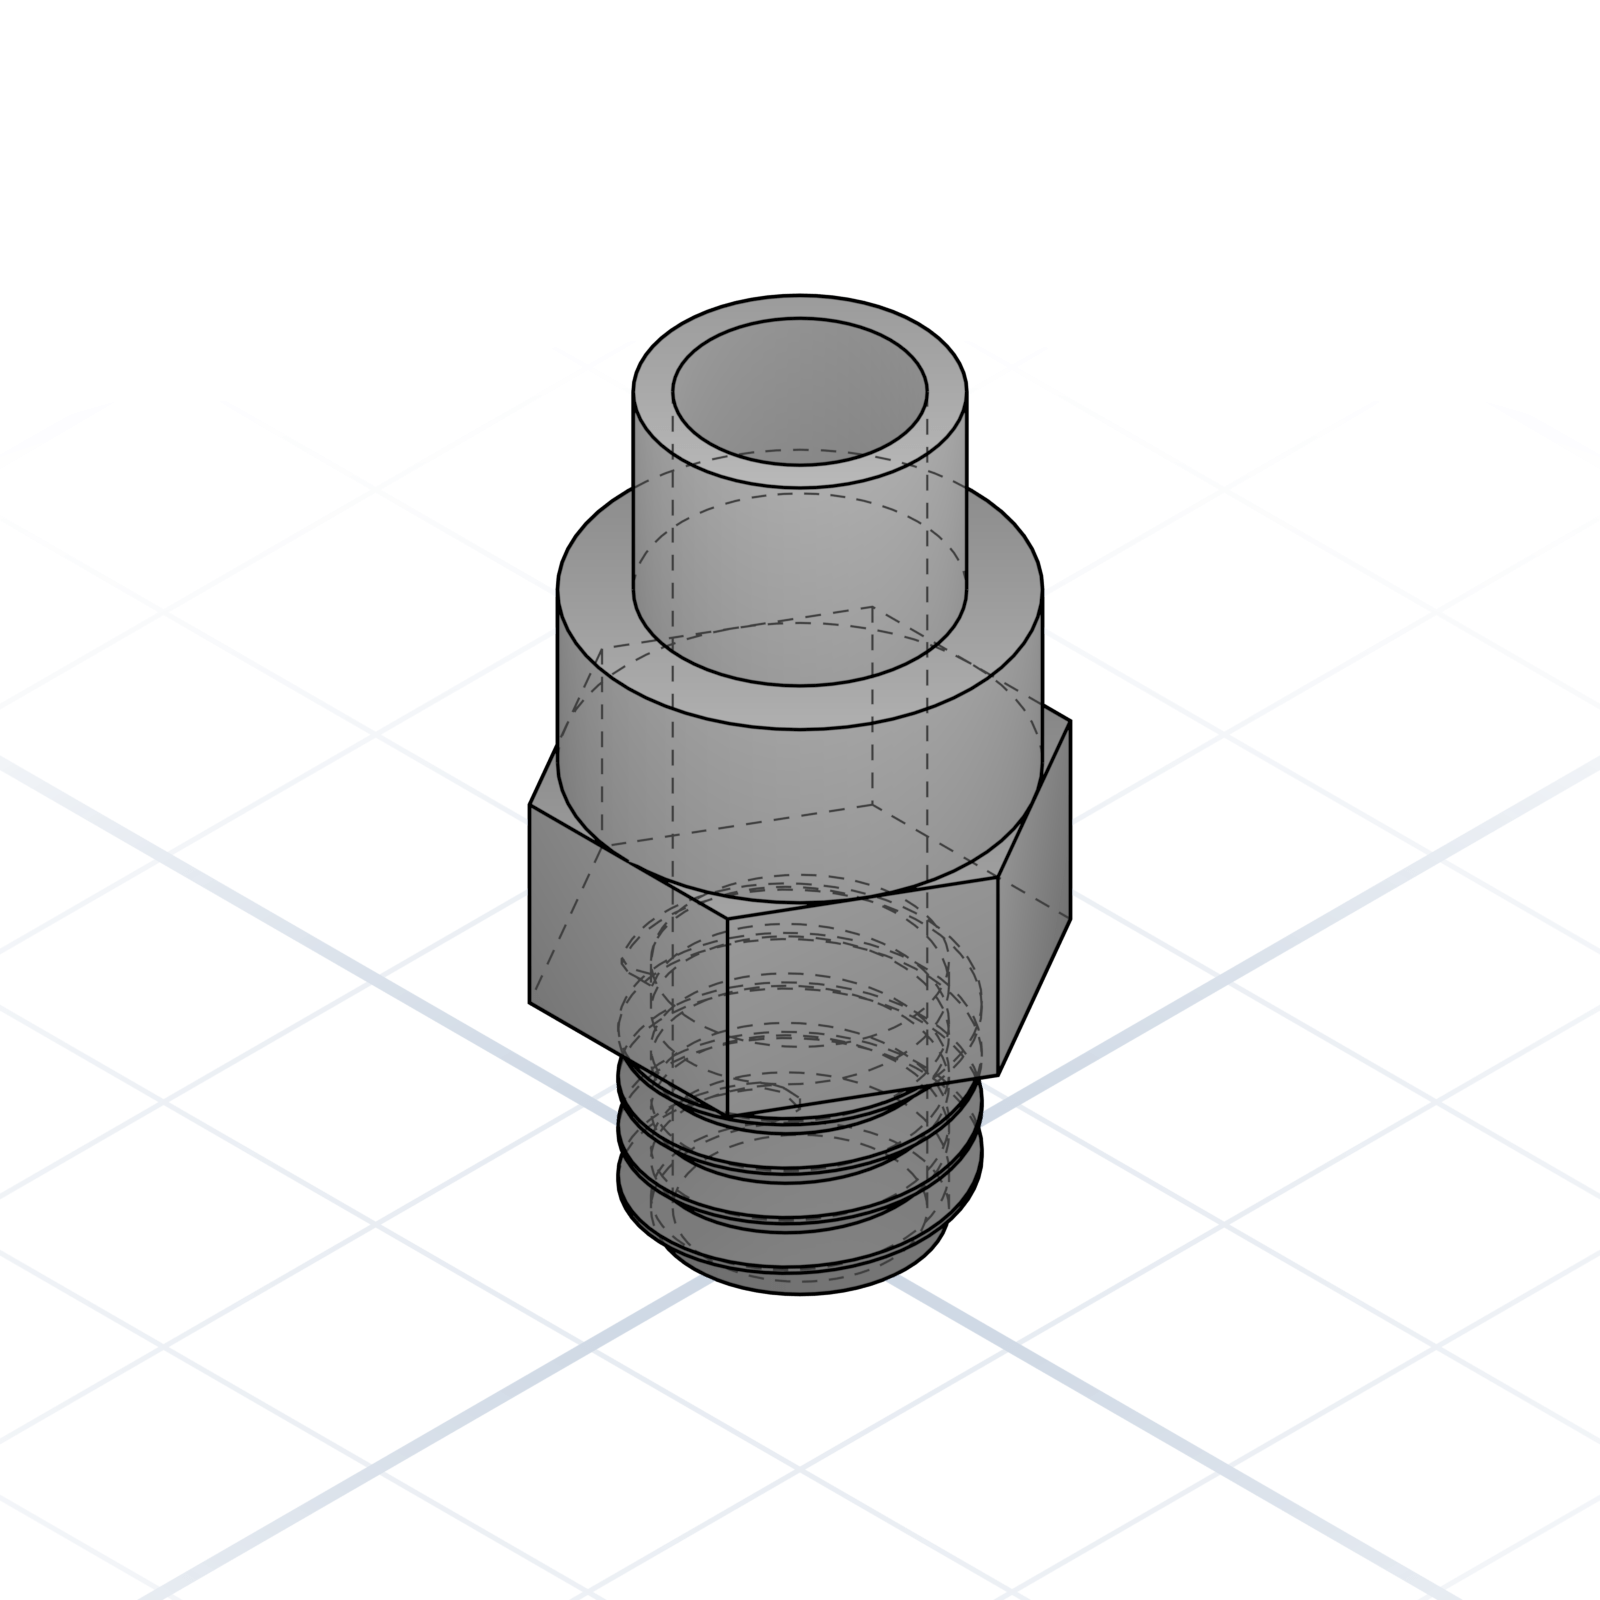
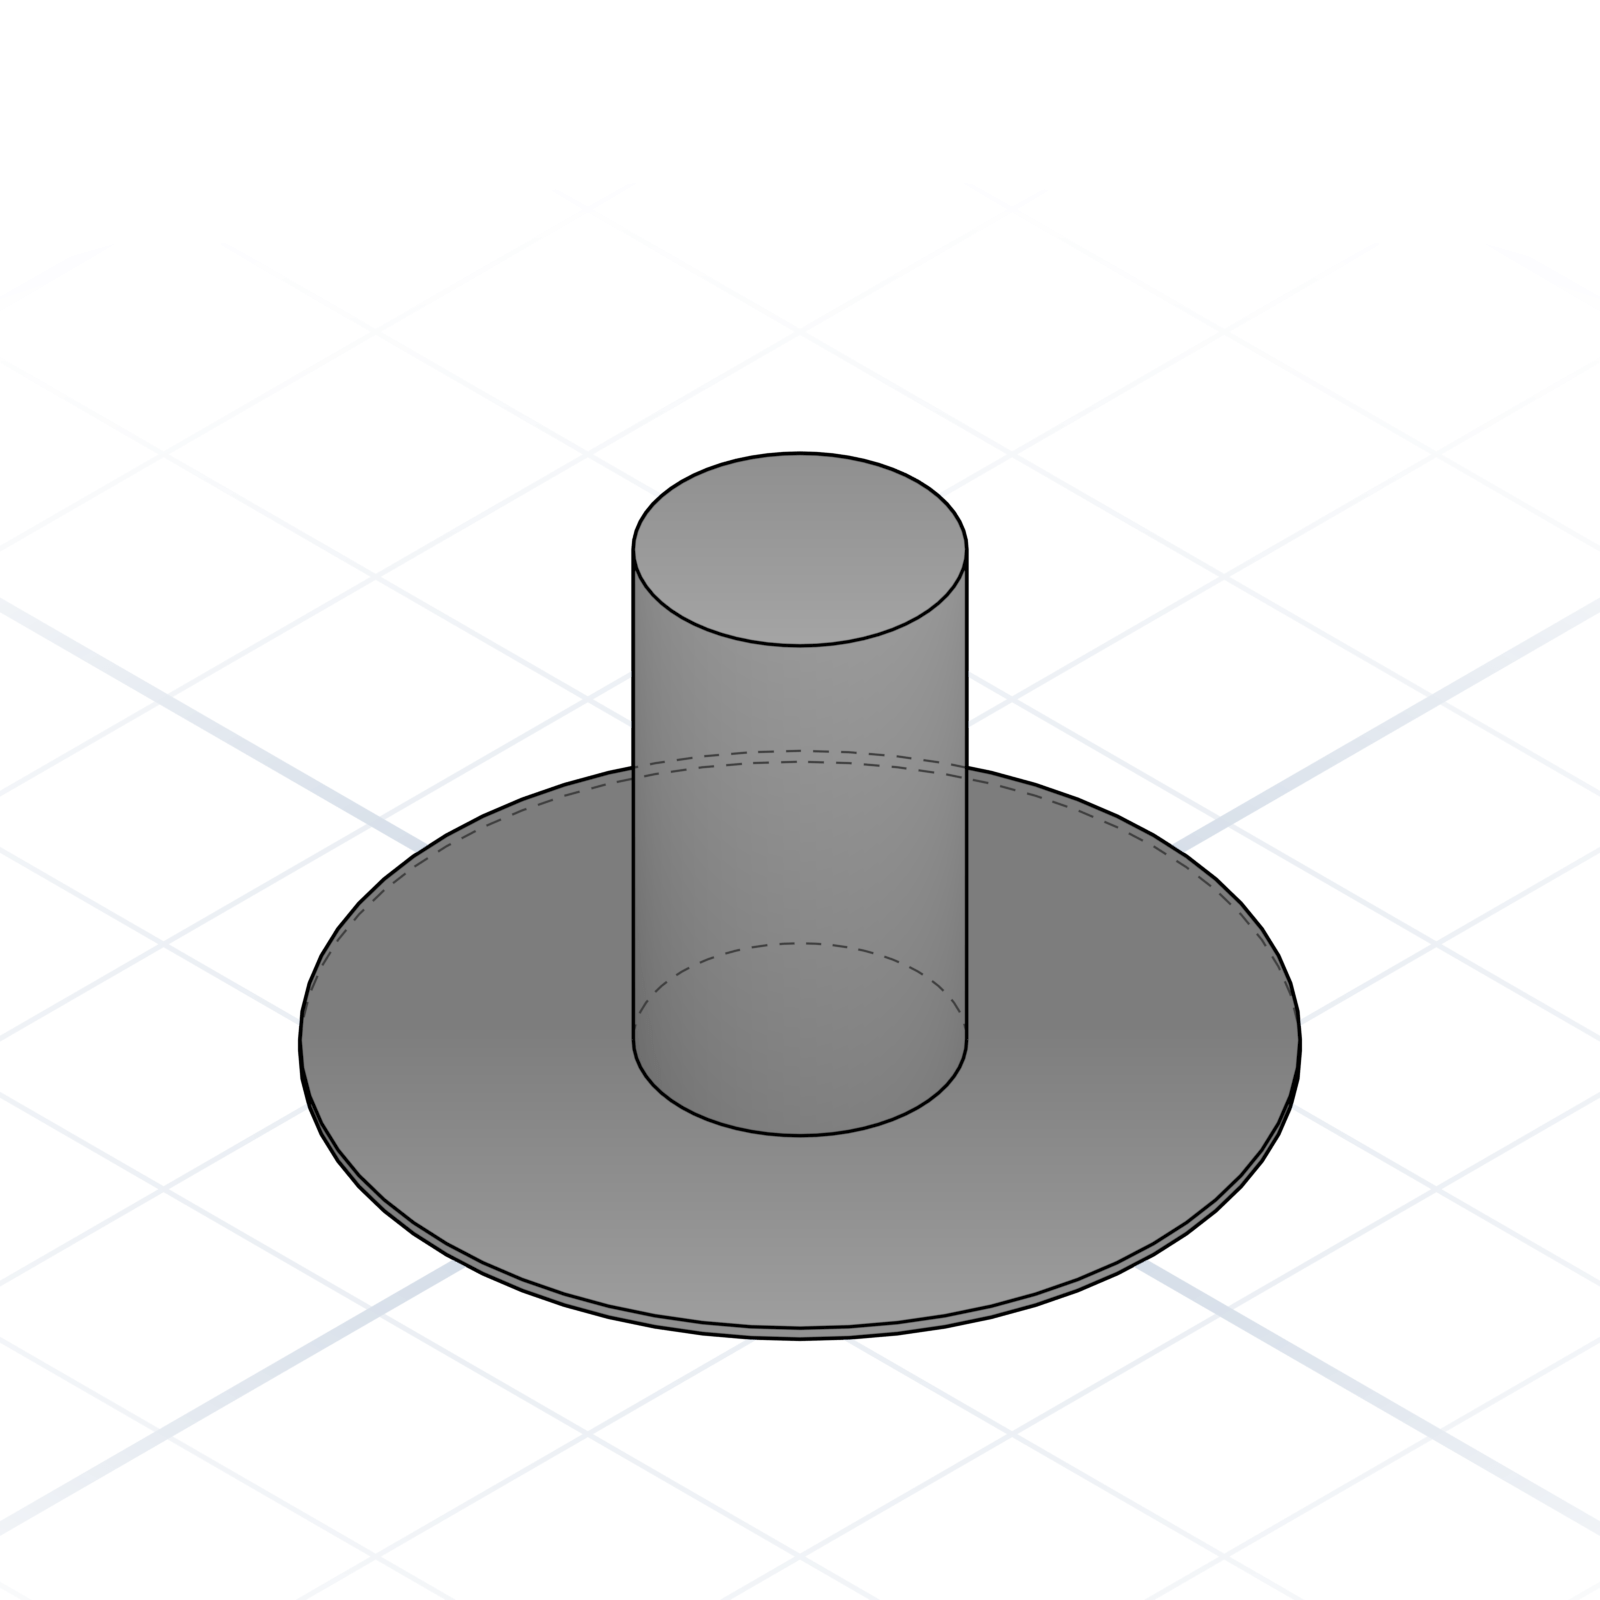
Standoff
Threaded pillar that holds something at a distance. Hex outside, M3 inside is most common.
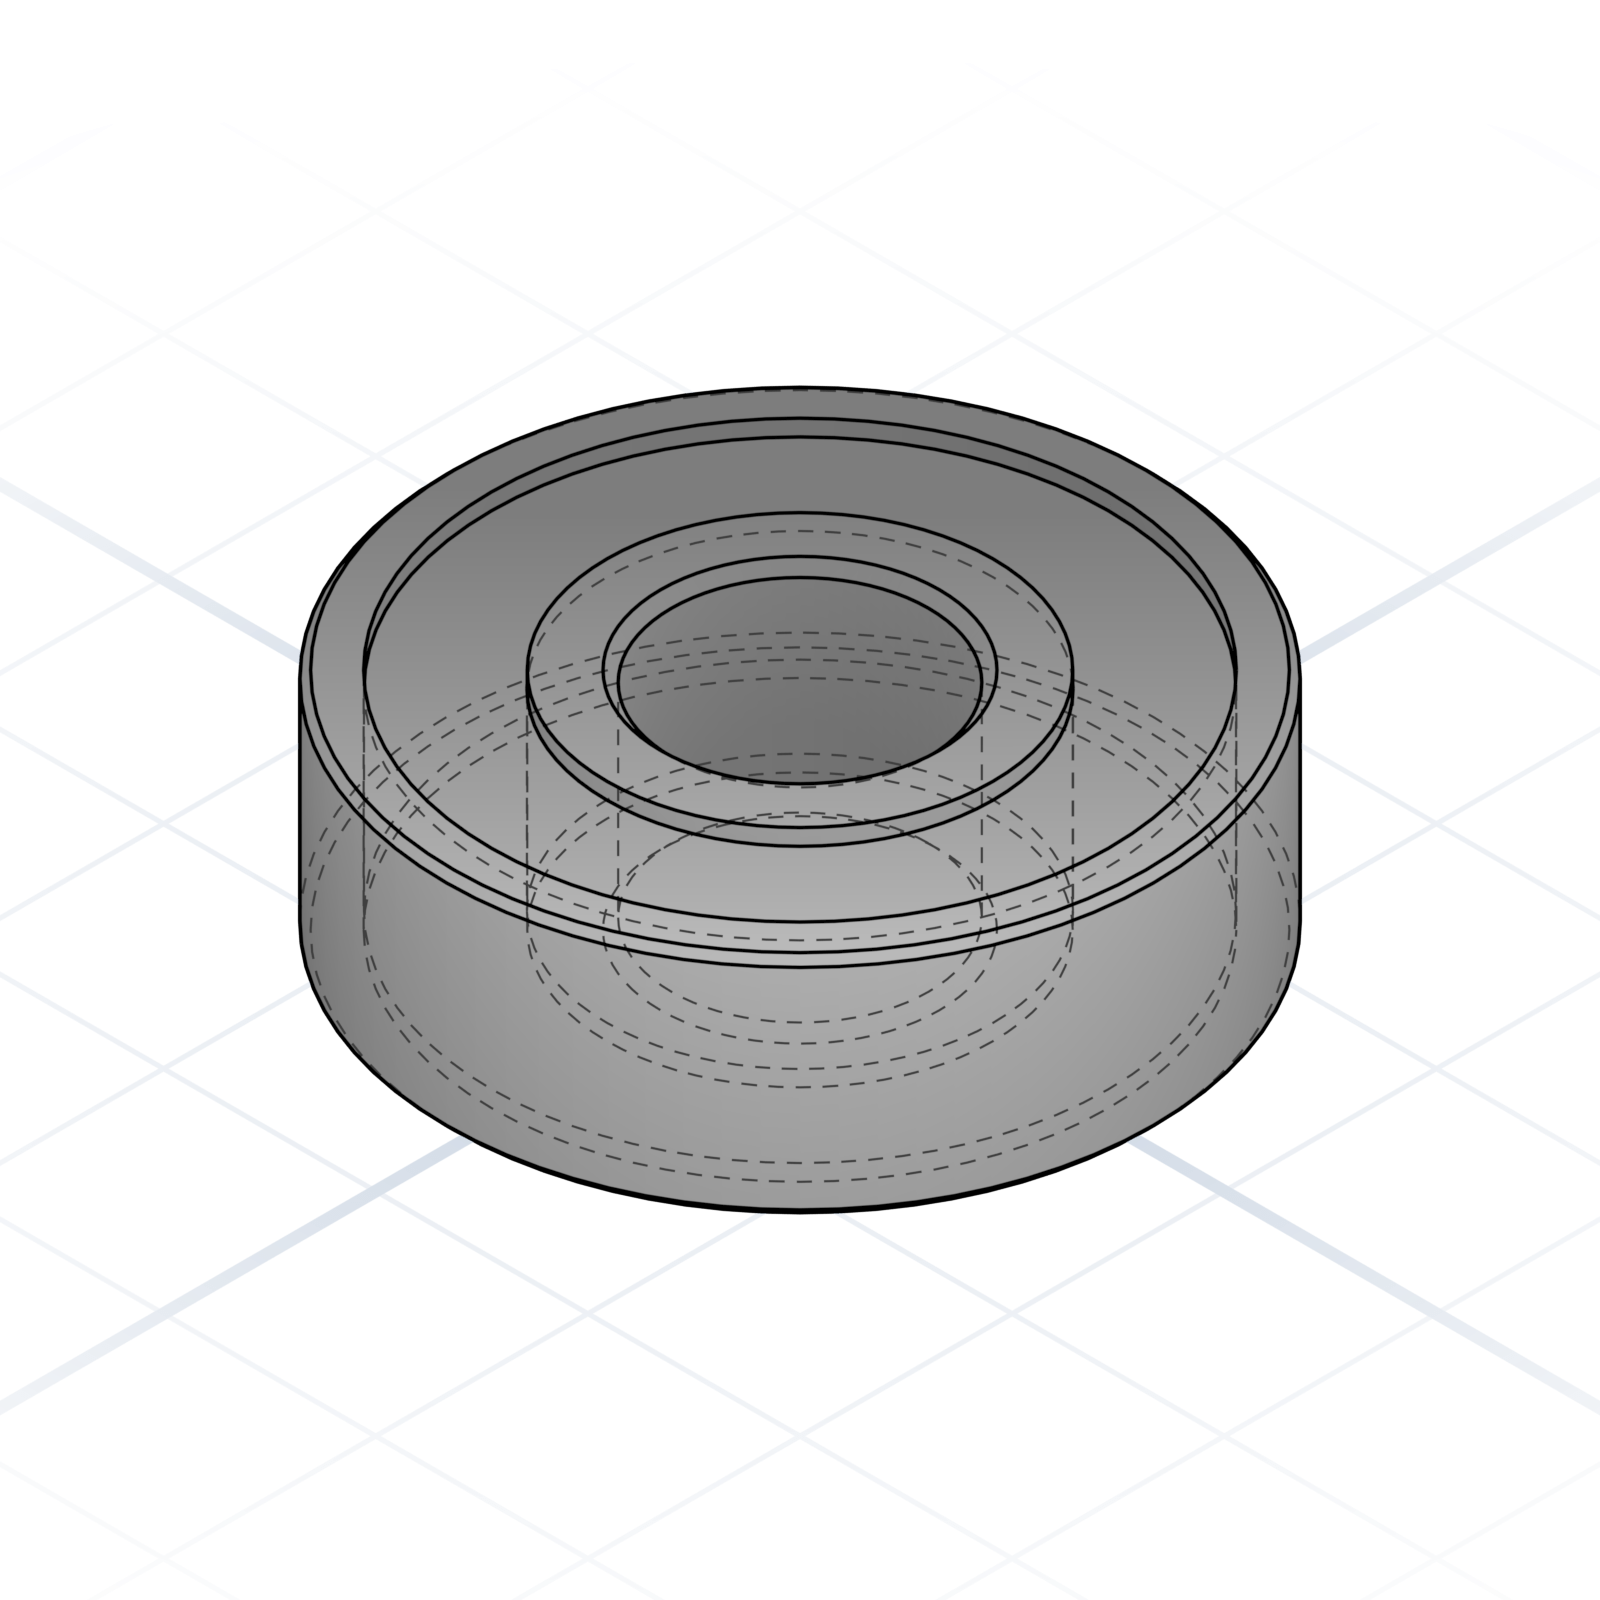
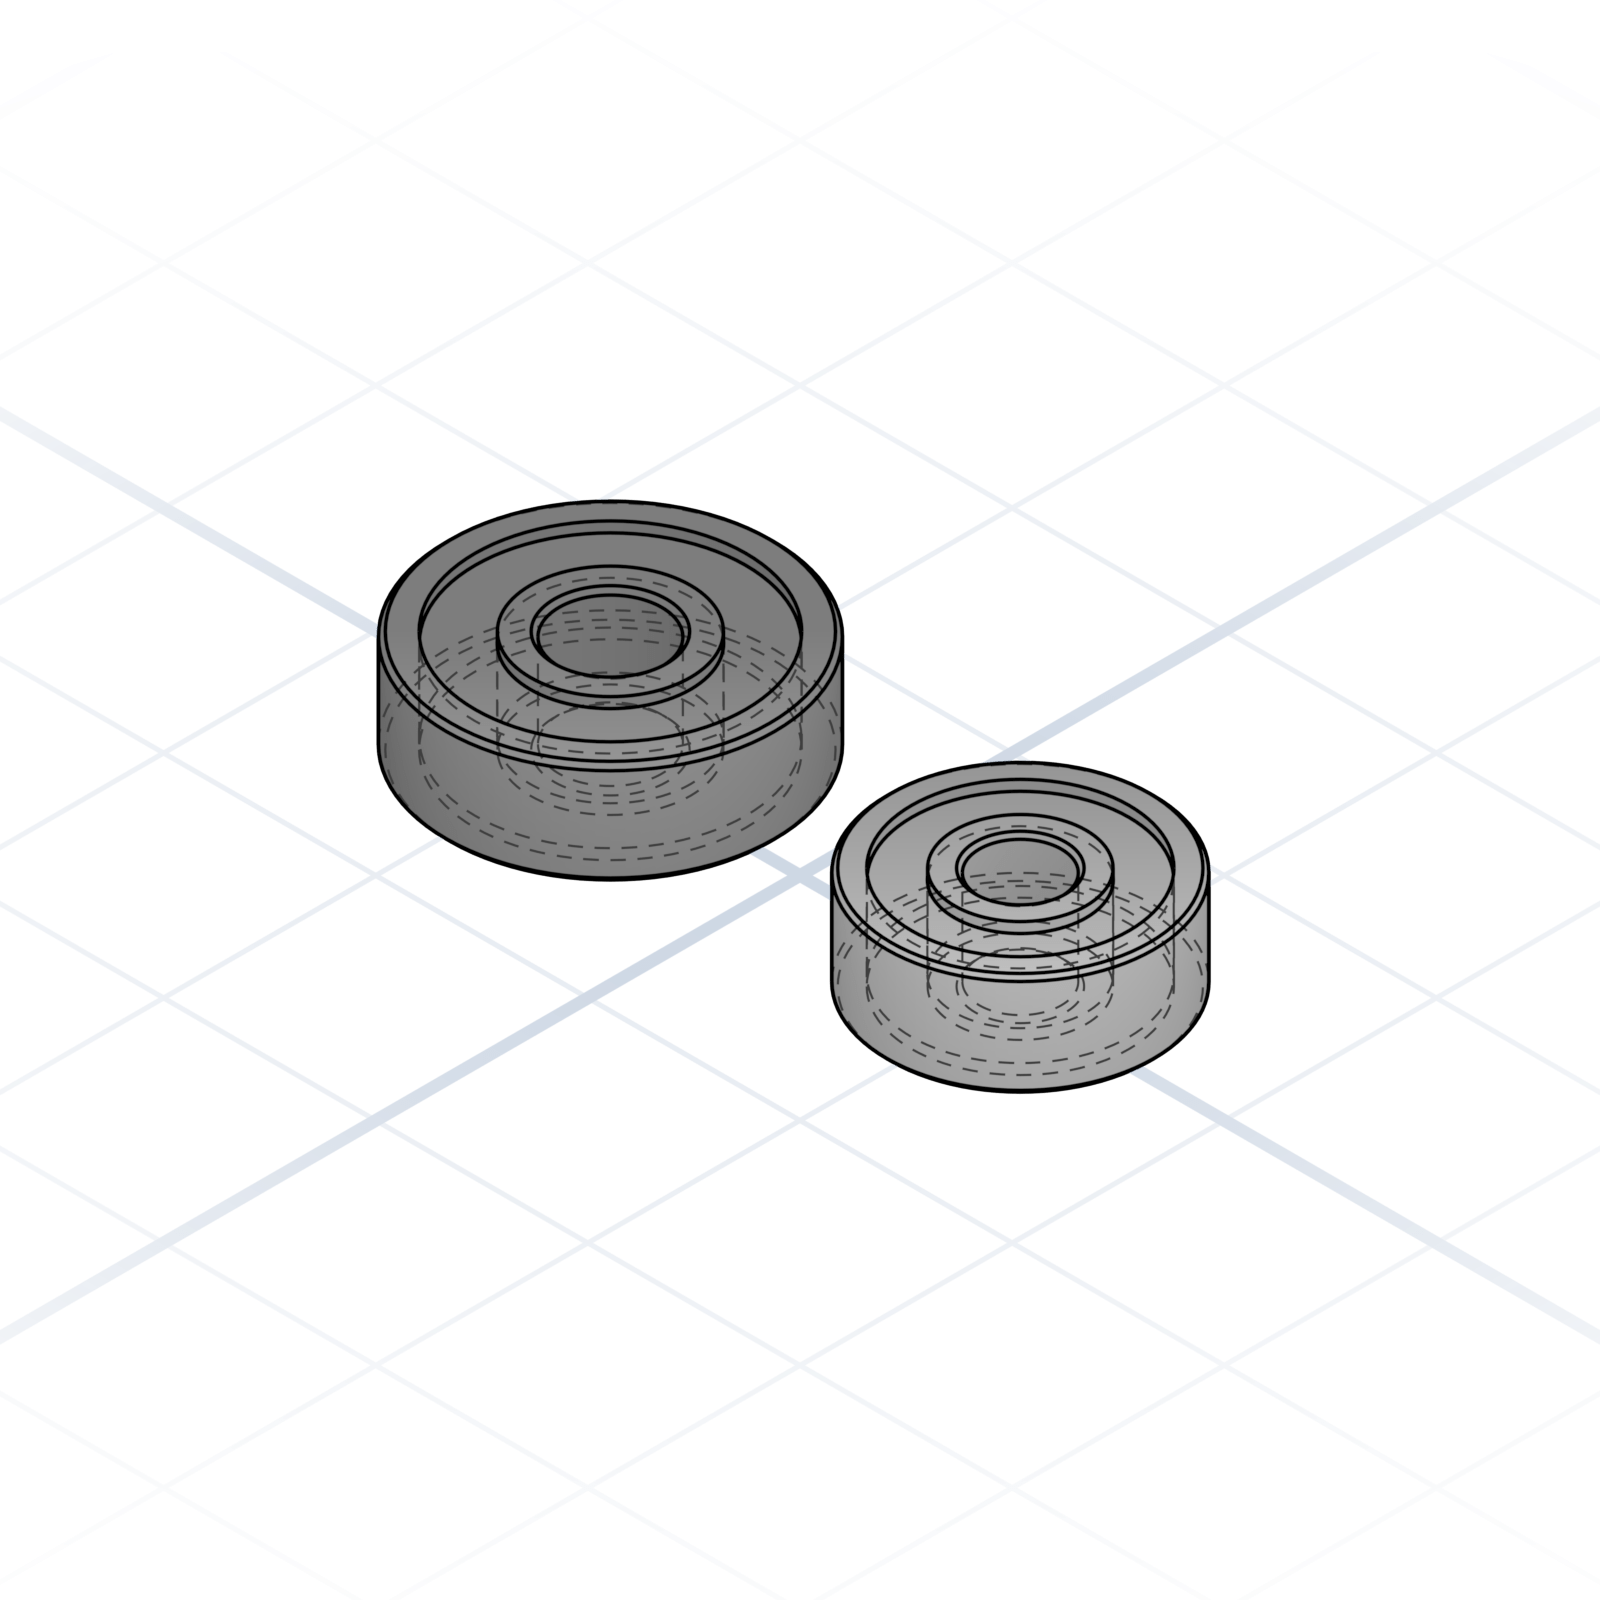
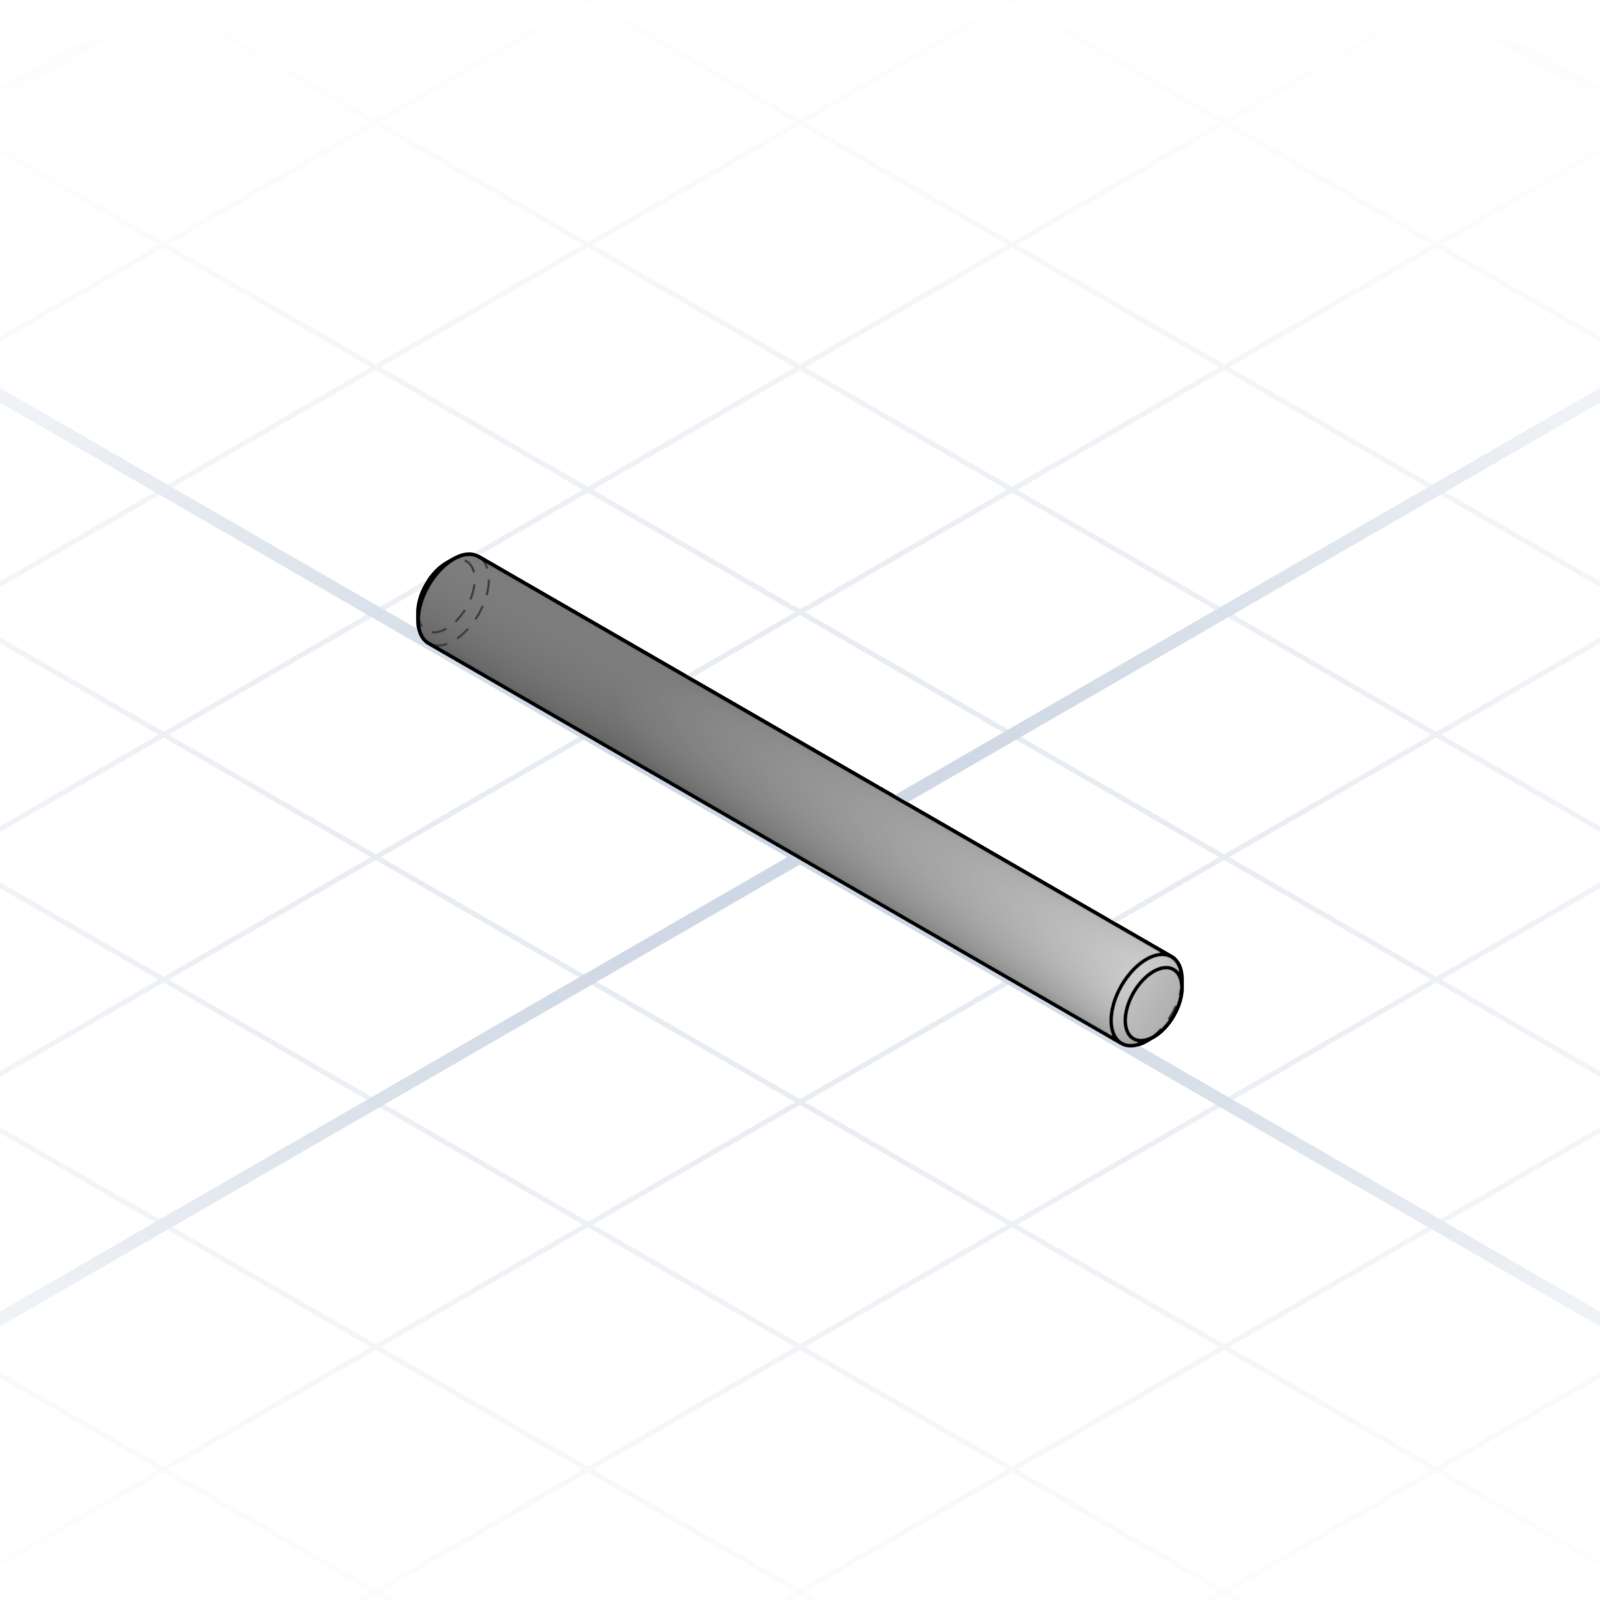
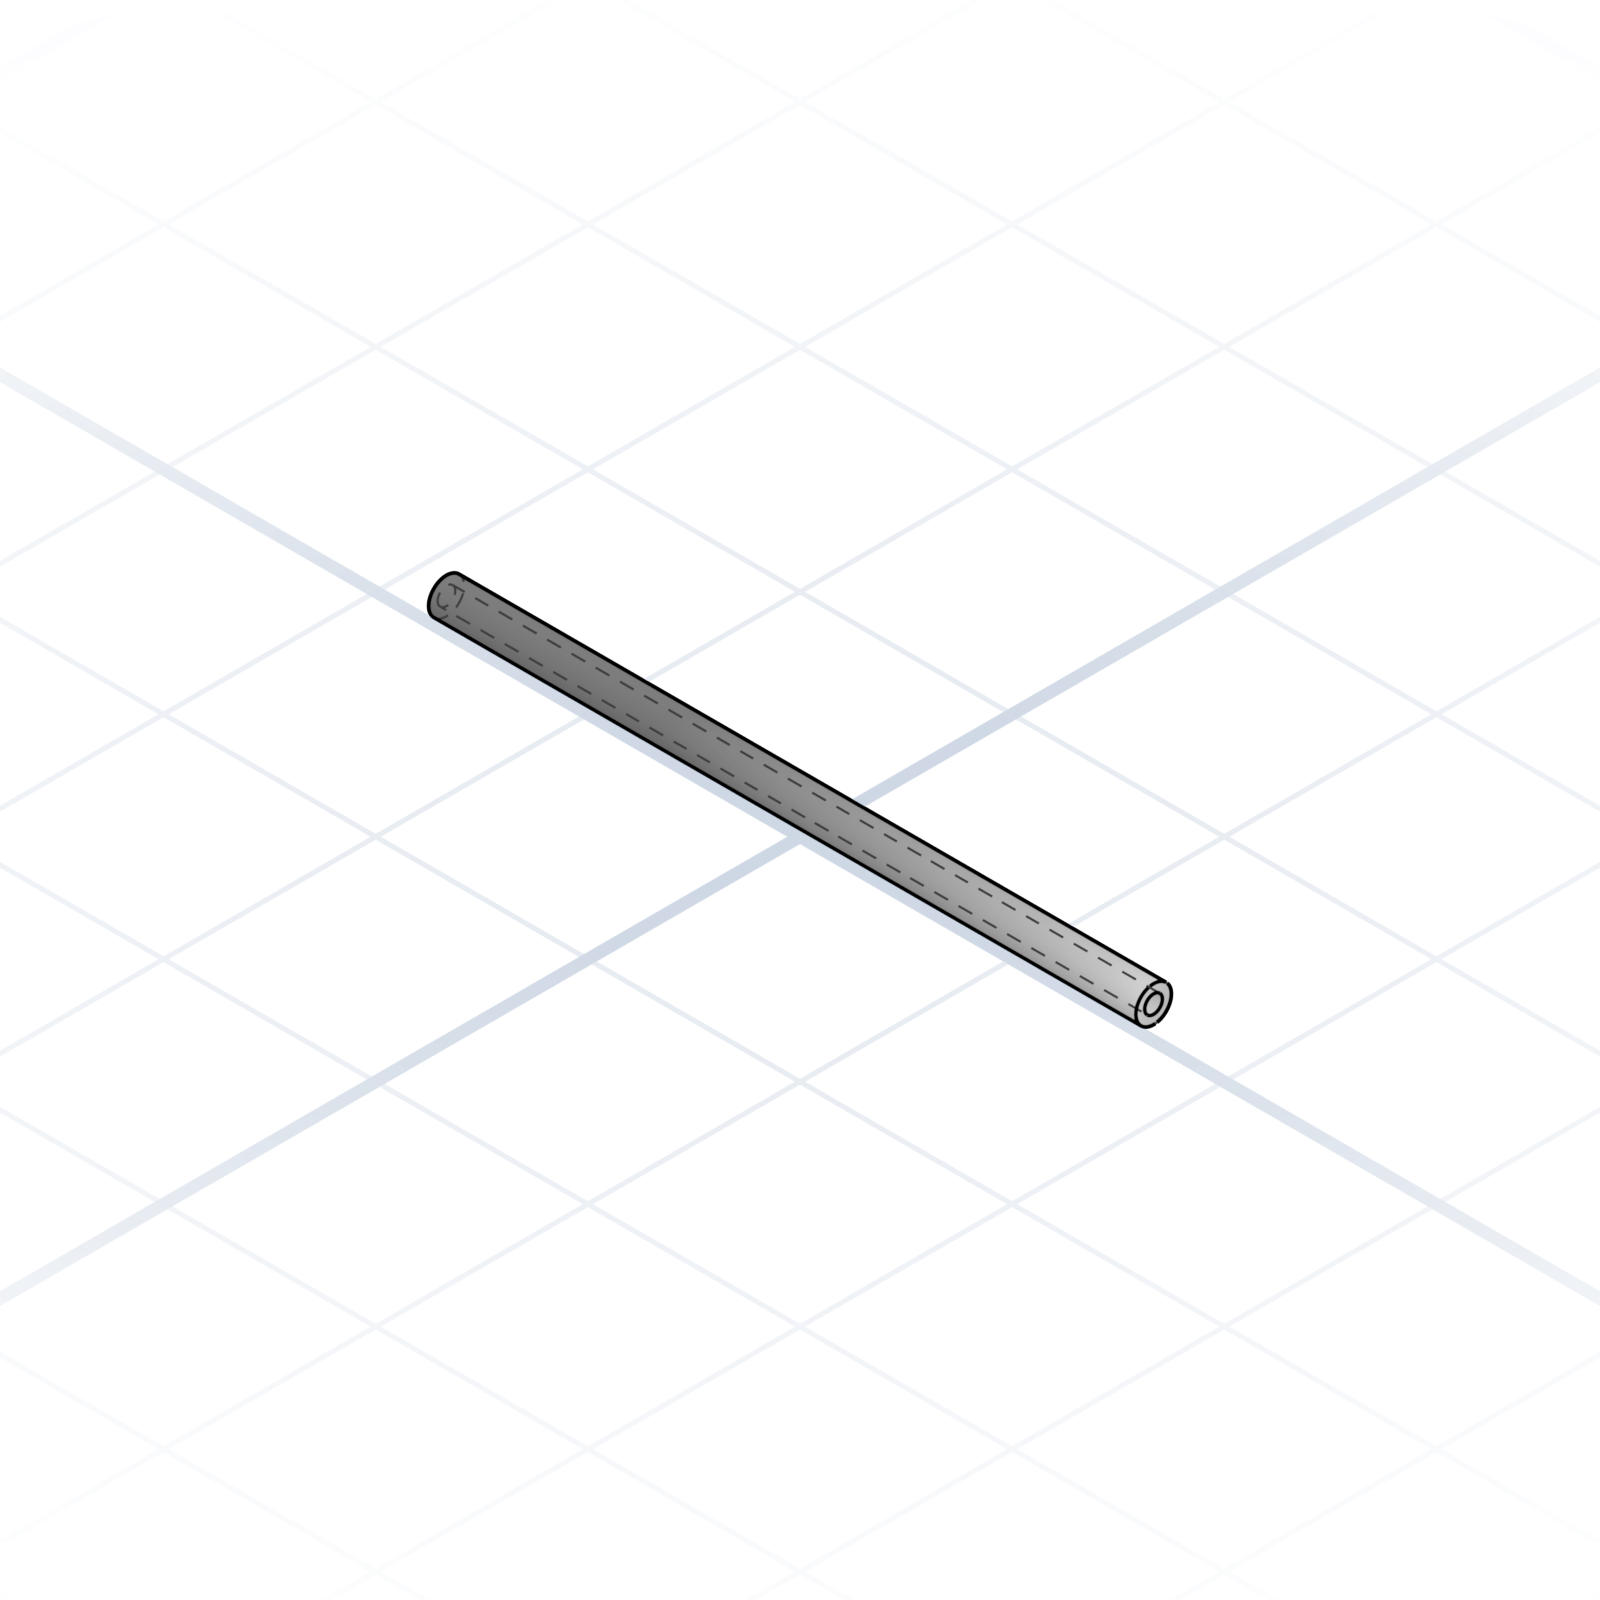
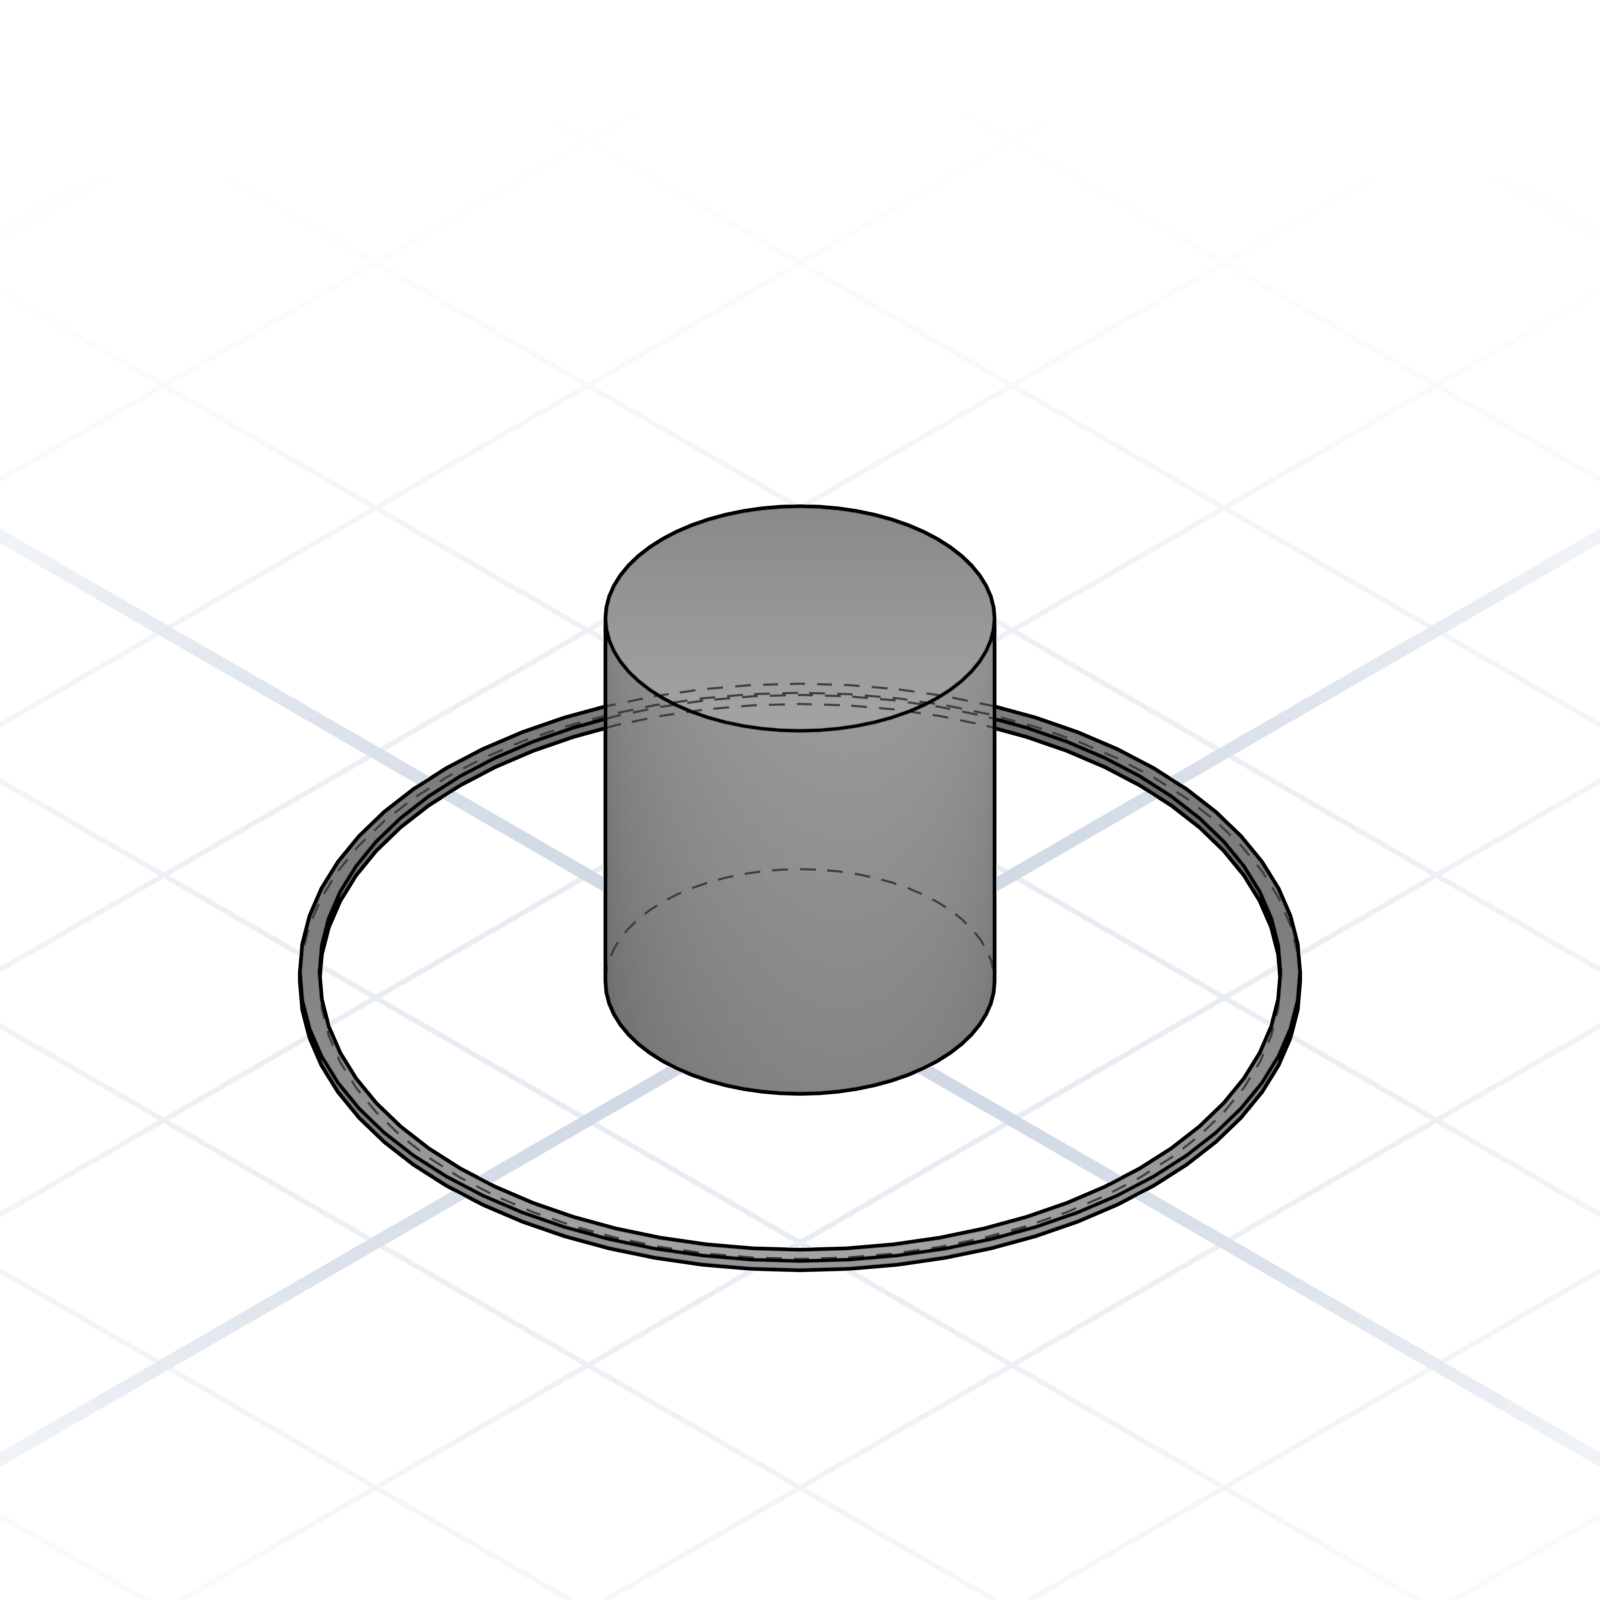
Spacer
Unthreaded sleeve that sets distance between two parts. The screw passes straight through.
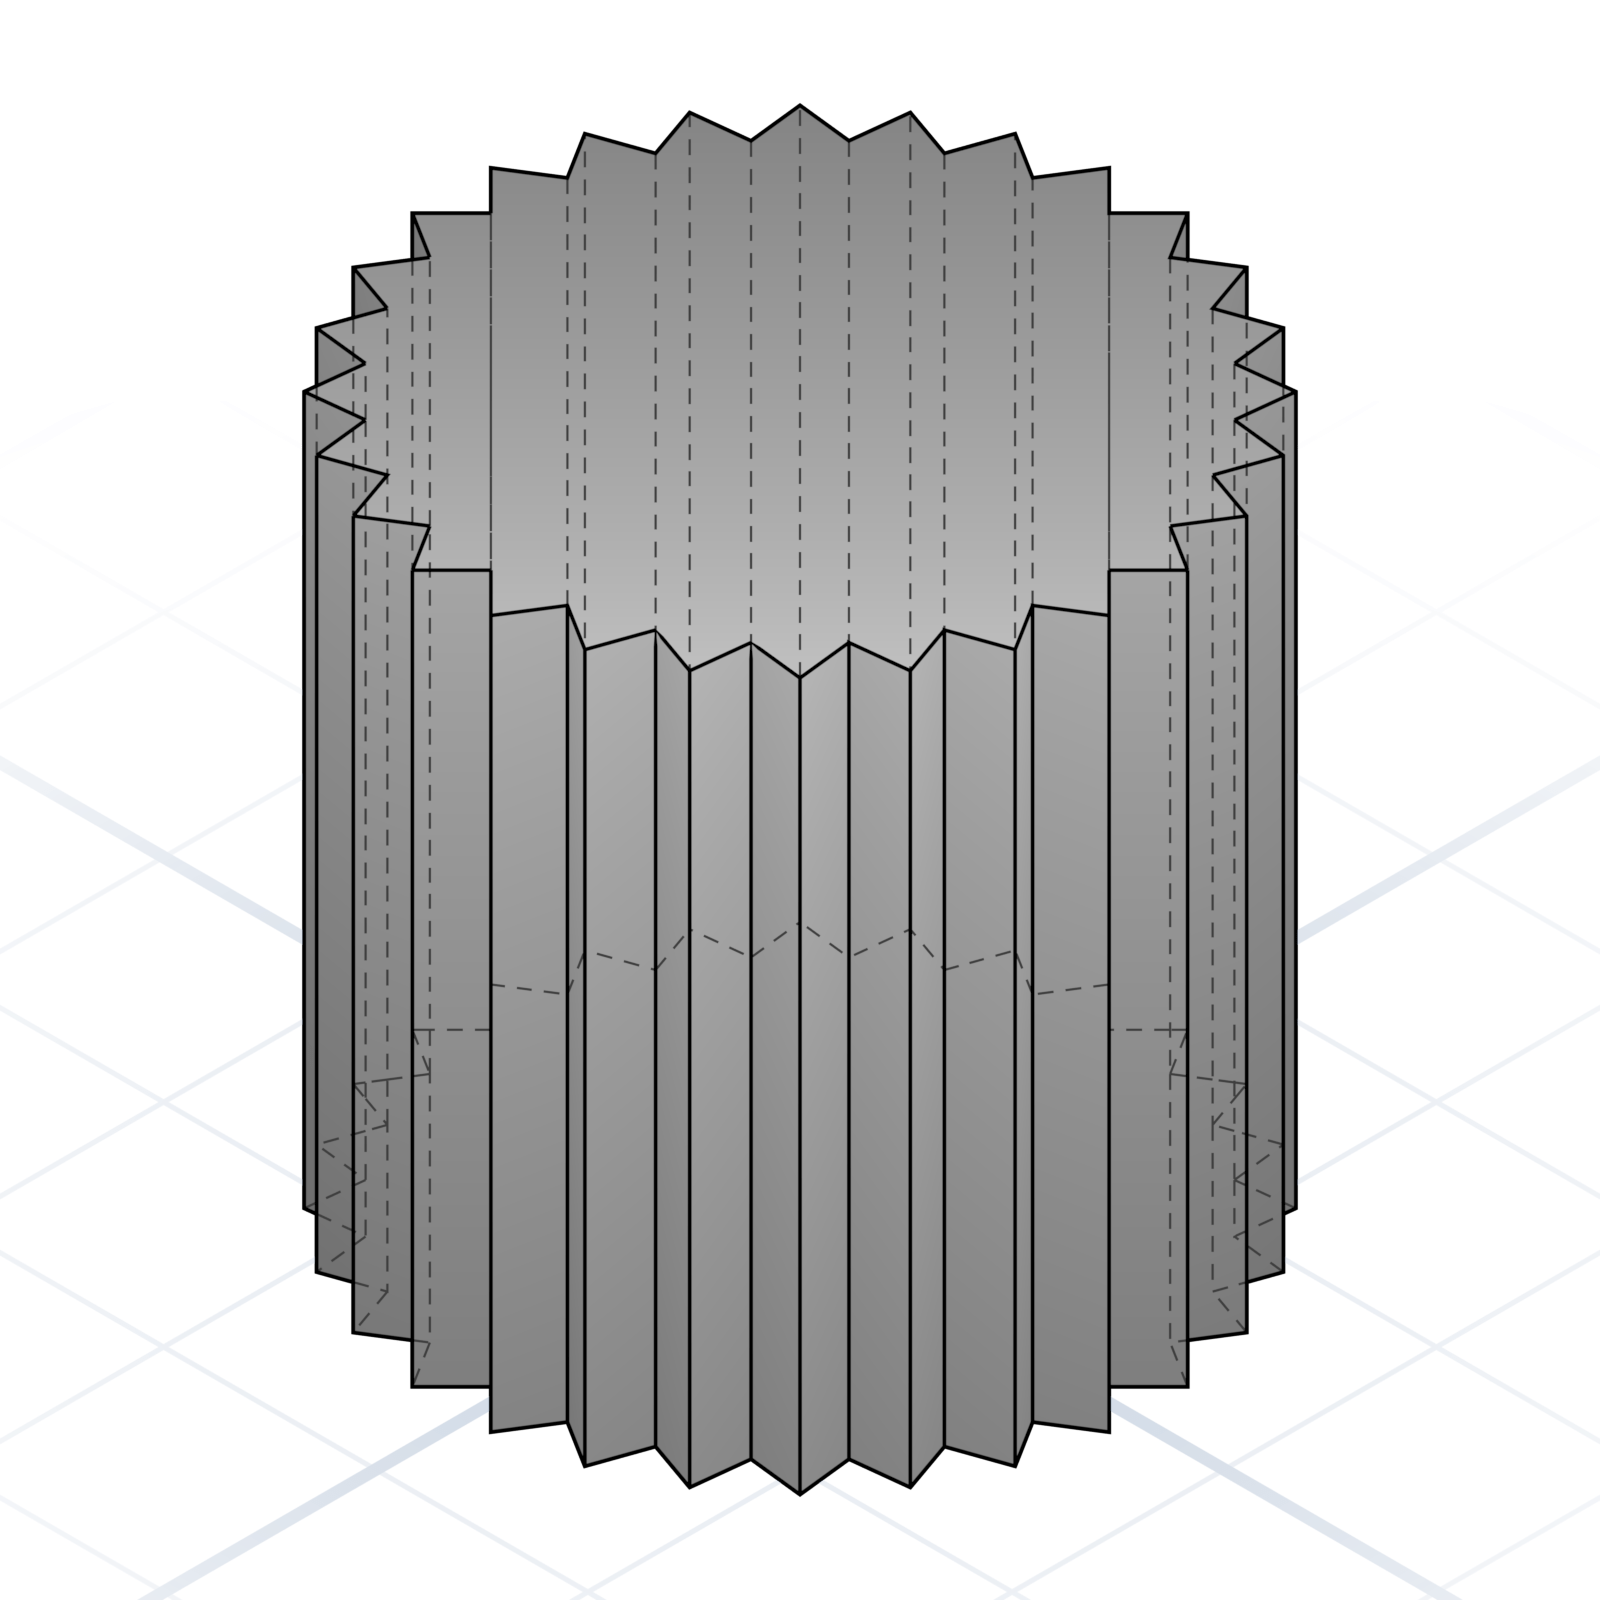
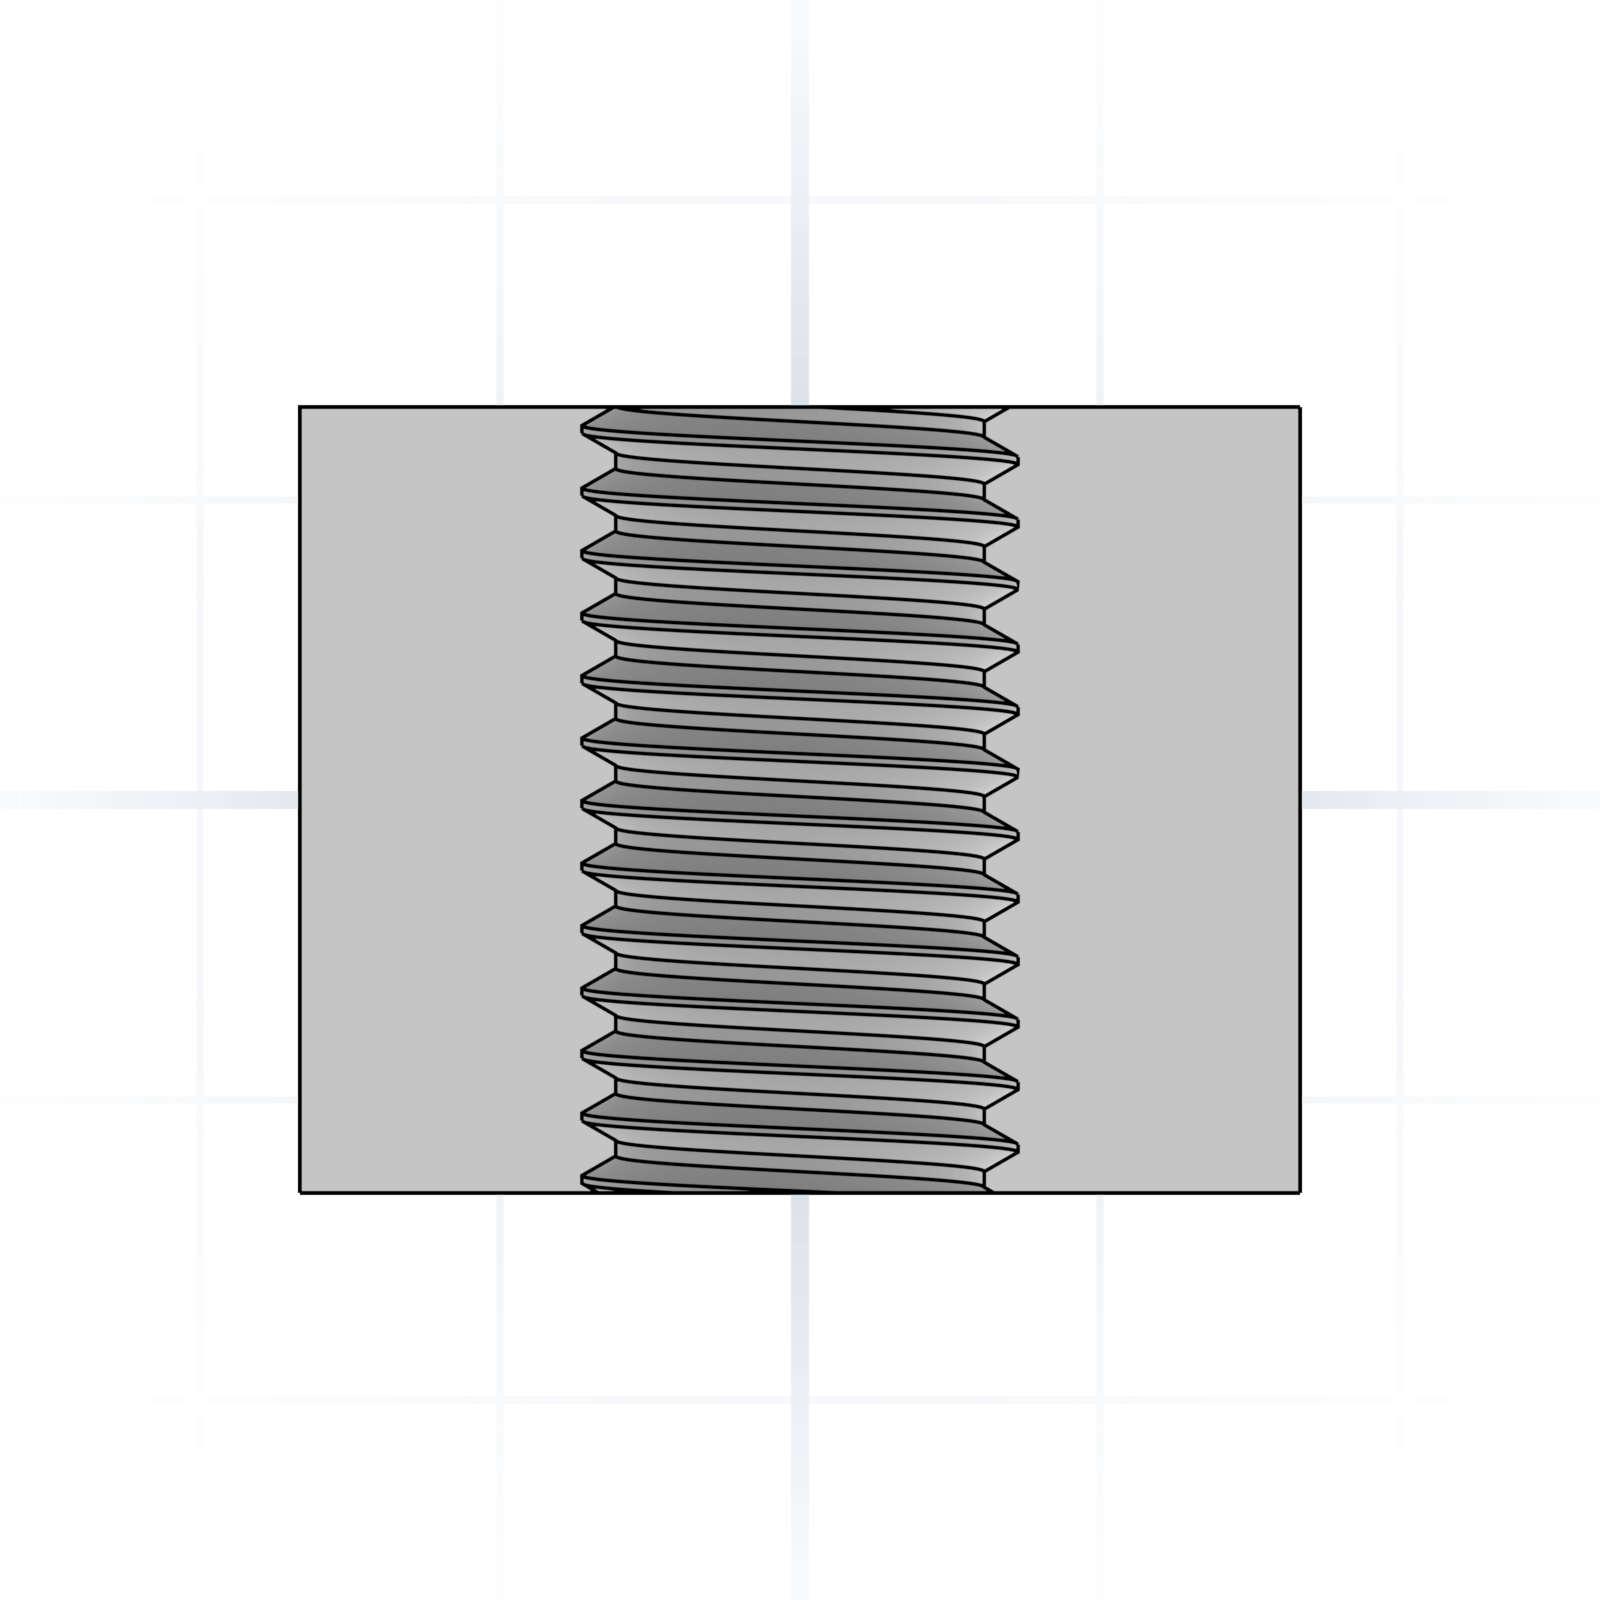
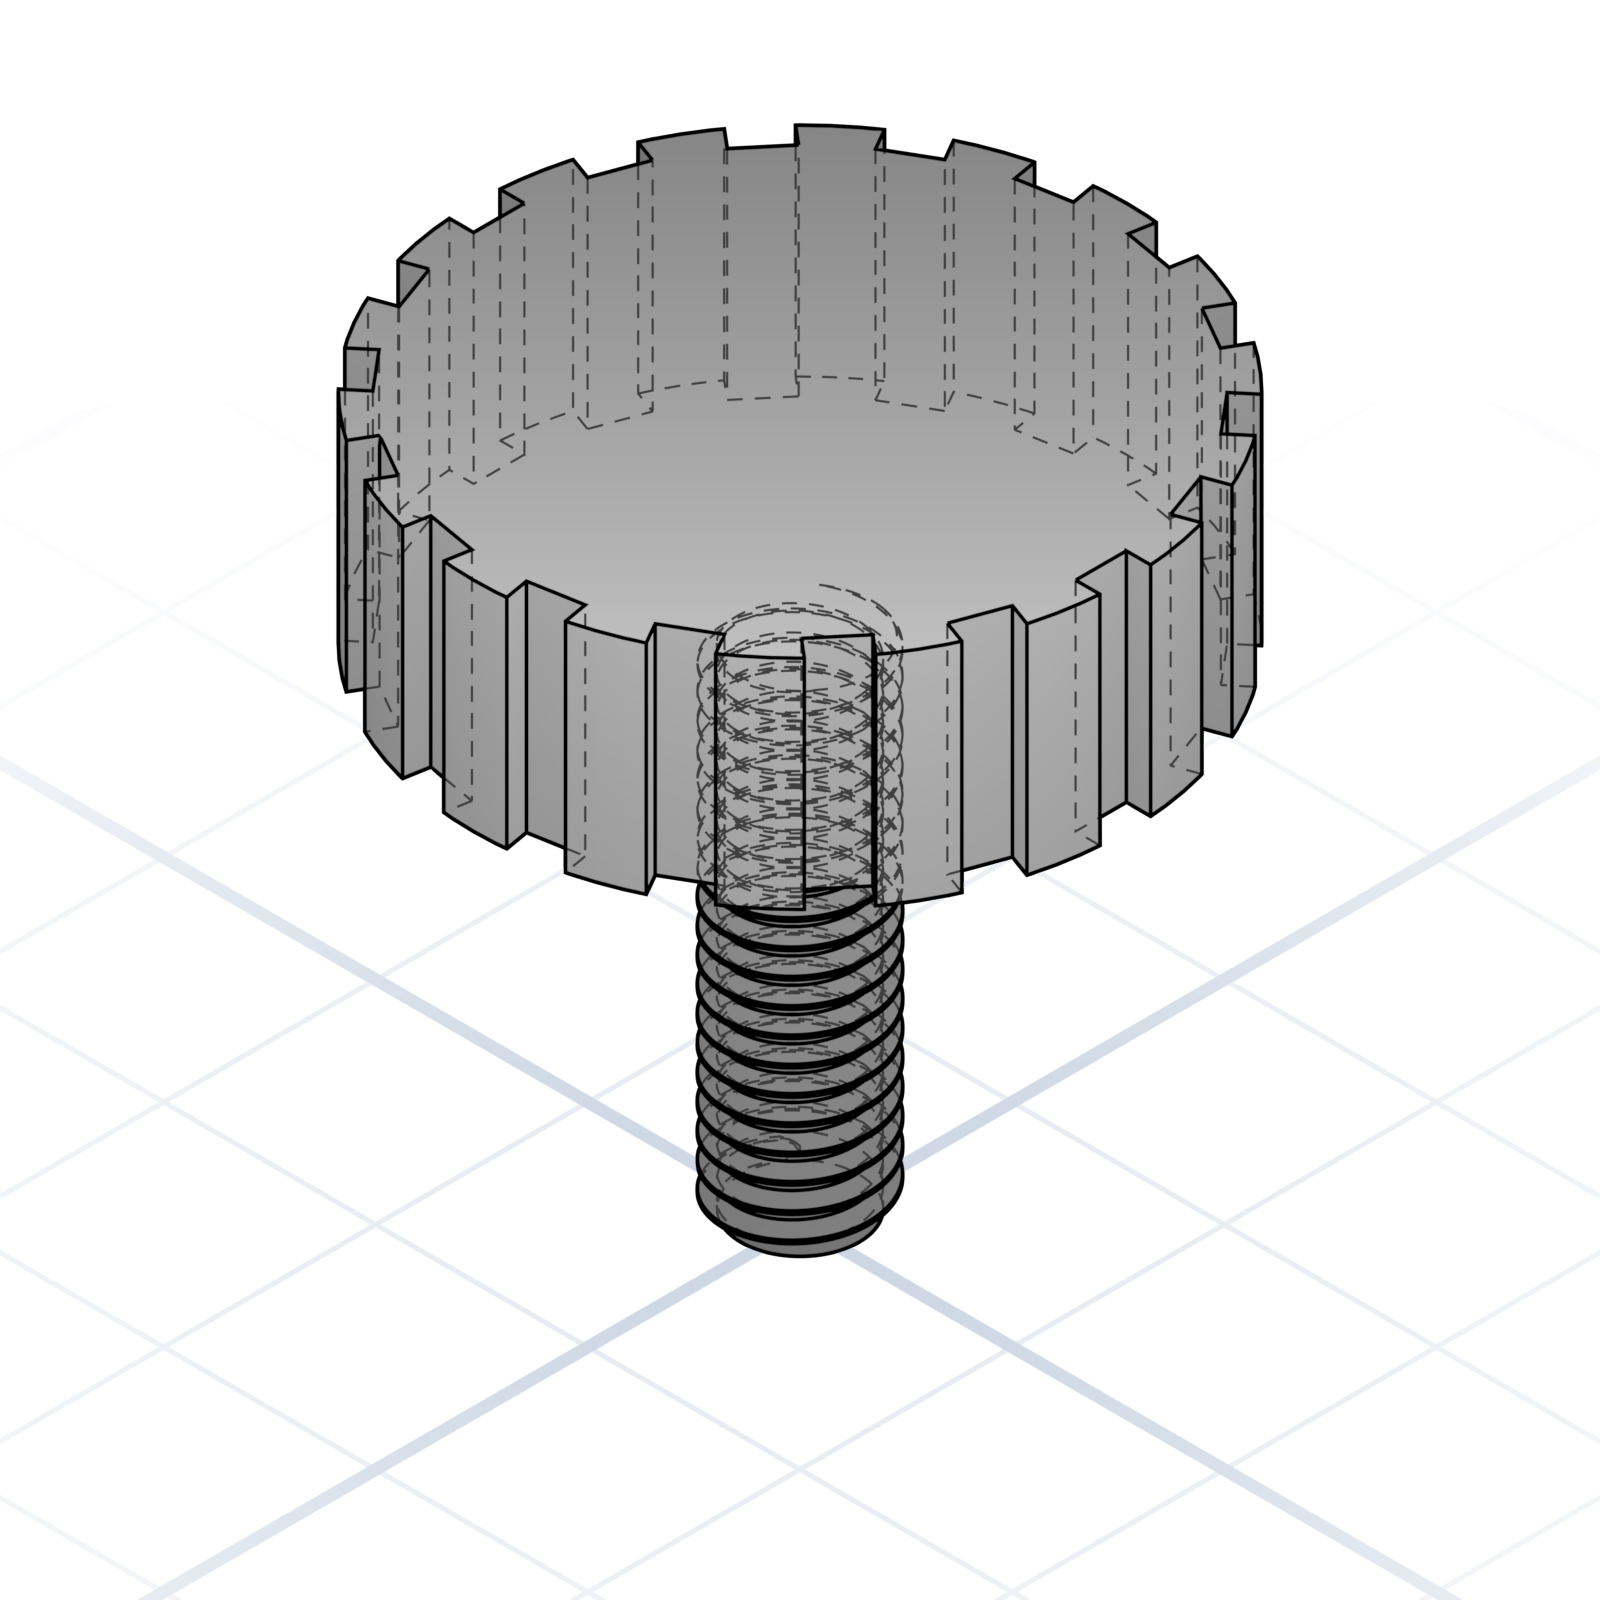
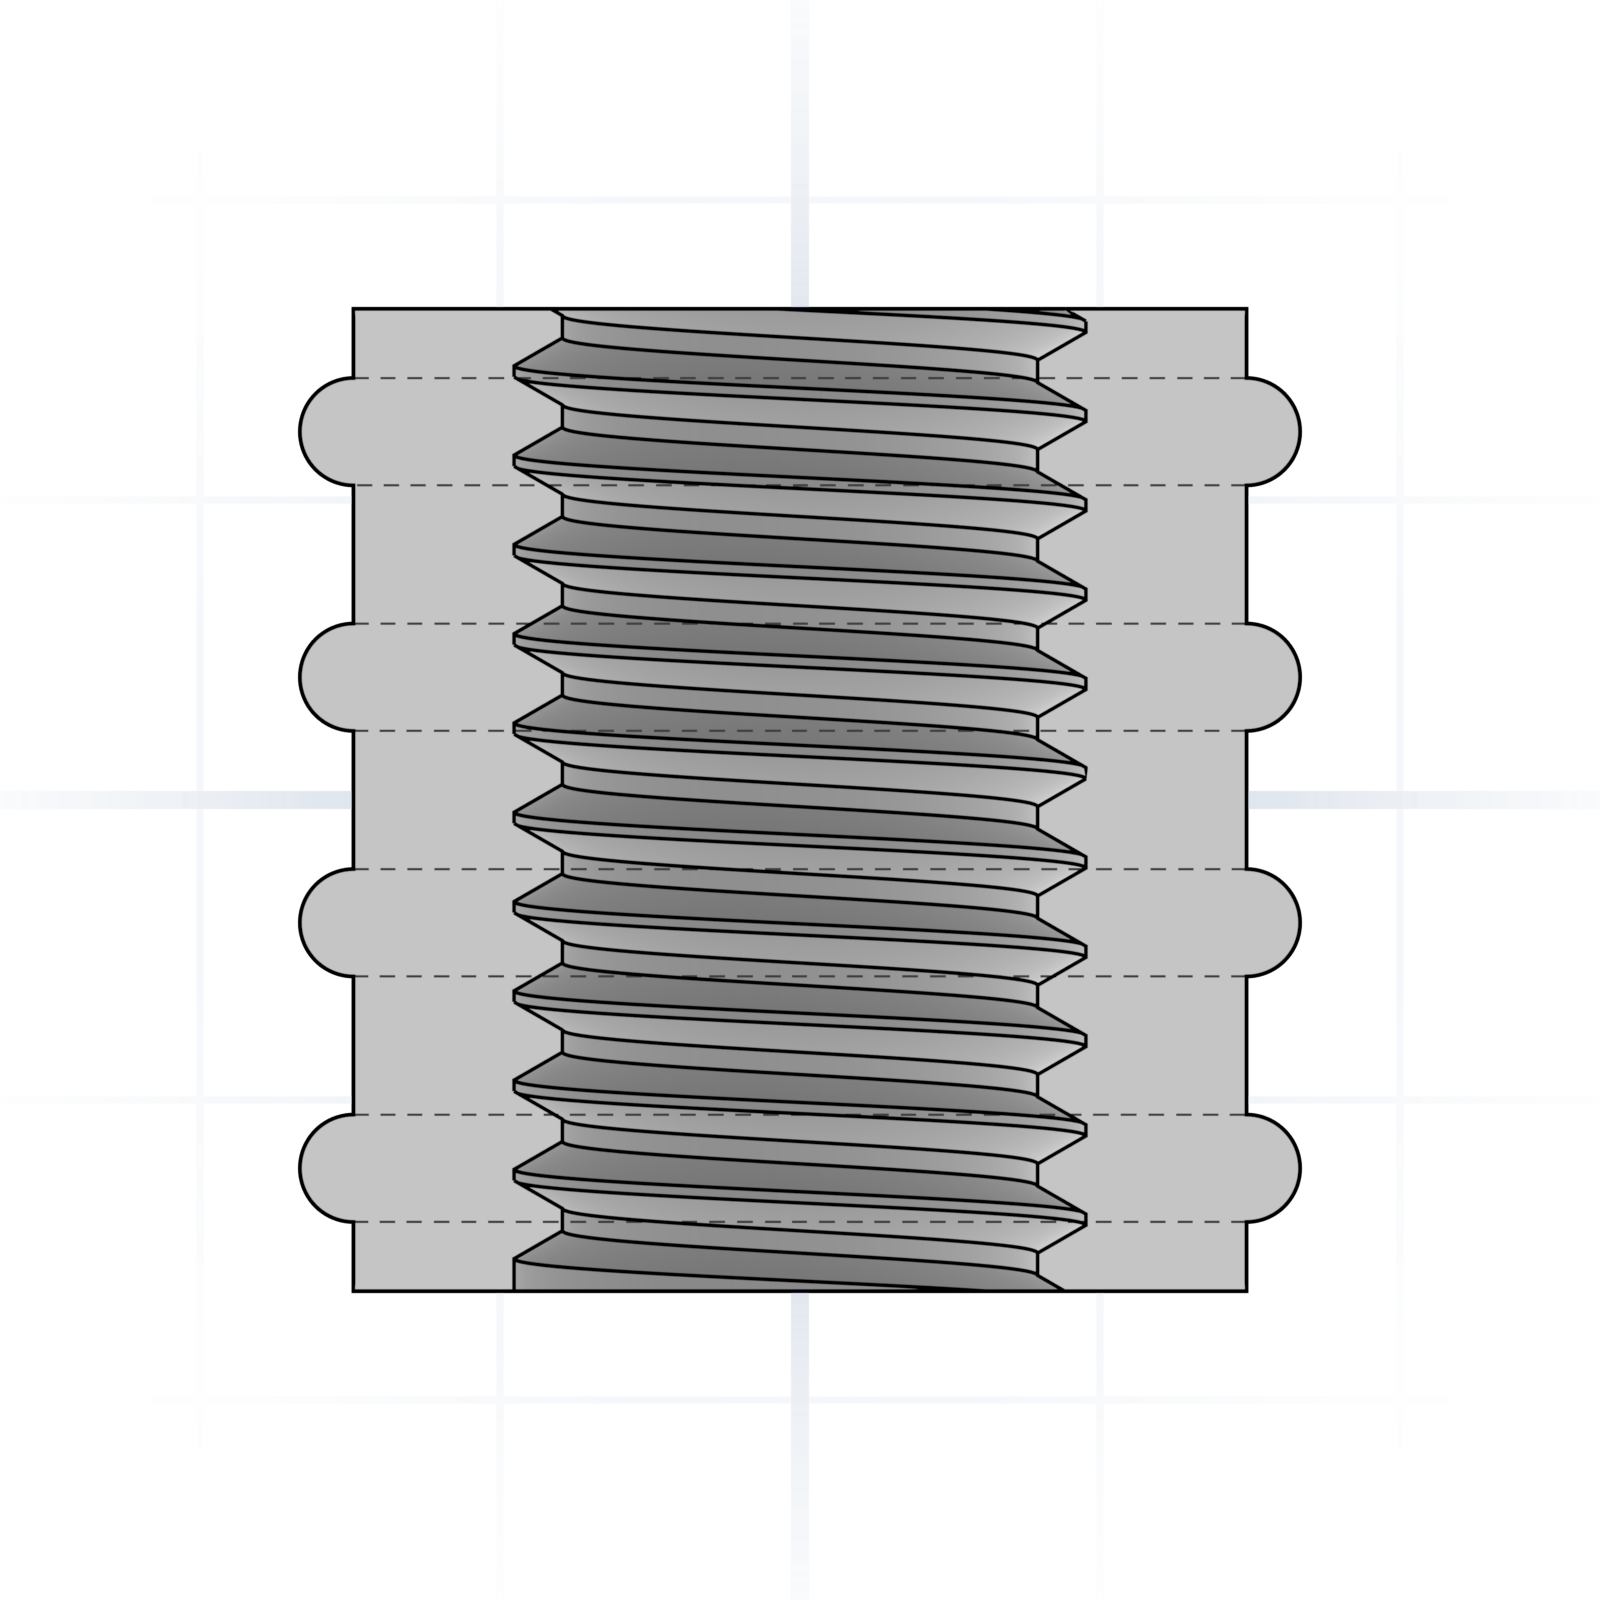
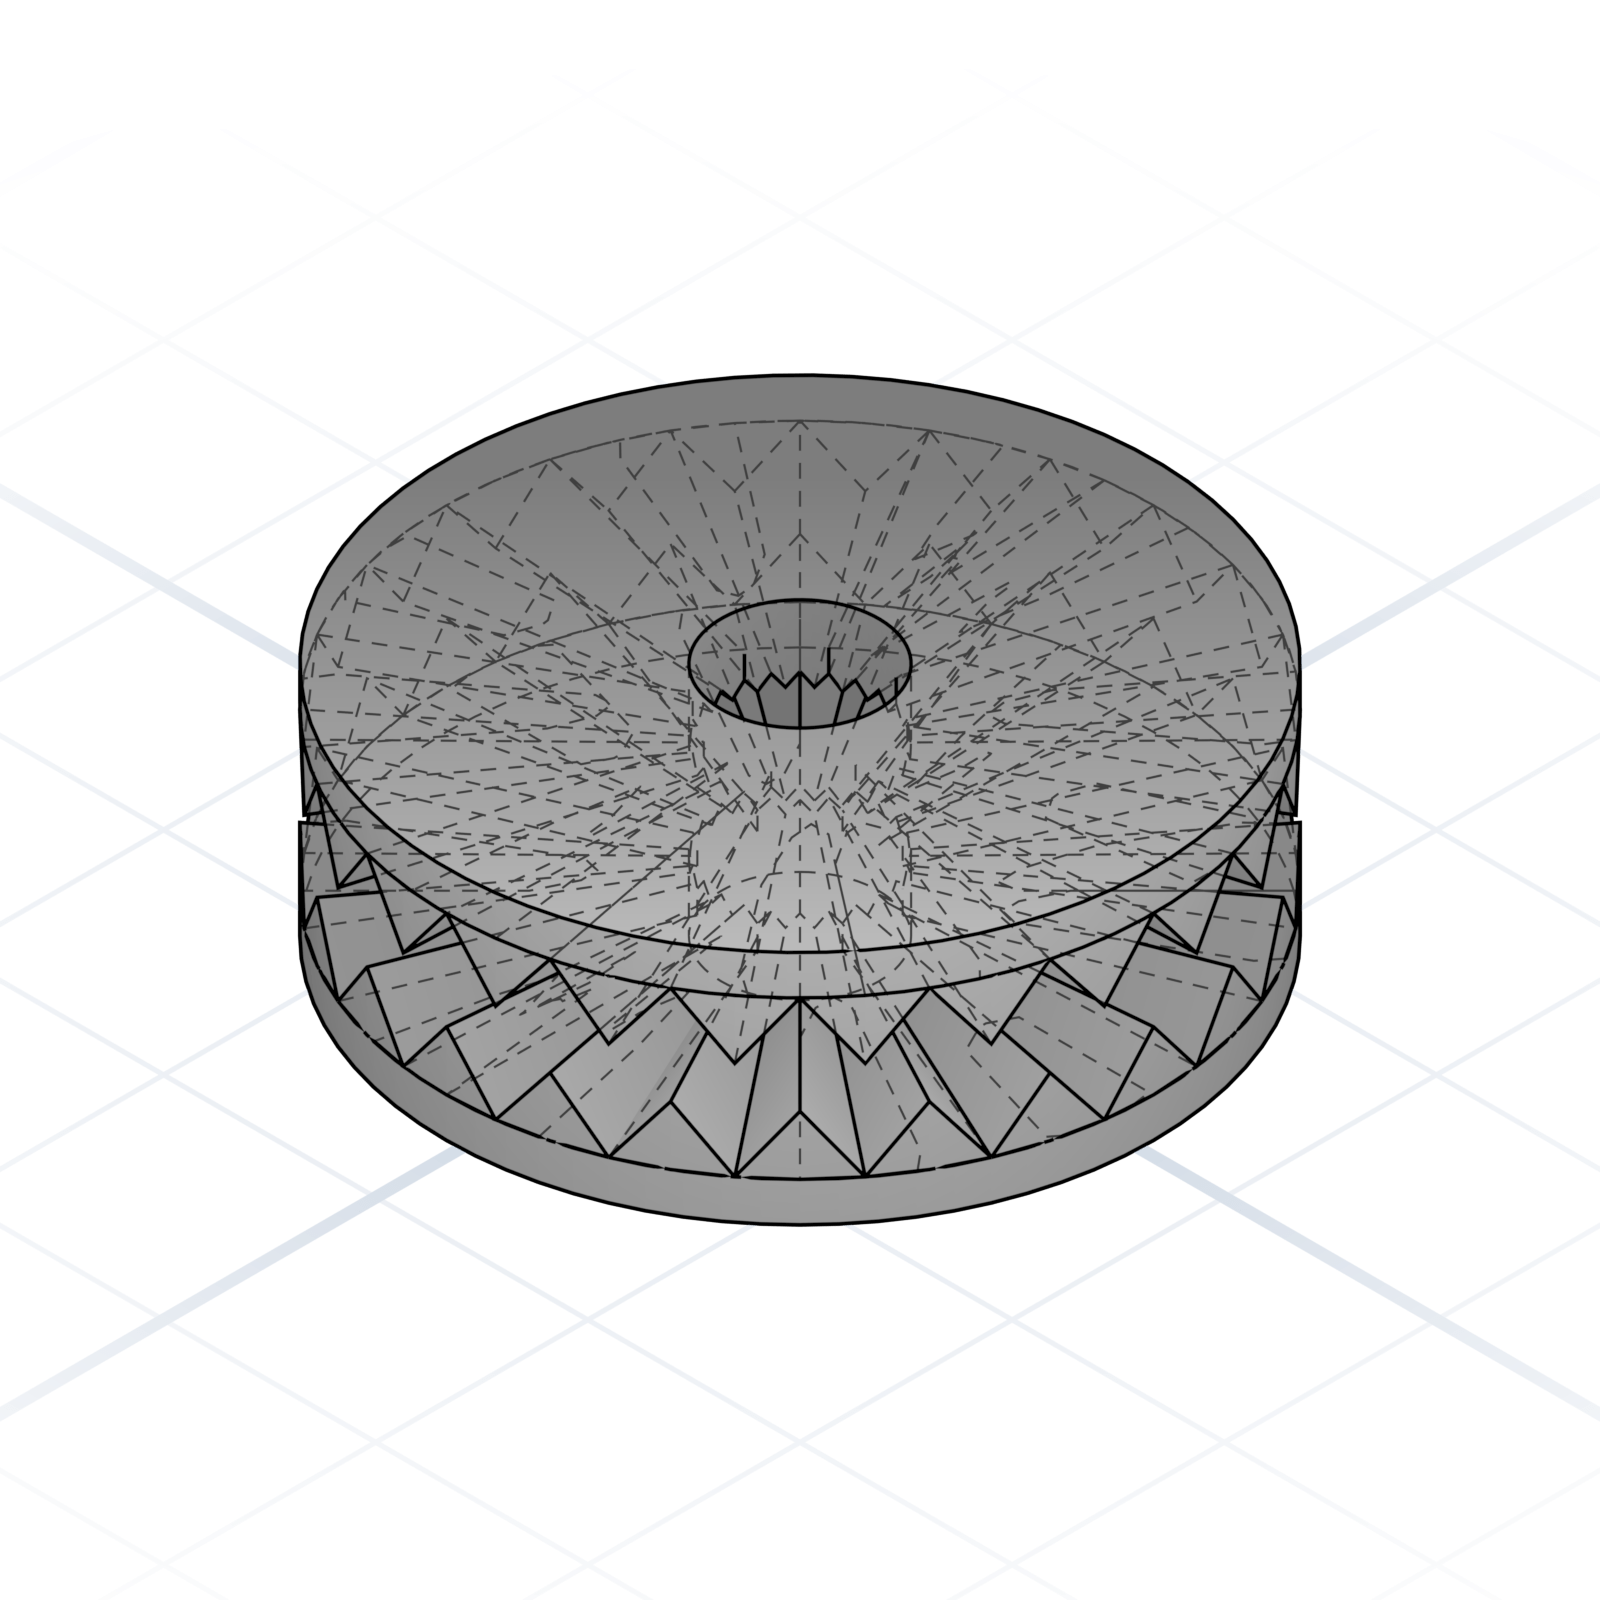
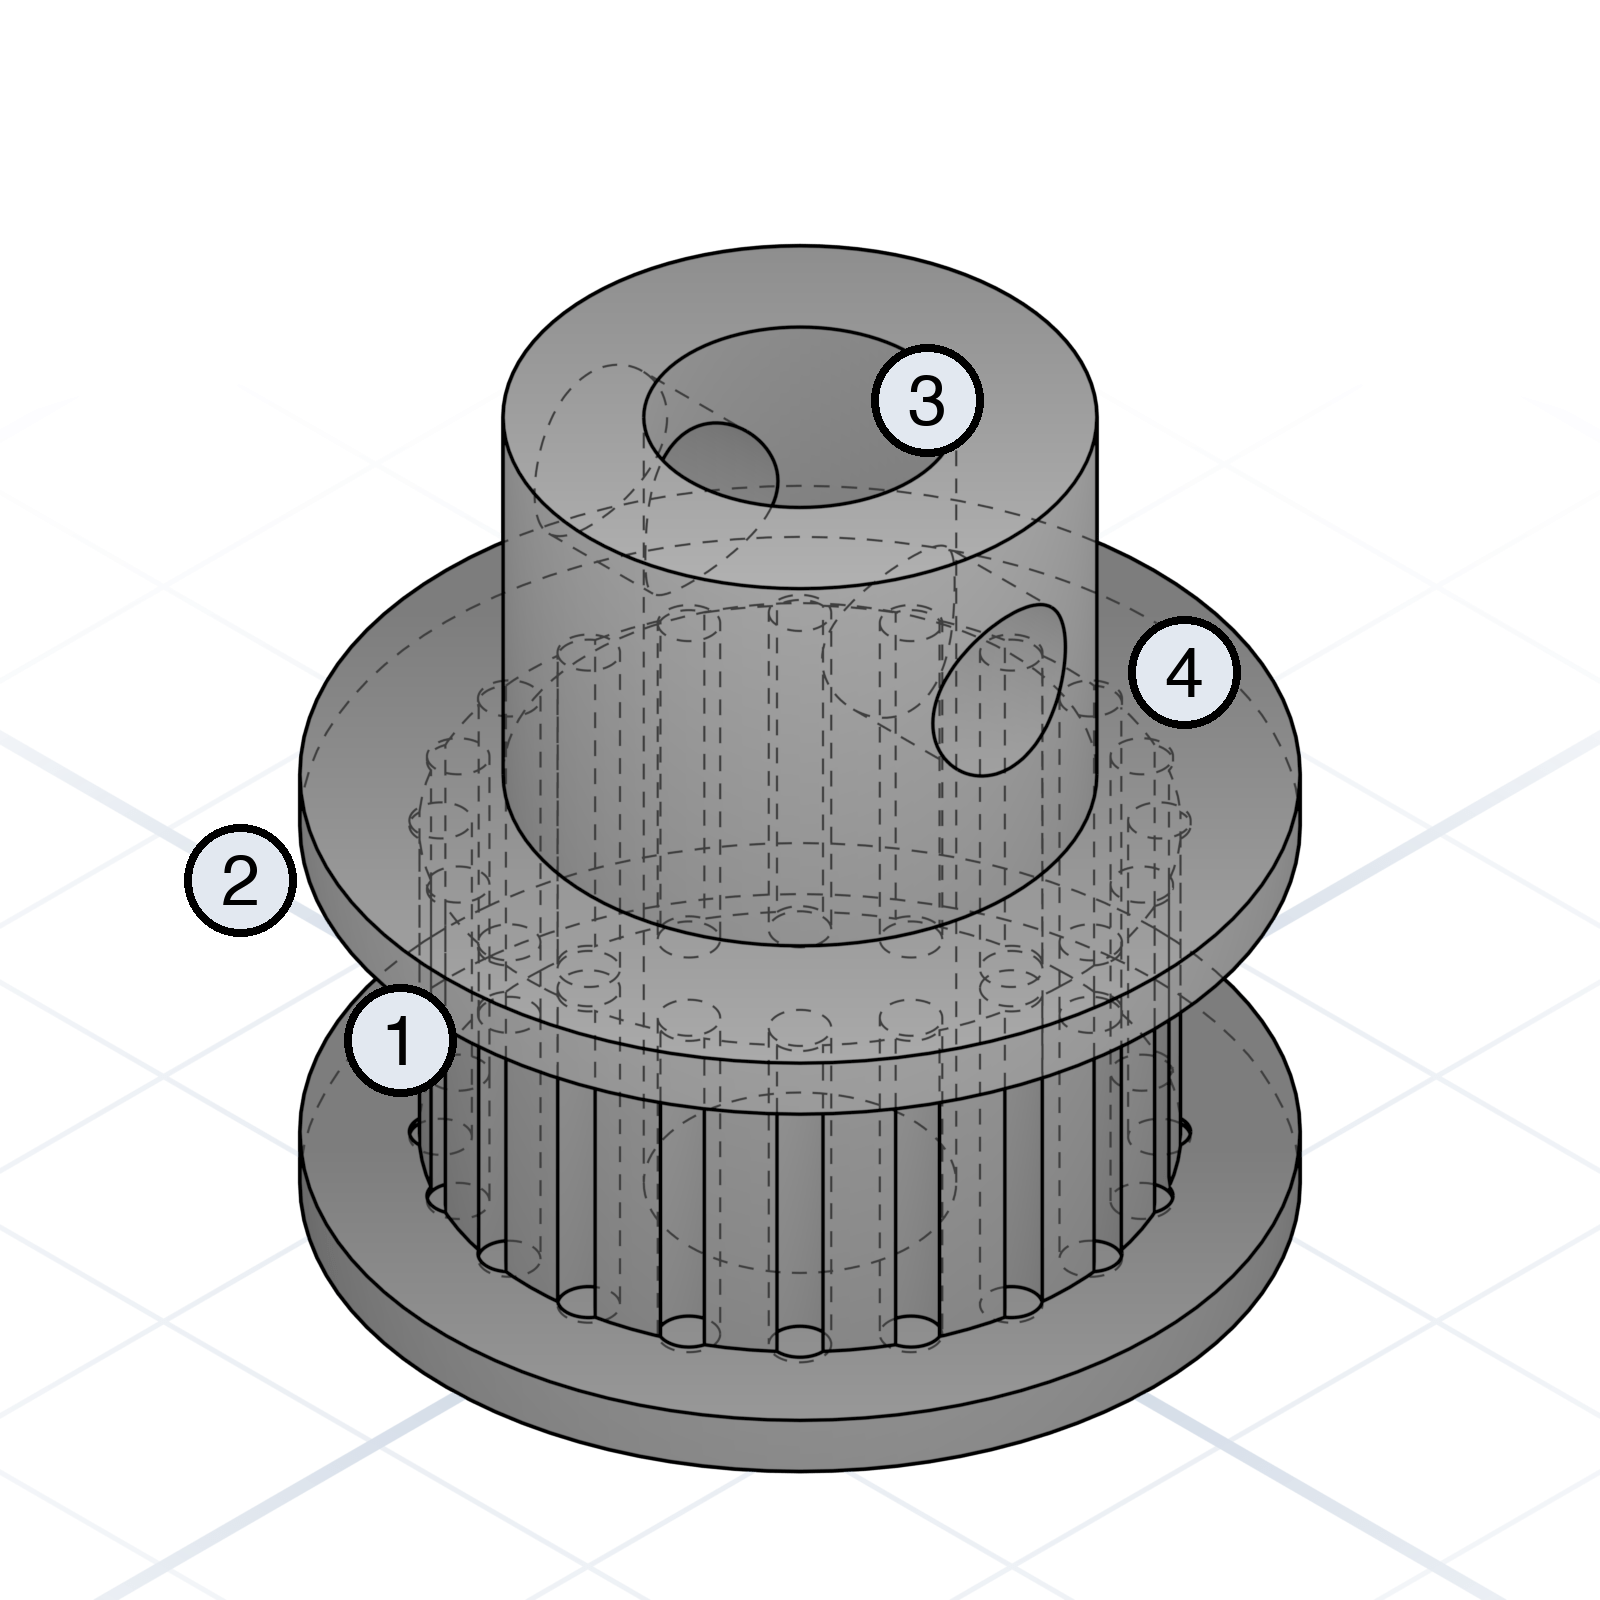
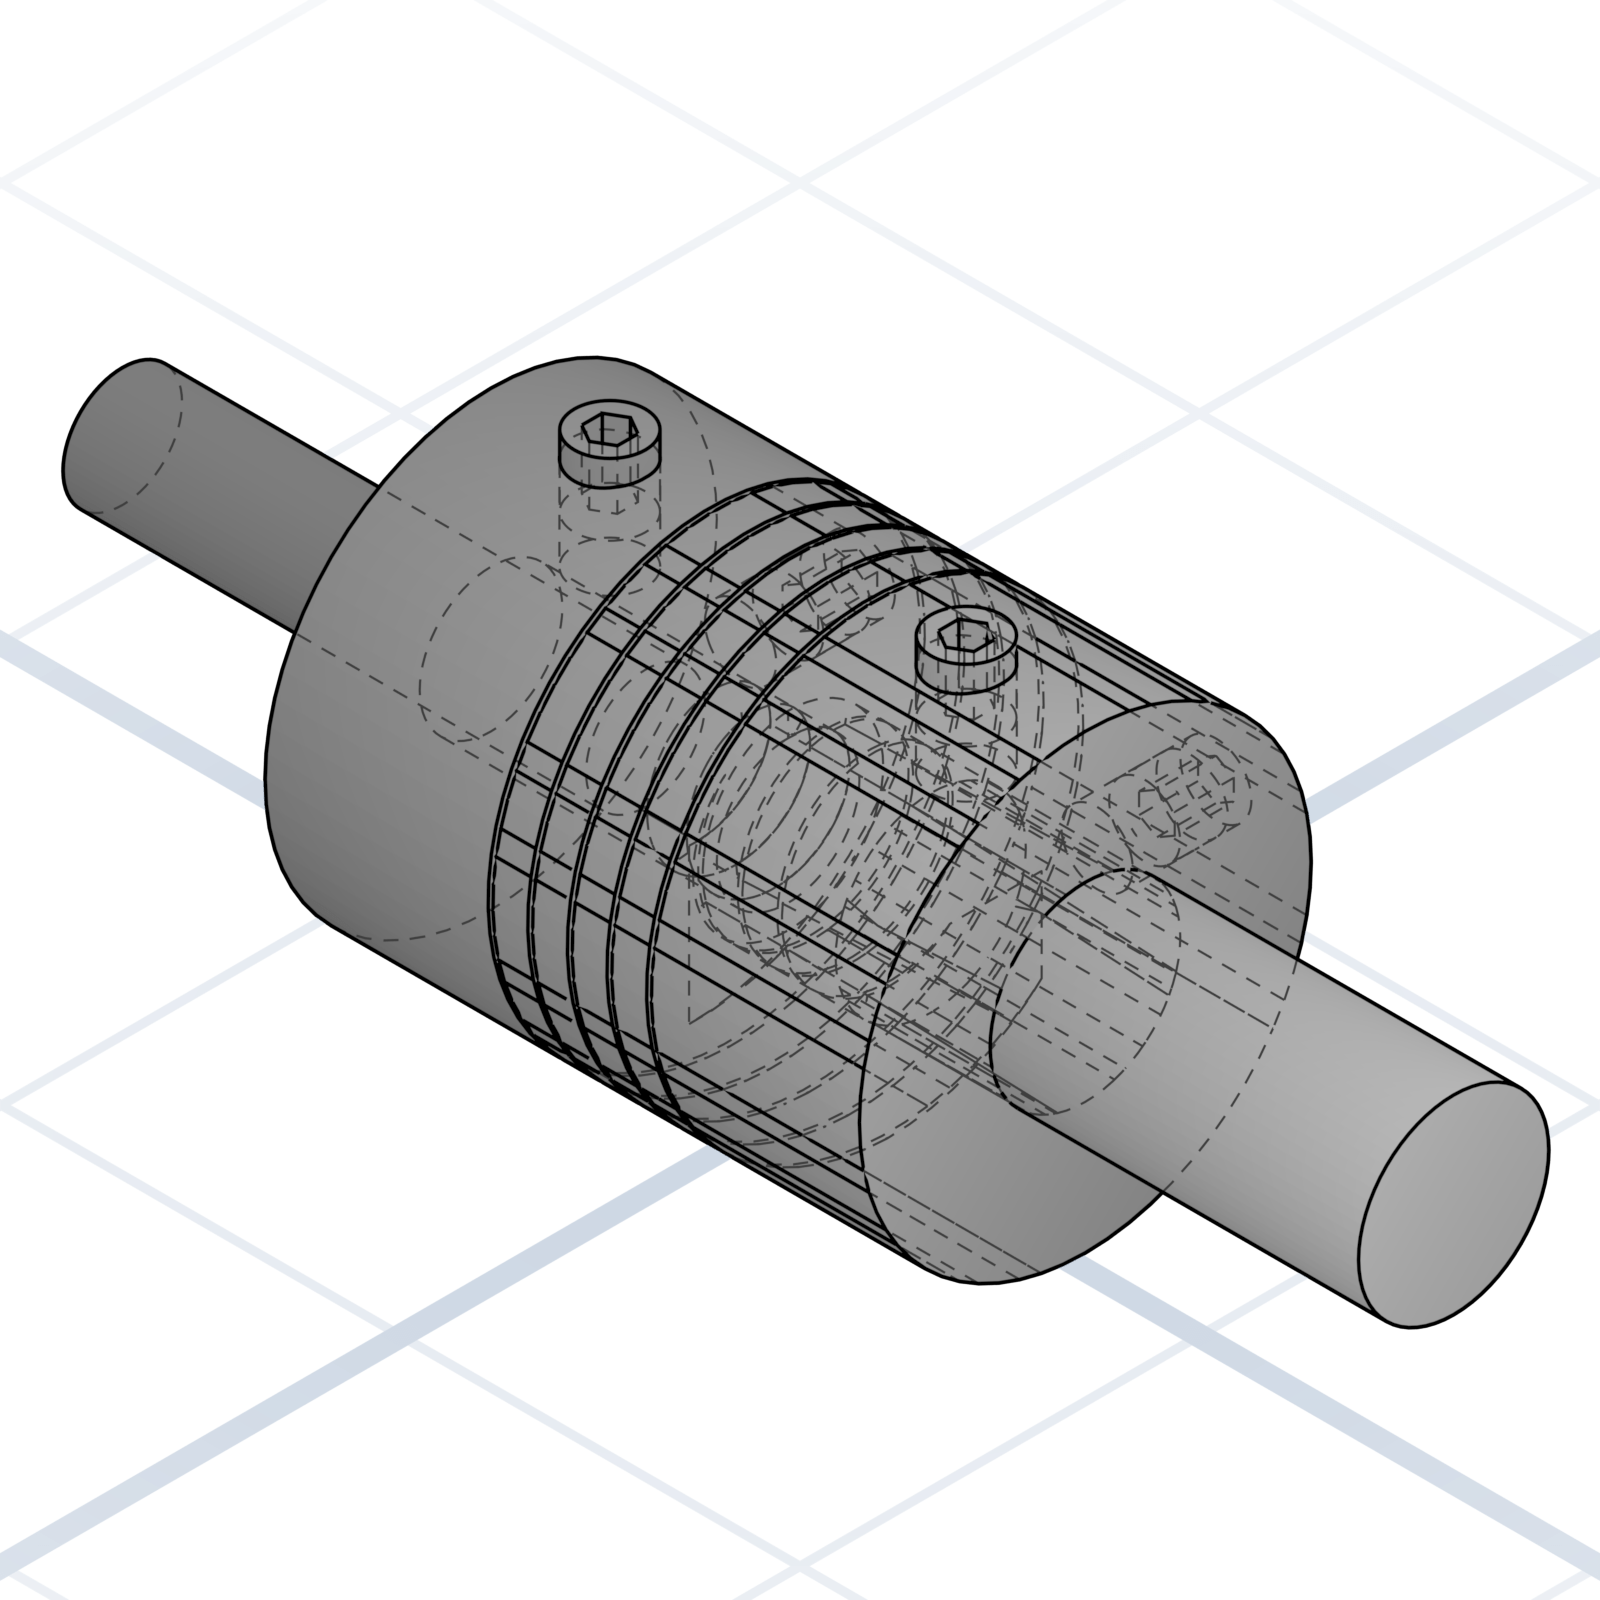
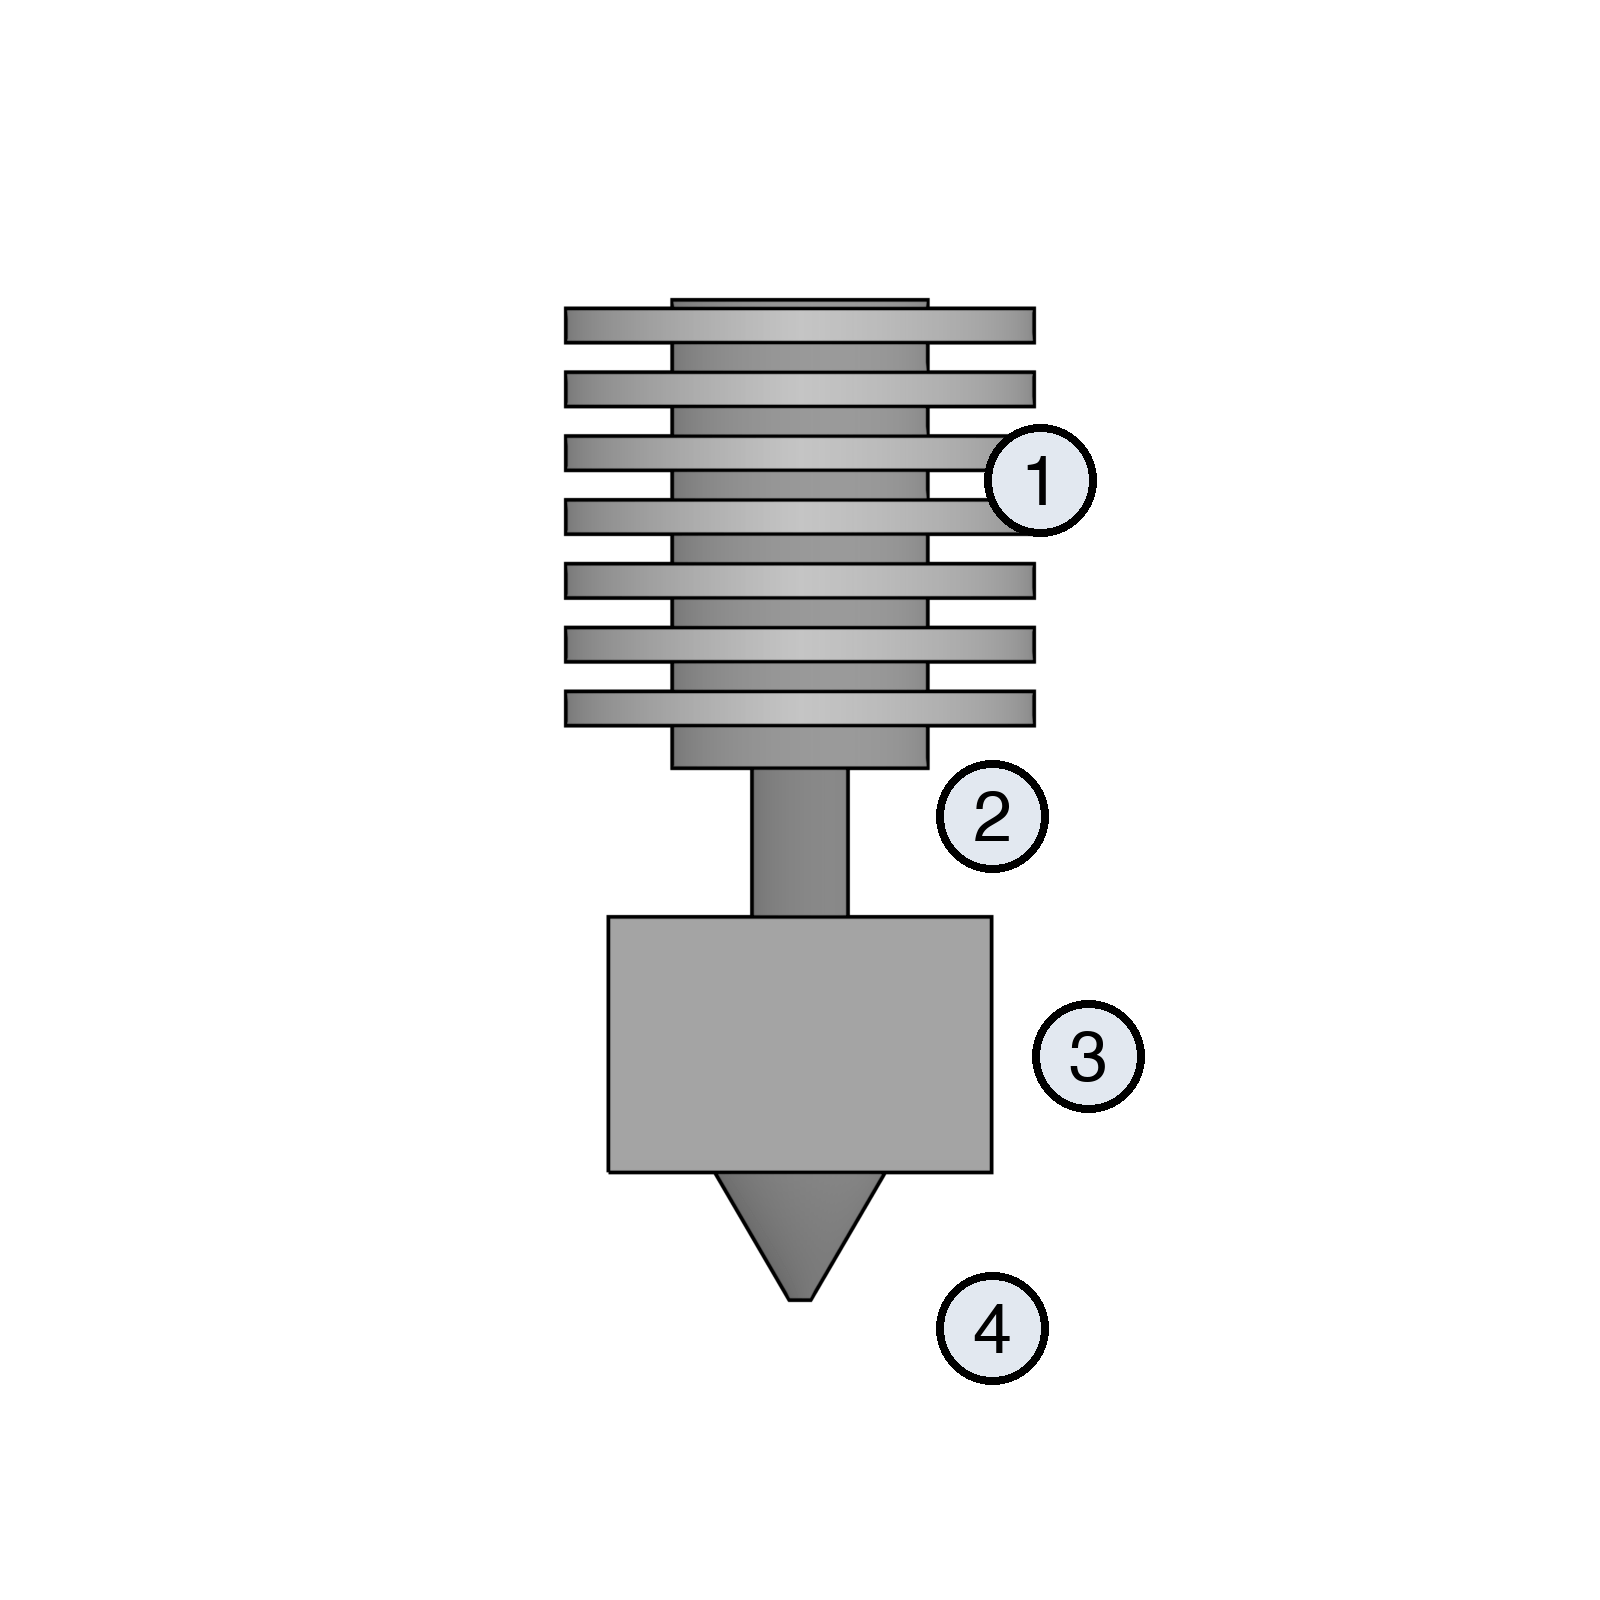
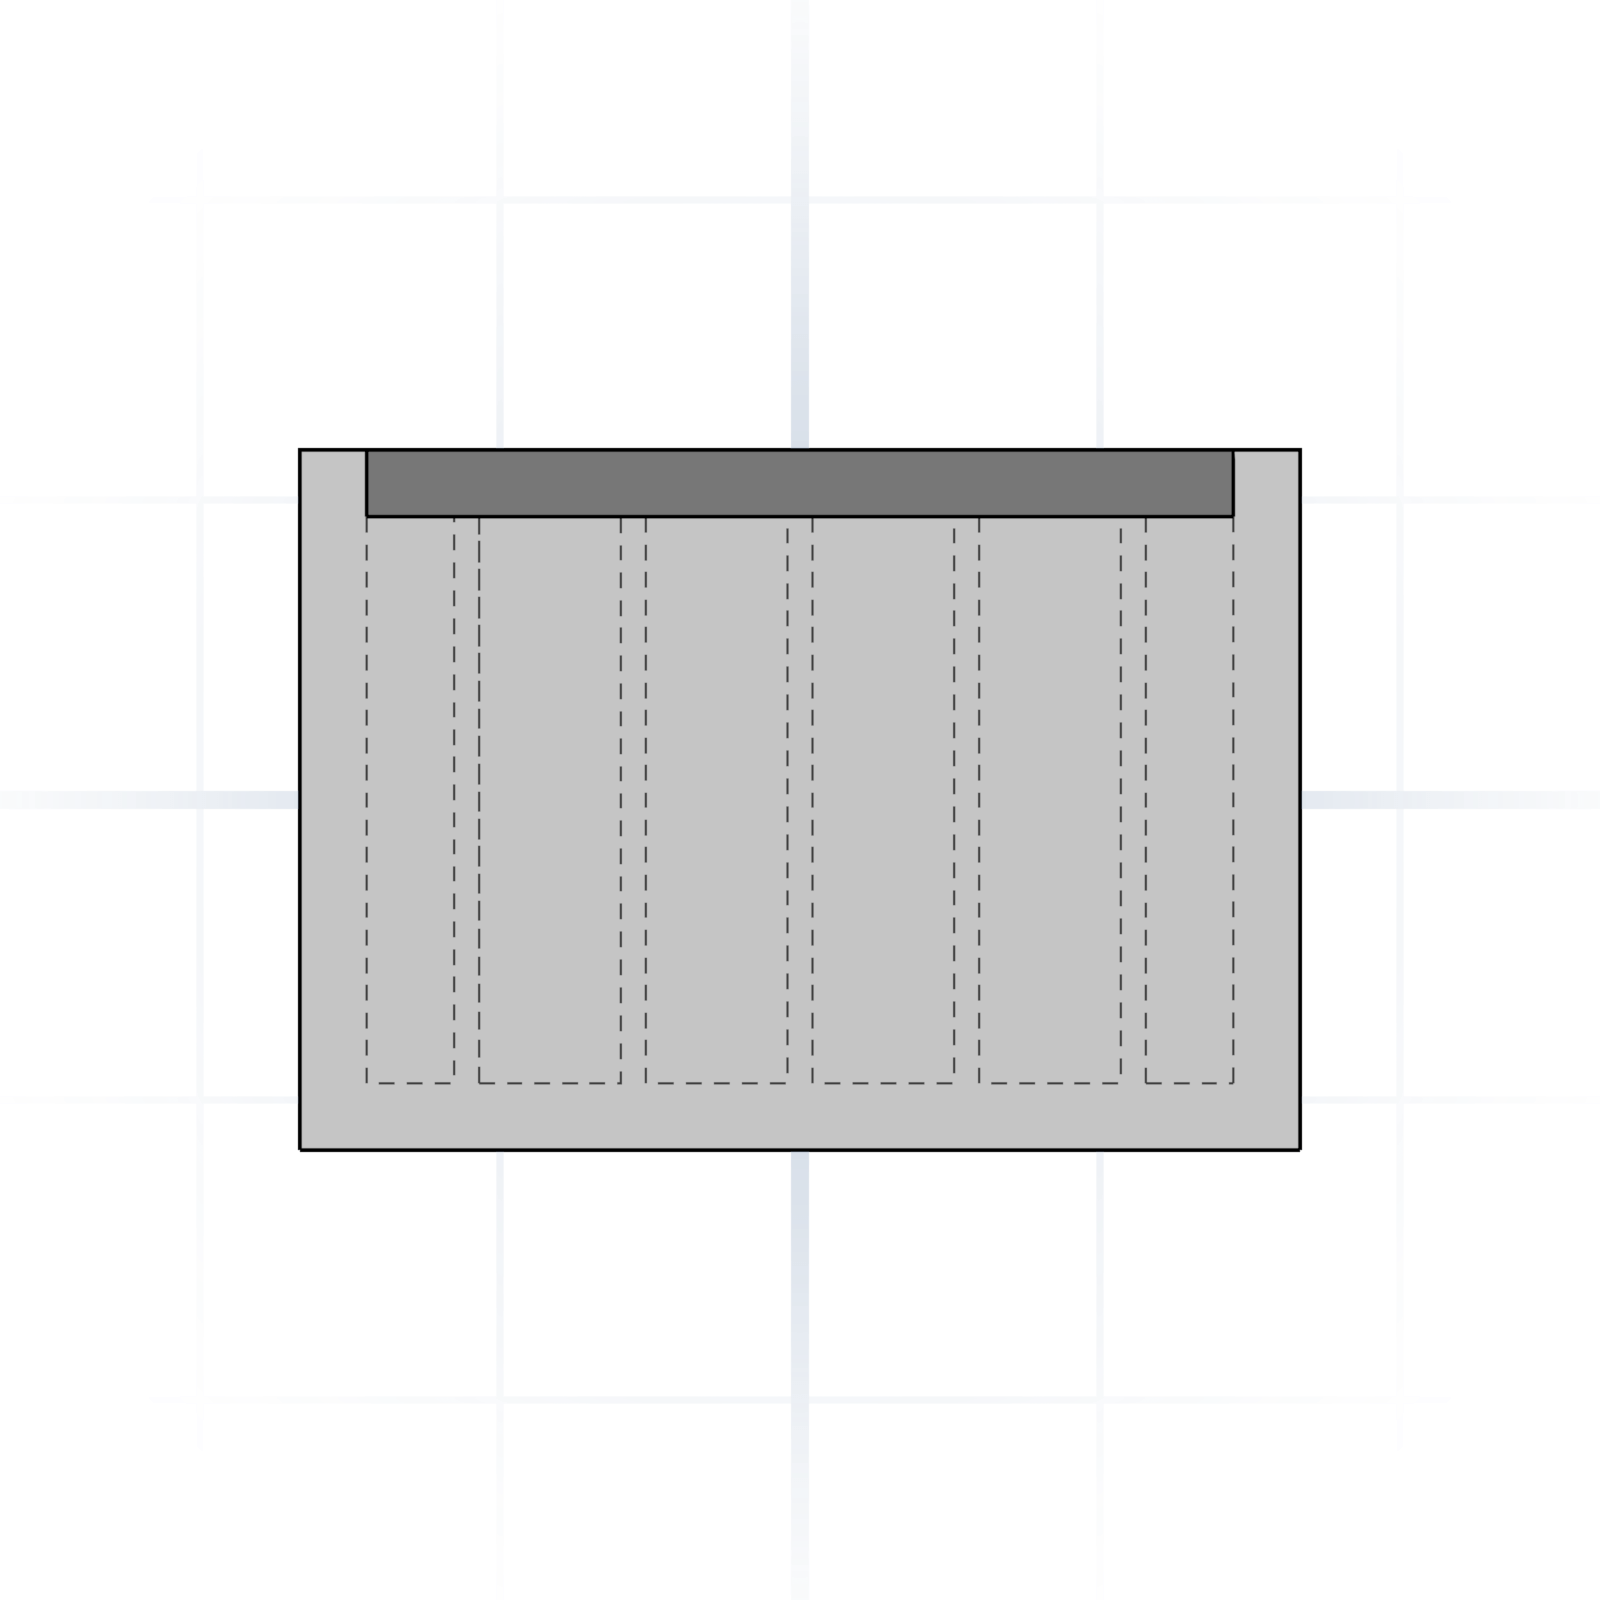
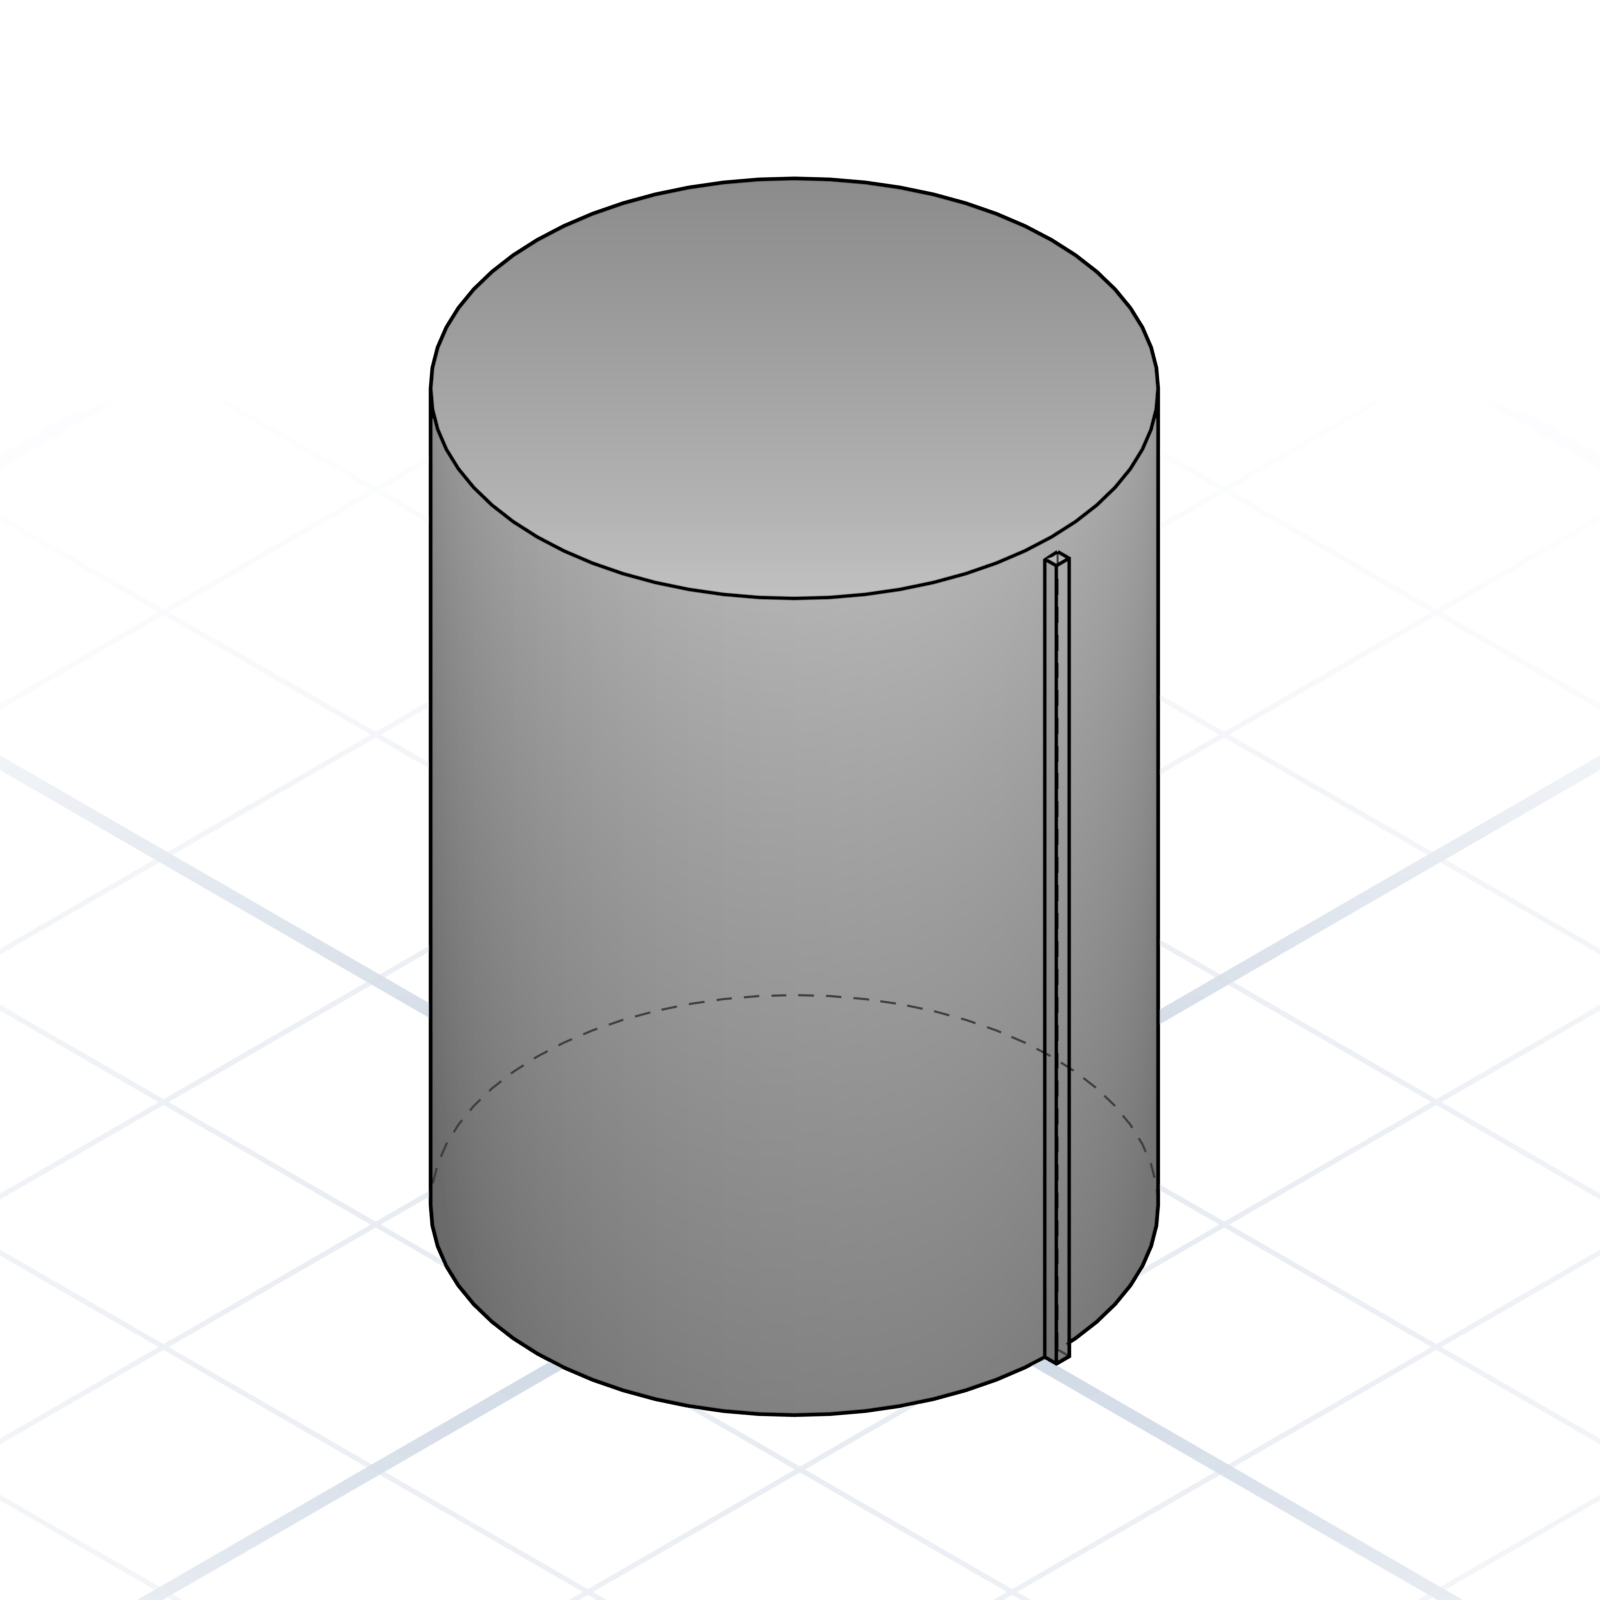
Knurl
Textured grip pattern on a cylindrical surface. Thumb screws and adjustment knobs use it so fingers don't slip.